Time Machine Storage Icon Problem Solved! The Super Simple Trick to Restore the Green Icon!
Hello! Previously, I published an article titled, "Simple Way to Change the External Storage Icon in macOS Tahoe 26"
Simple Way to Change the External Storage Icon in macOS Tahoe 26
While the method in that article allows you to easily change the external storage icon, I later discovered a huge pitfall...
The Time Machine "Green Icon" Won't Come Back!?
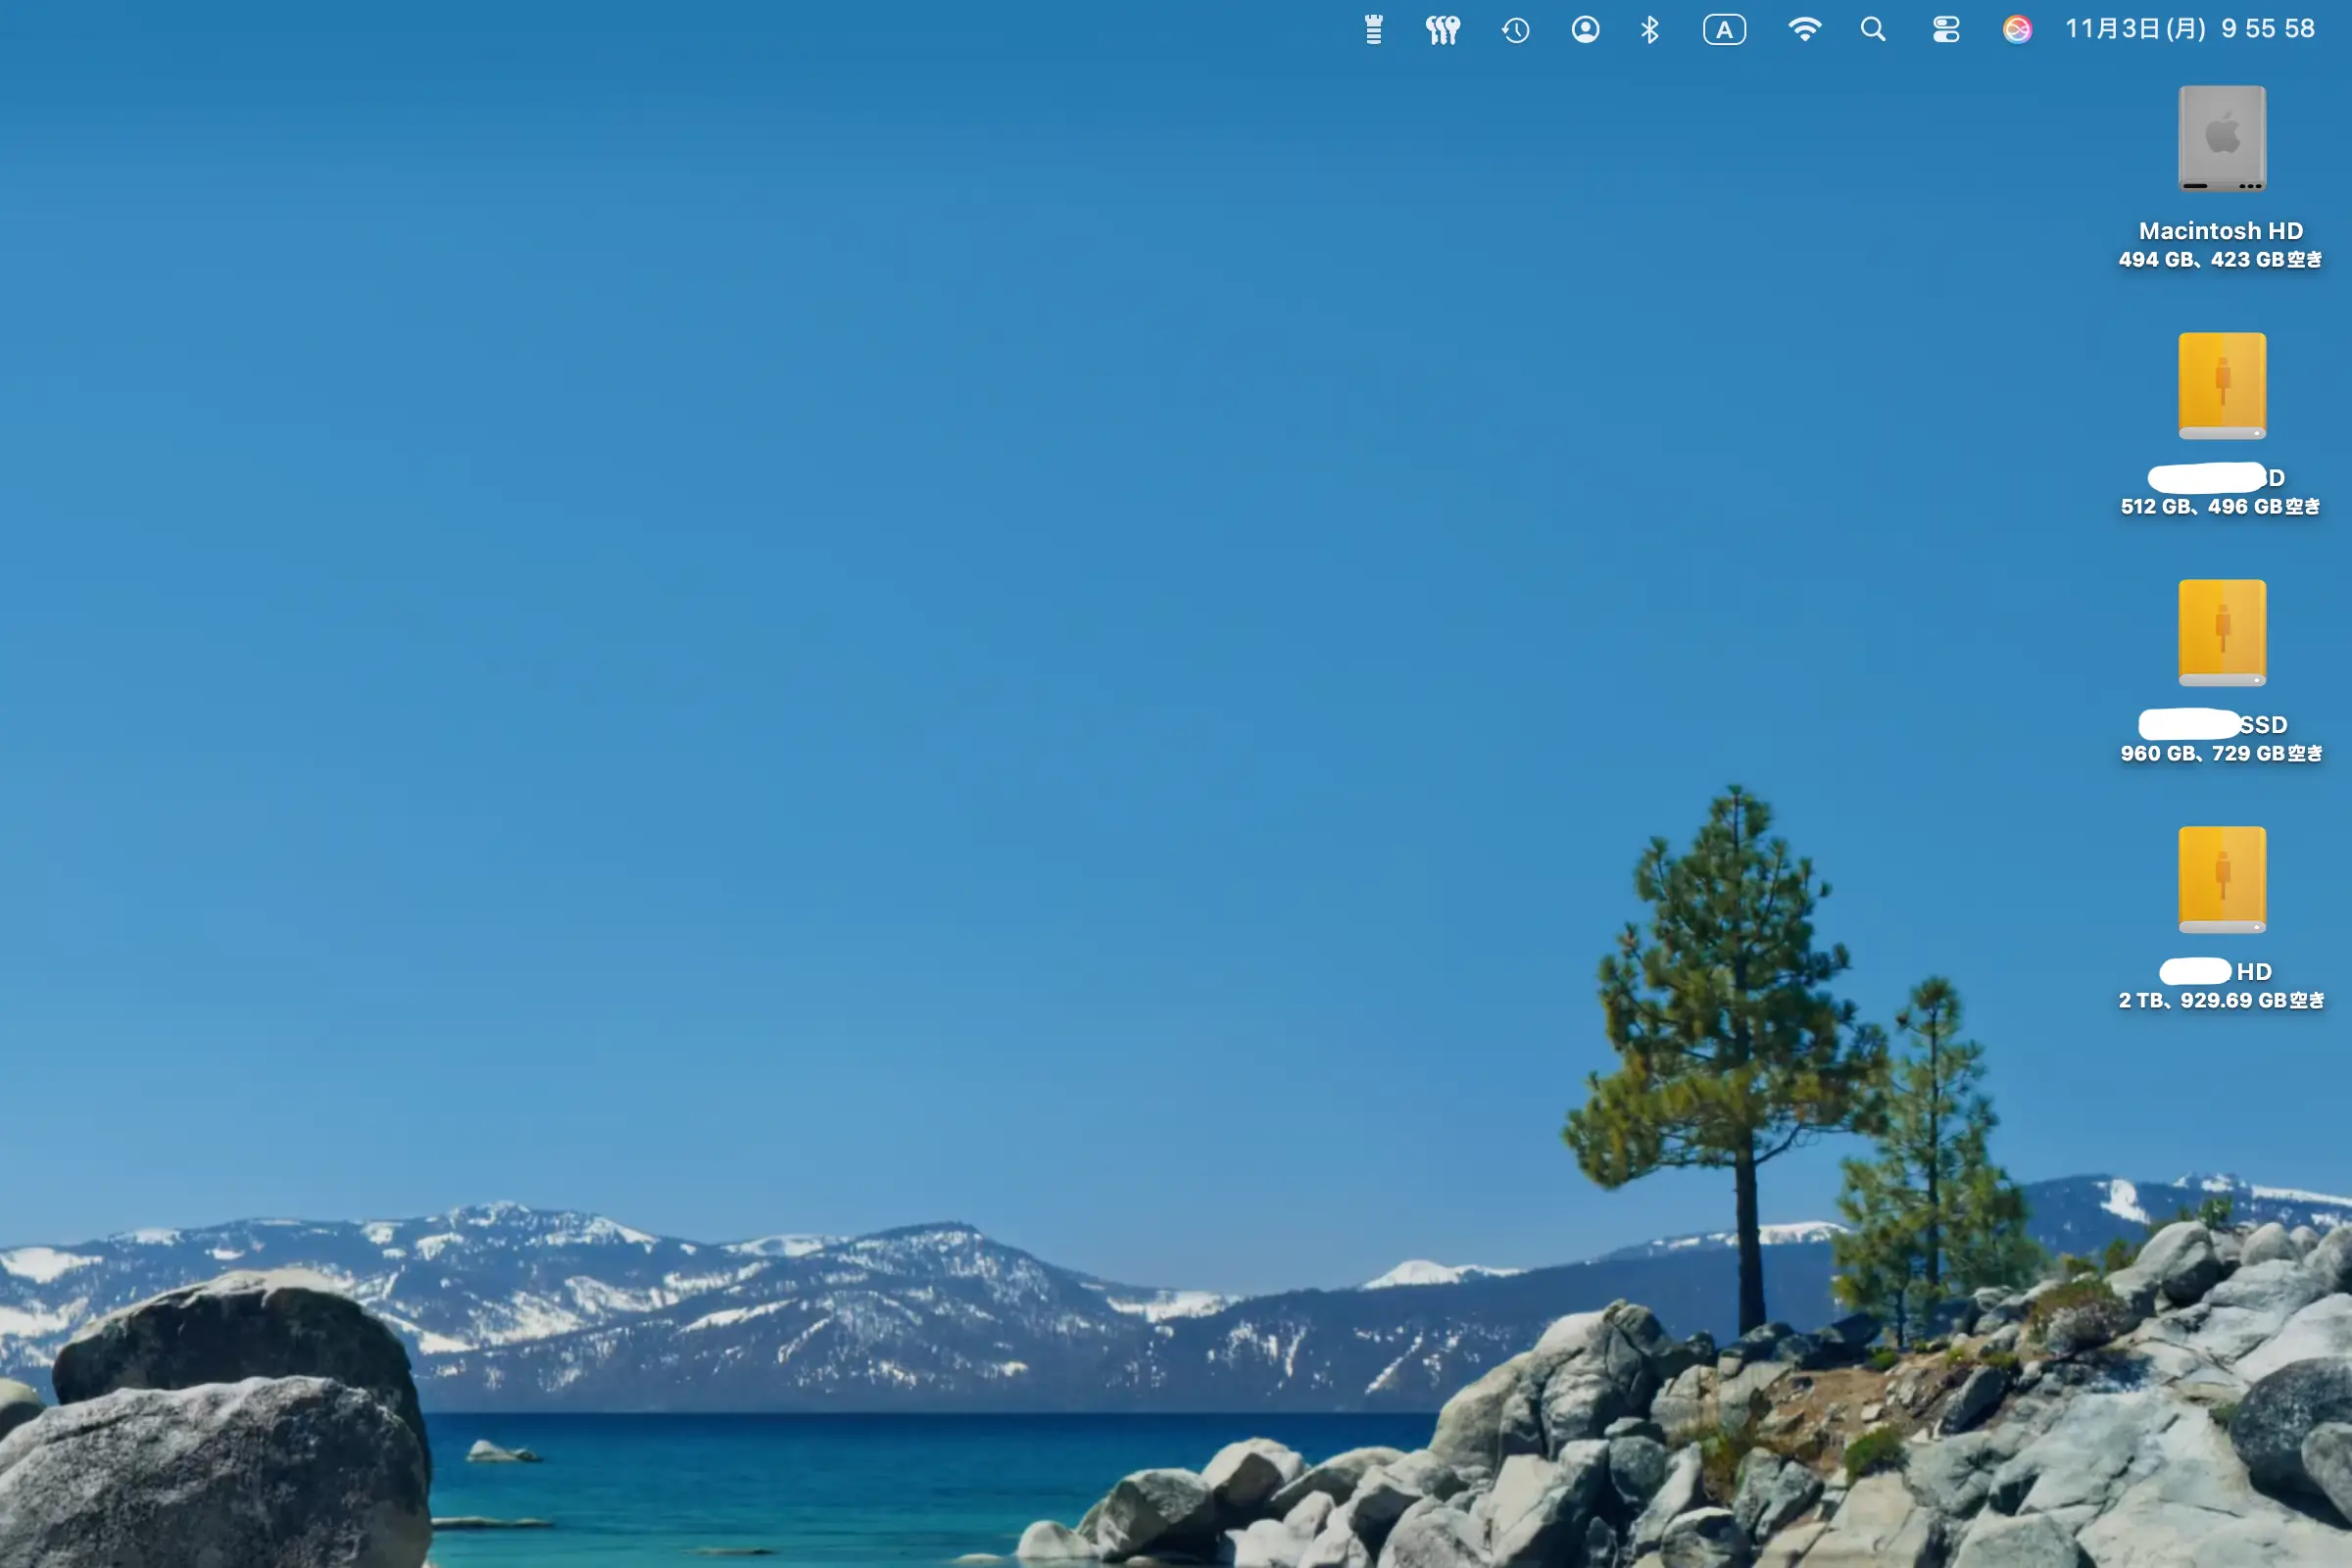
That's right—if you change the icon of a perfectly normal external drive used for Time Machine using that method, the green Time Machine icon will not return!
The Cause Is "Manual Change"
The reason is simple:
* Normally, the system automatically sets the Time Machine external storage to the green icon.
* However, if you manually overwrite it with another icon (for example, an orange one), the system interprets it as the "user-set icon."
This makes sense. The system won't automatically revert an icon that the user has intentionally changed to their own liking.
A Desperate Quest for the Time Machine Icon
Naturally, I tried to find the green Time Machine icon within the system files, but I couldn't find it! Even searching the internet yielded virtually no information for the latest macOS Tahoe. System sources that could potentially cause issues are likely not provided.
I was at my wit's end...
A Brainwave! The "Trick" Using an Unused Drive!
However, an idea suddenly came to me:
"What if I temporarily set an unused external drive as a Time Machine drive to force the green icon to appear, and then copy that icon to the Time Machine drive whose icon I changed!?"
That's it! This method generates the green Time Machine icon on a separate, unused drive and applies it to the drive you are currently using!
The Super Simple 3-Step Solution
The steps are surprisingly easy!
Step 1: Generate the "Green Icon" on Time Machine
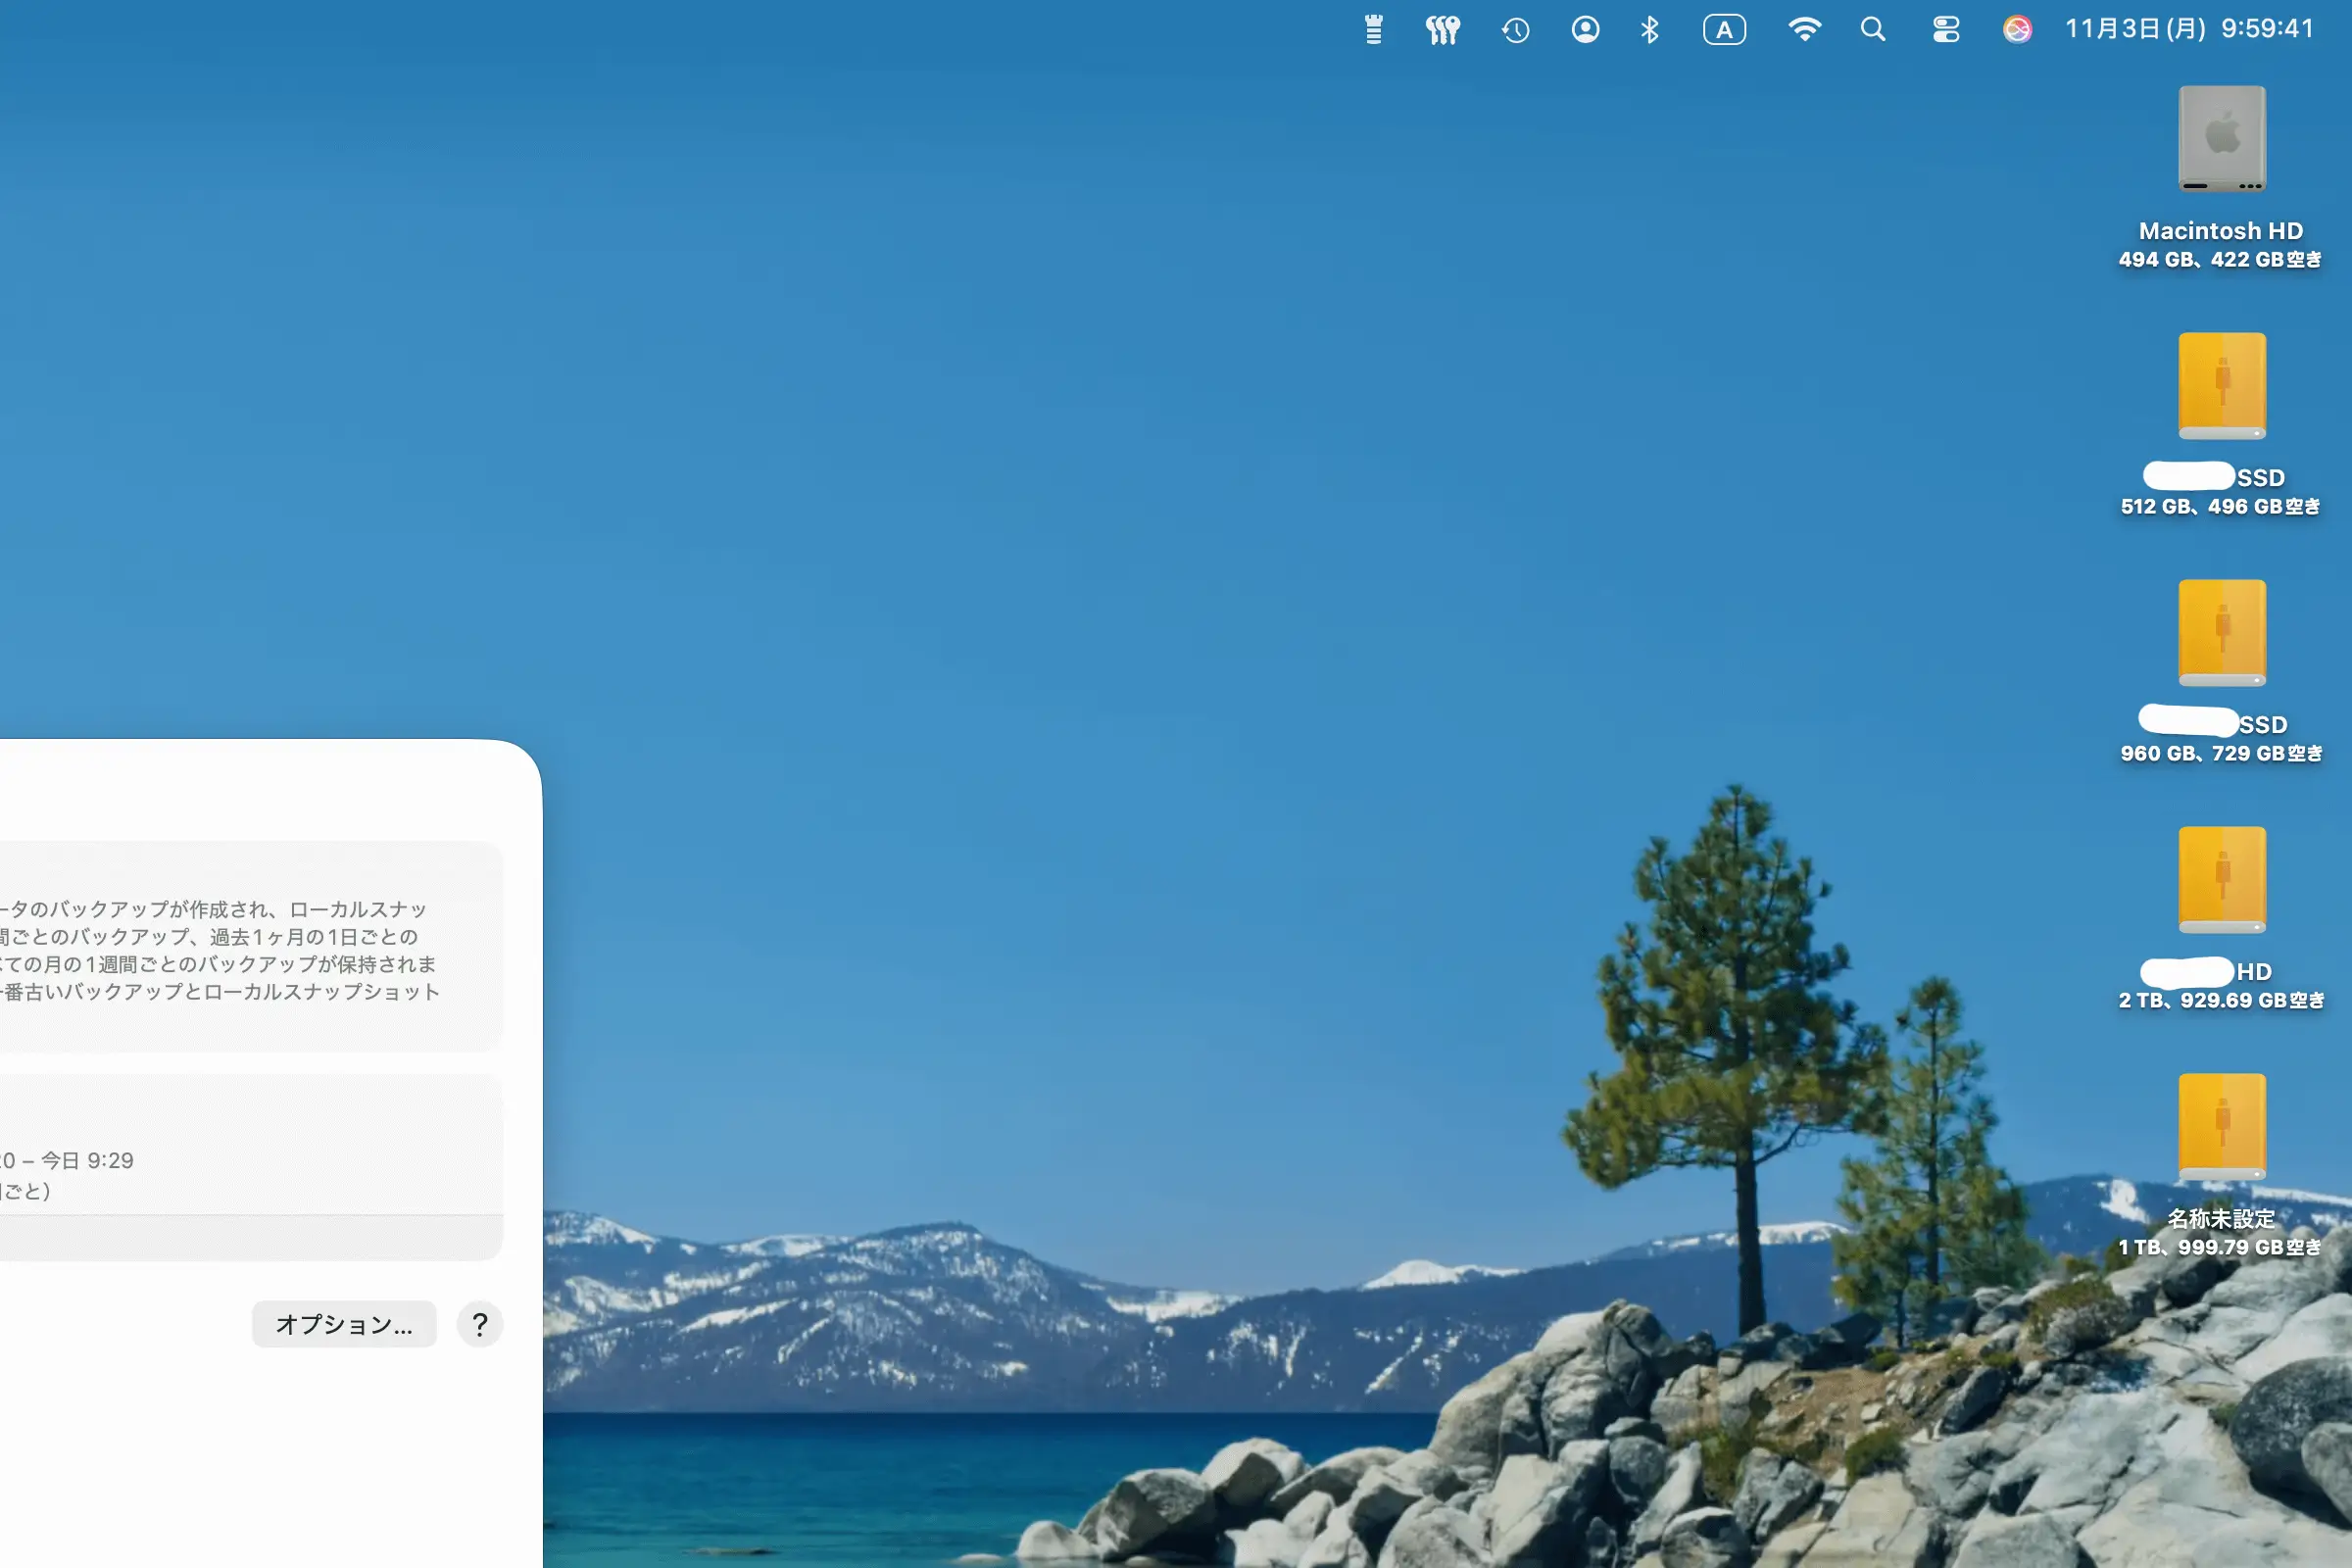
1. Connect an unused external drive to your Mac.
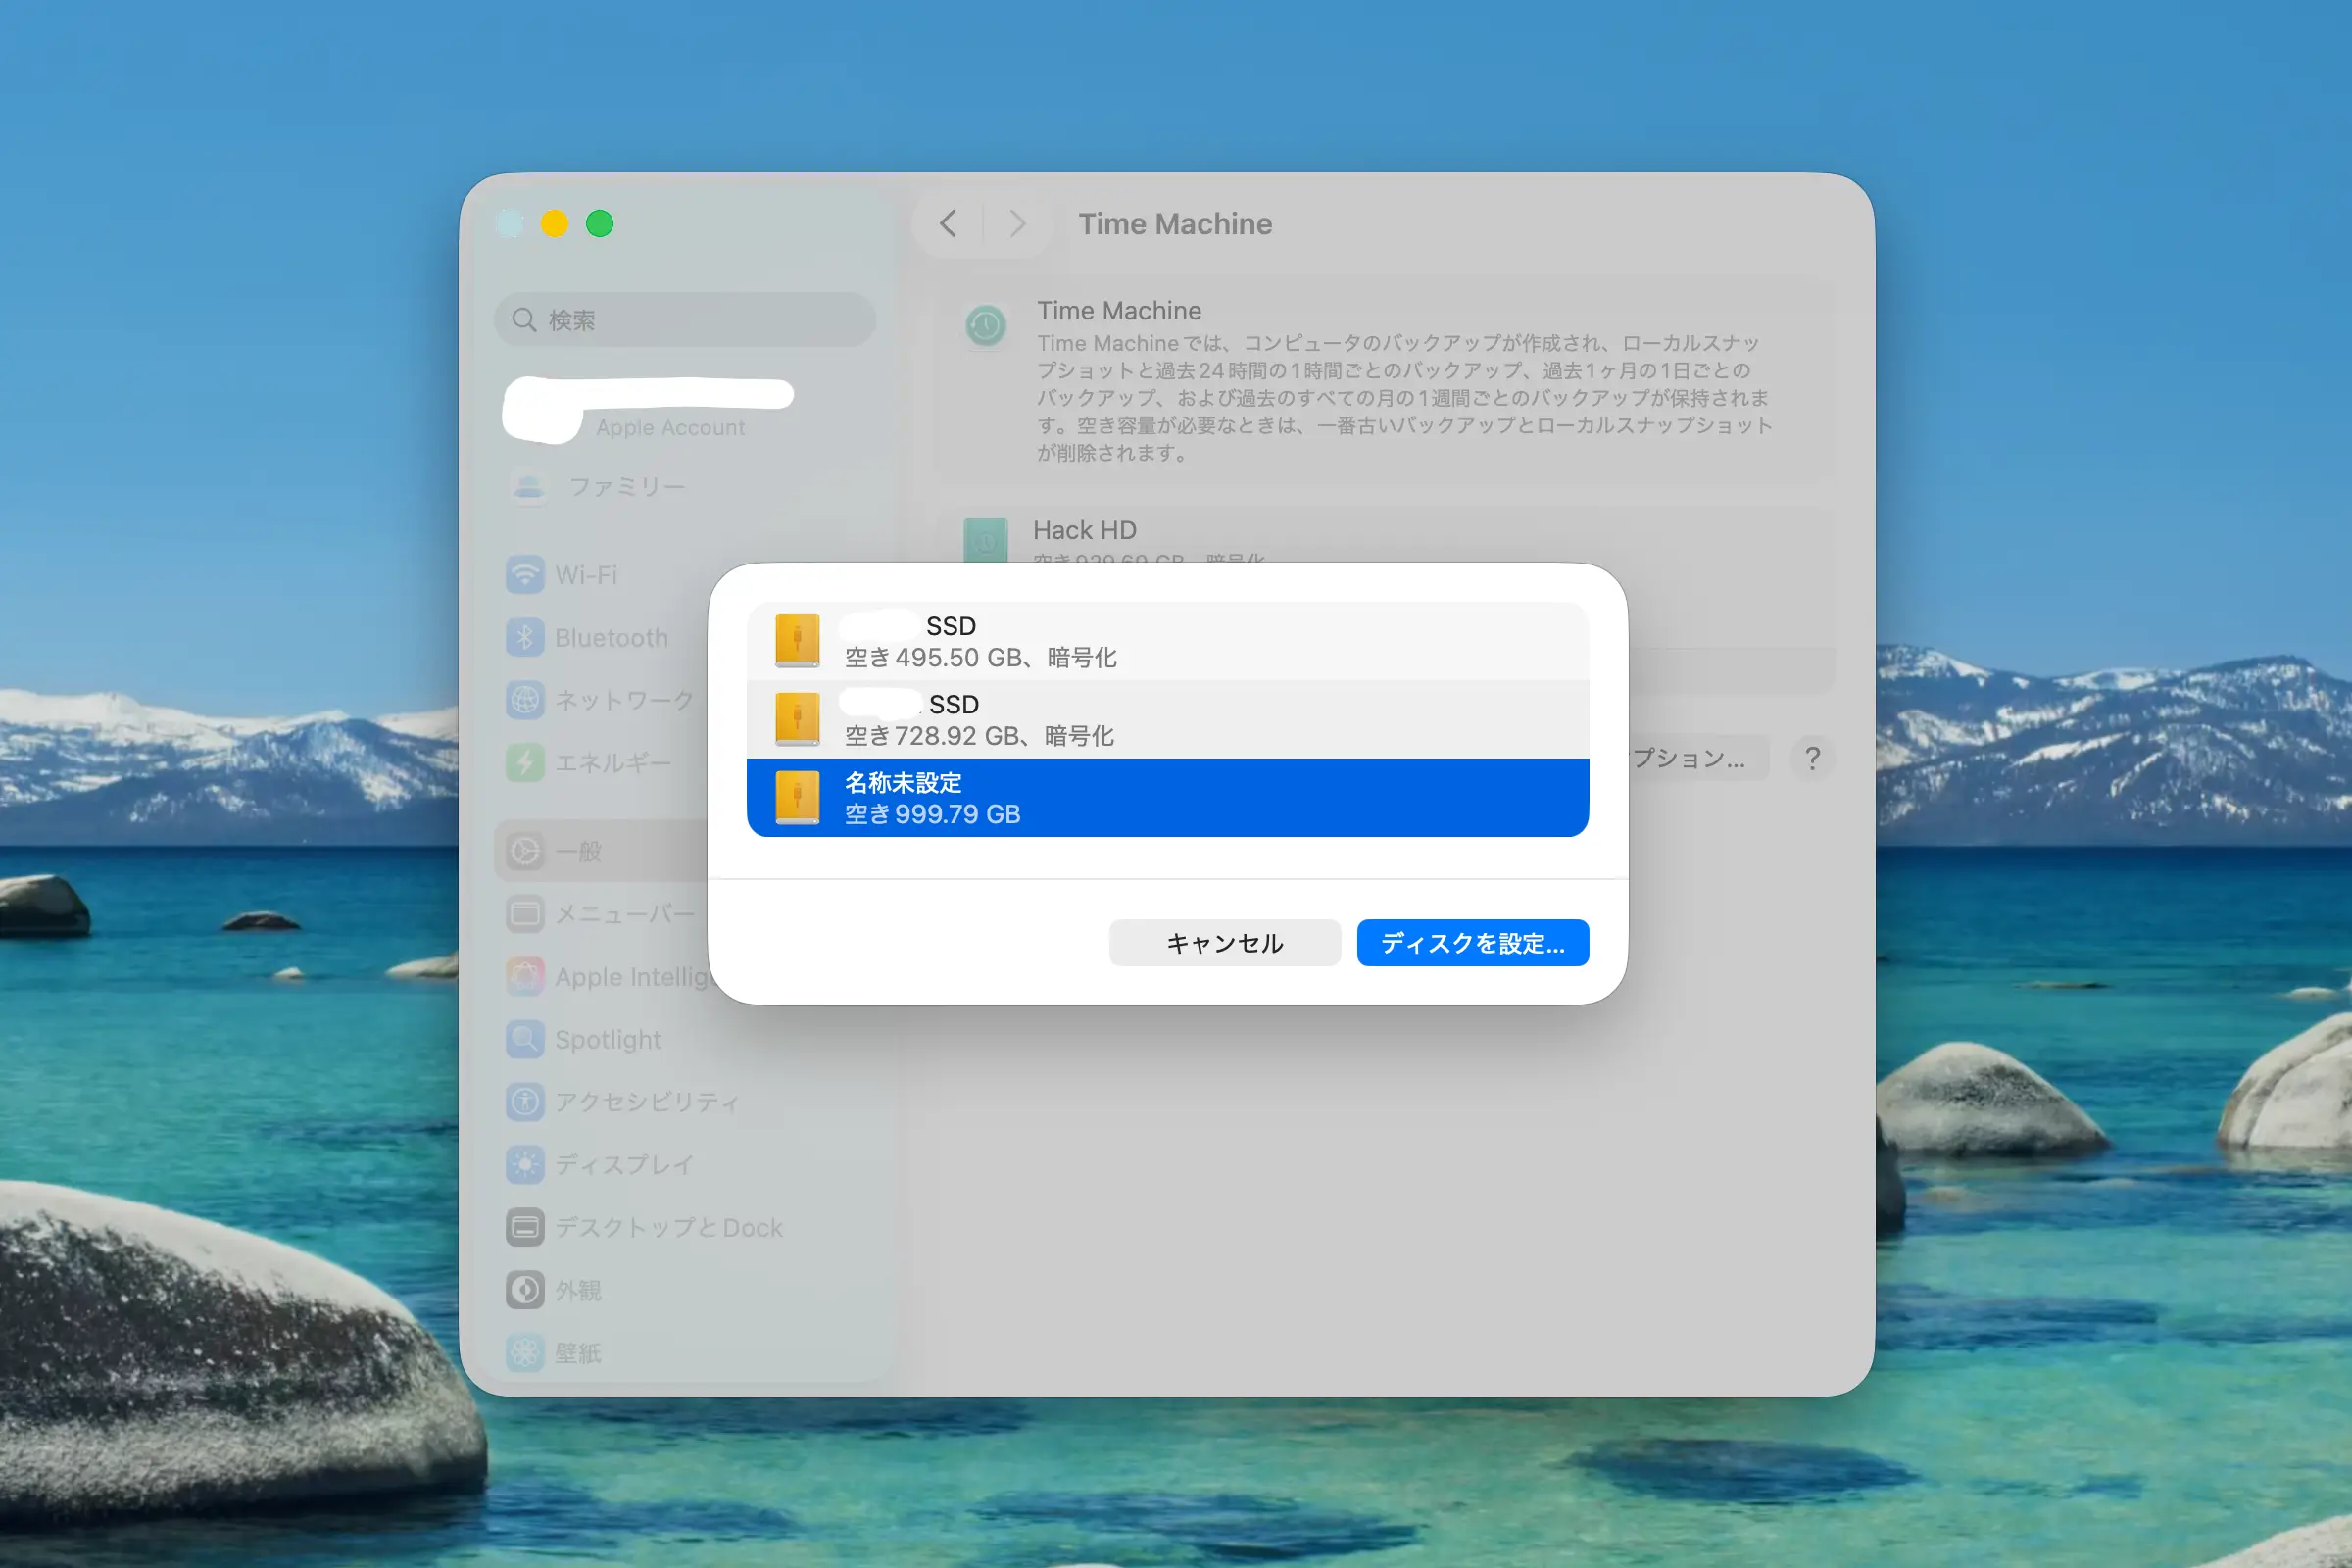
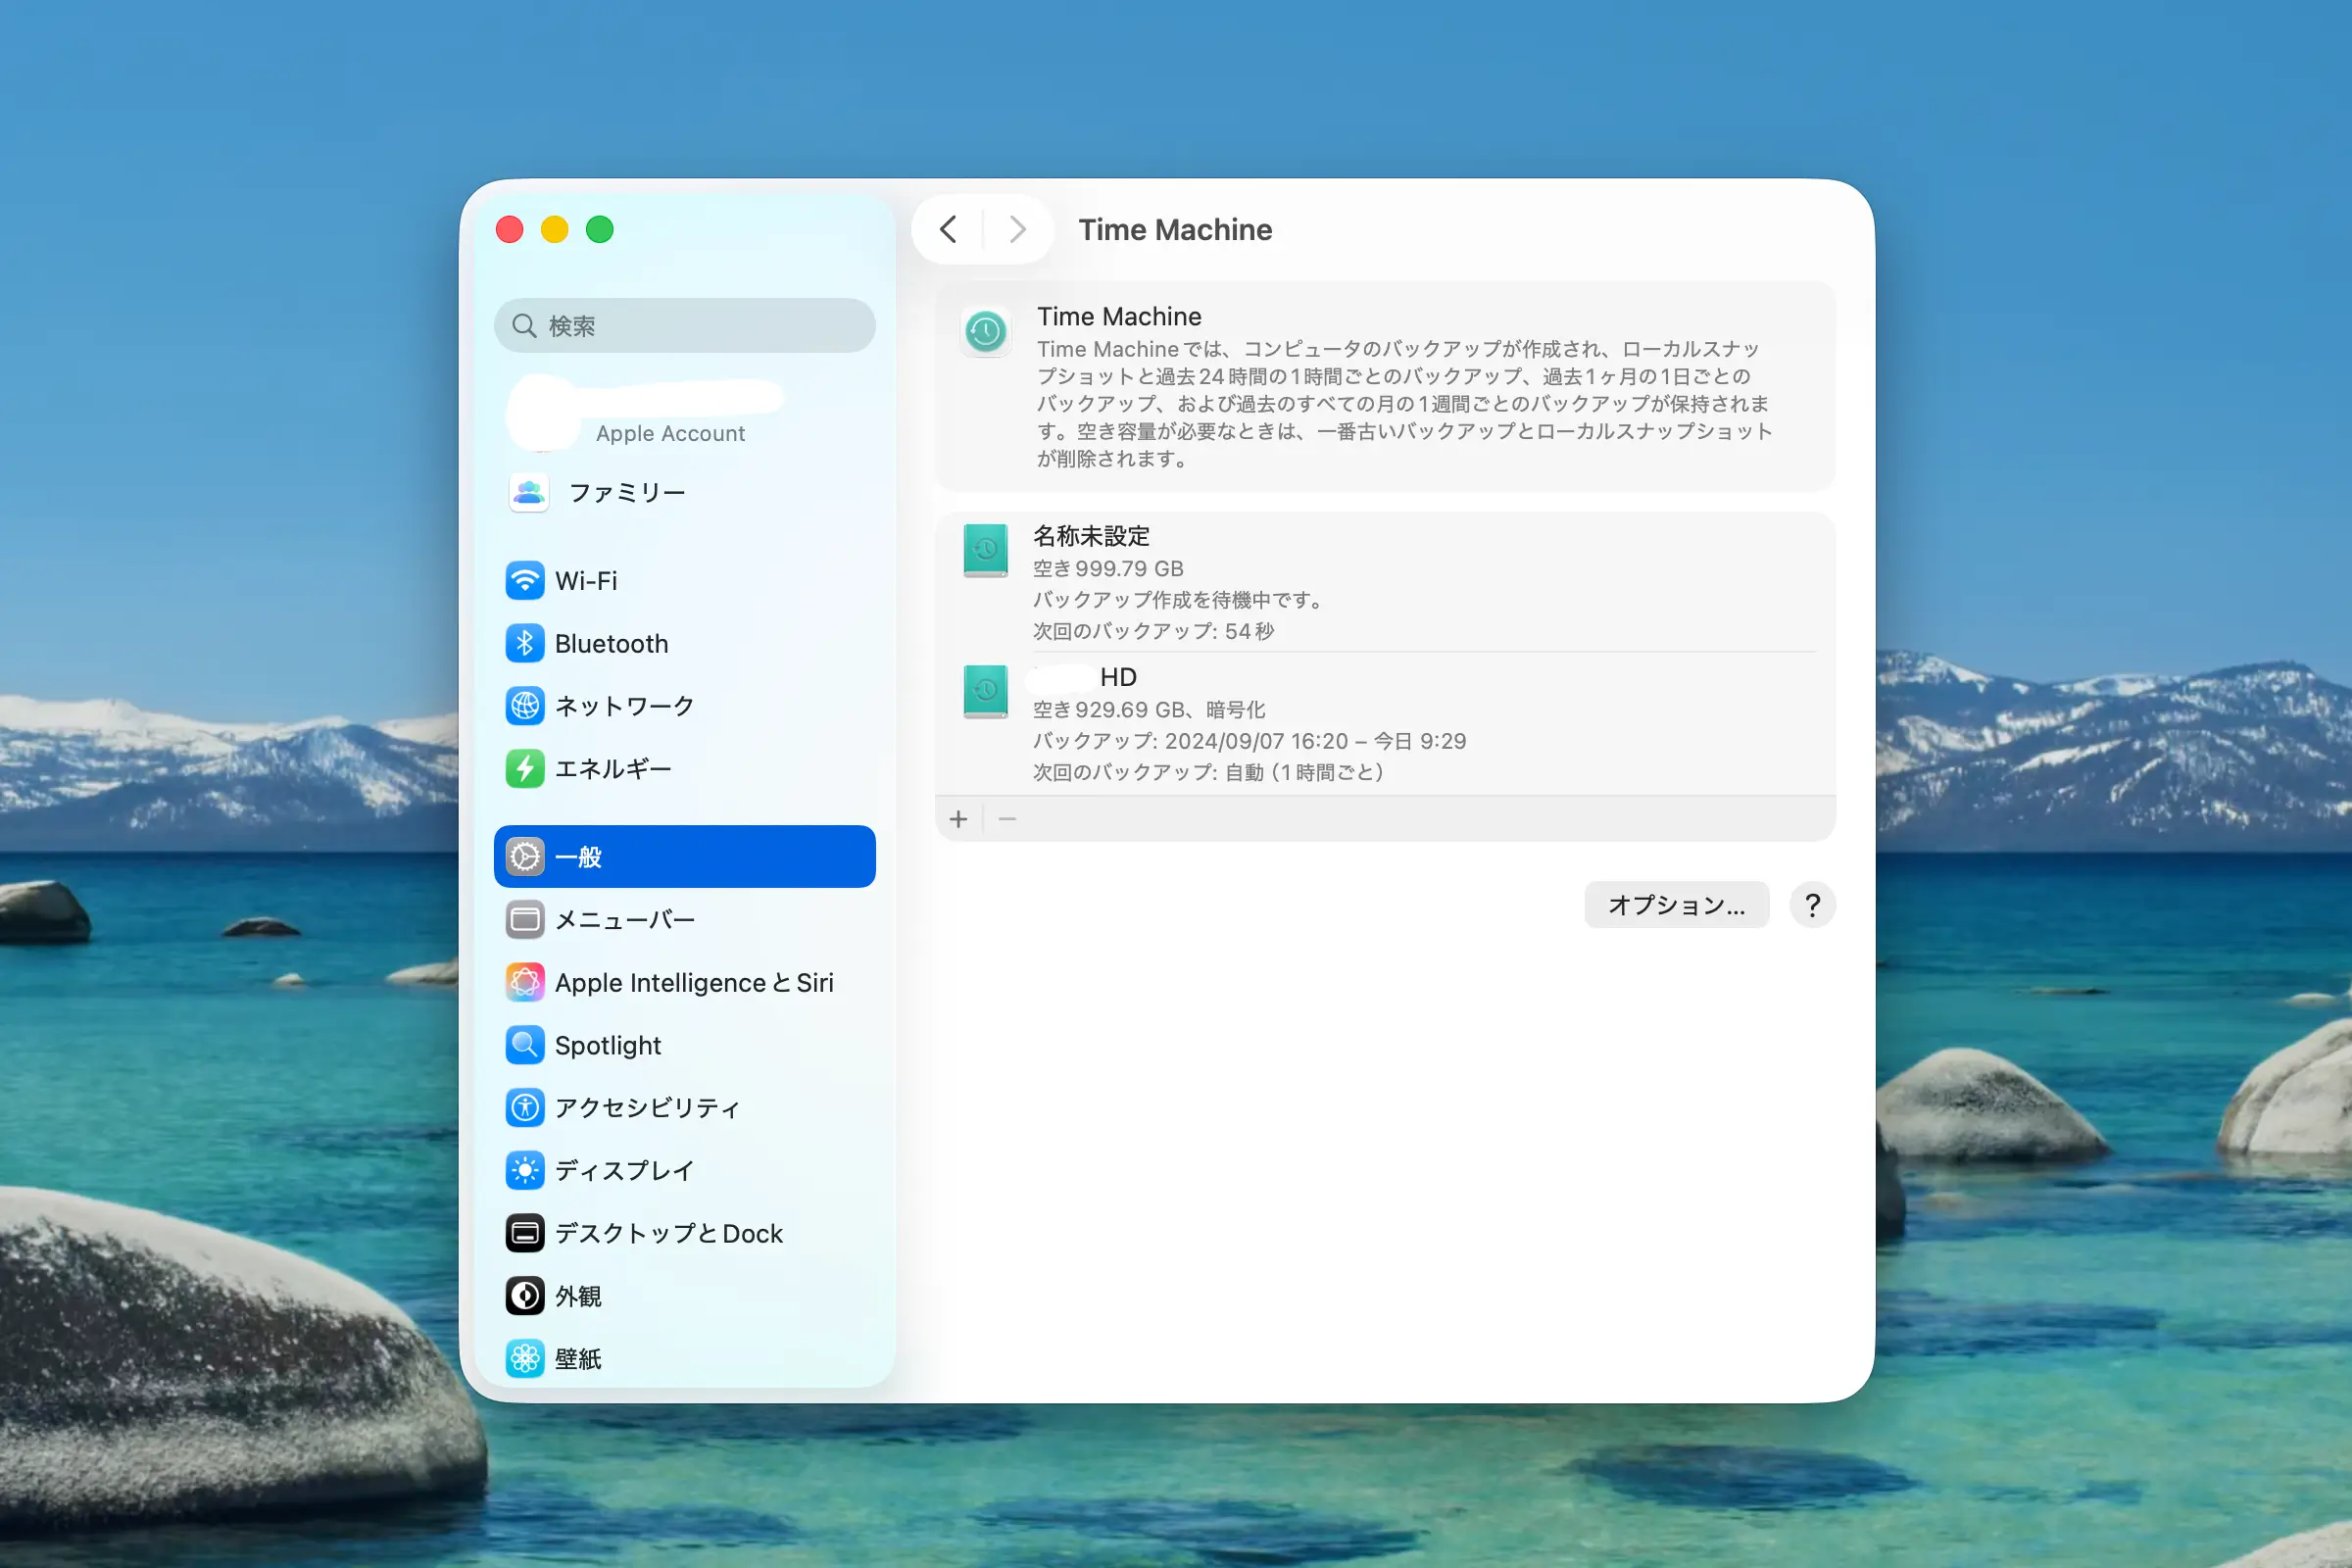
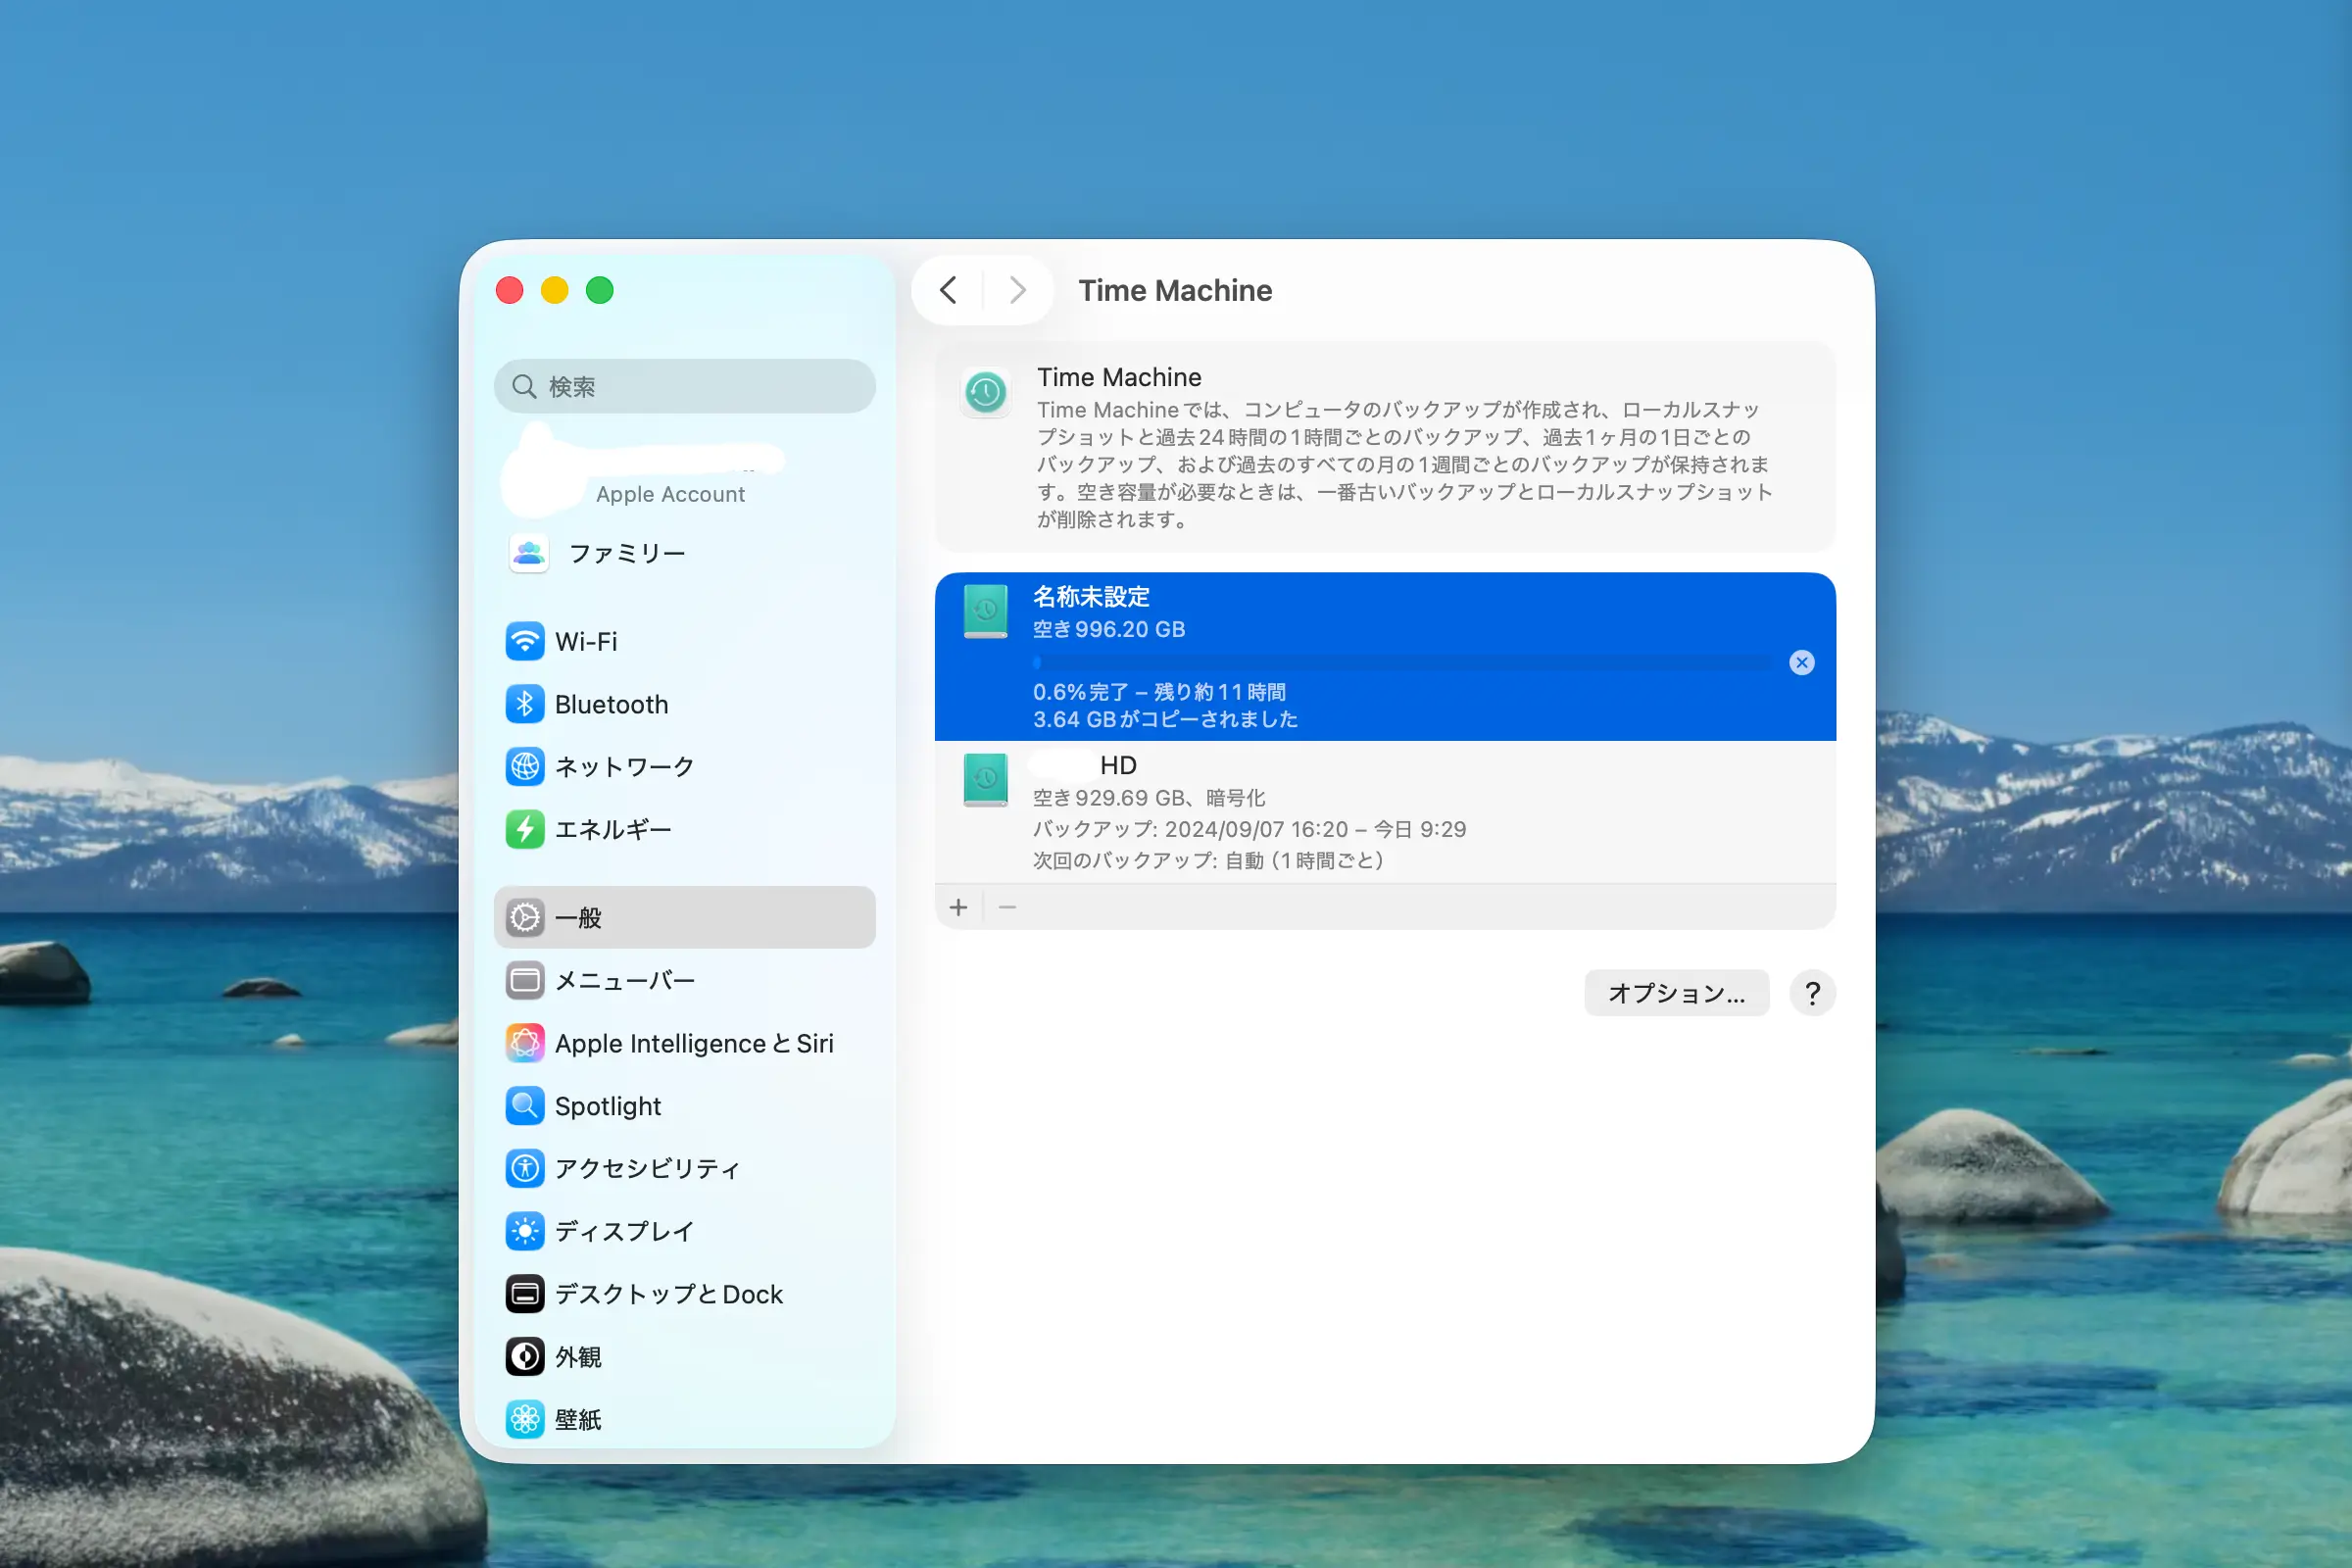
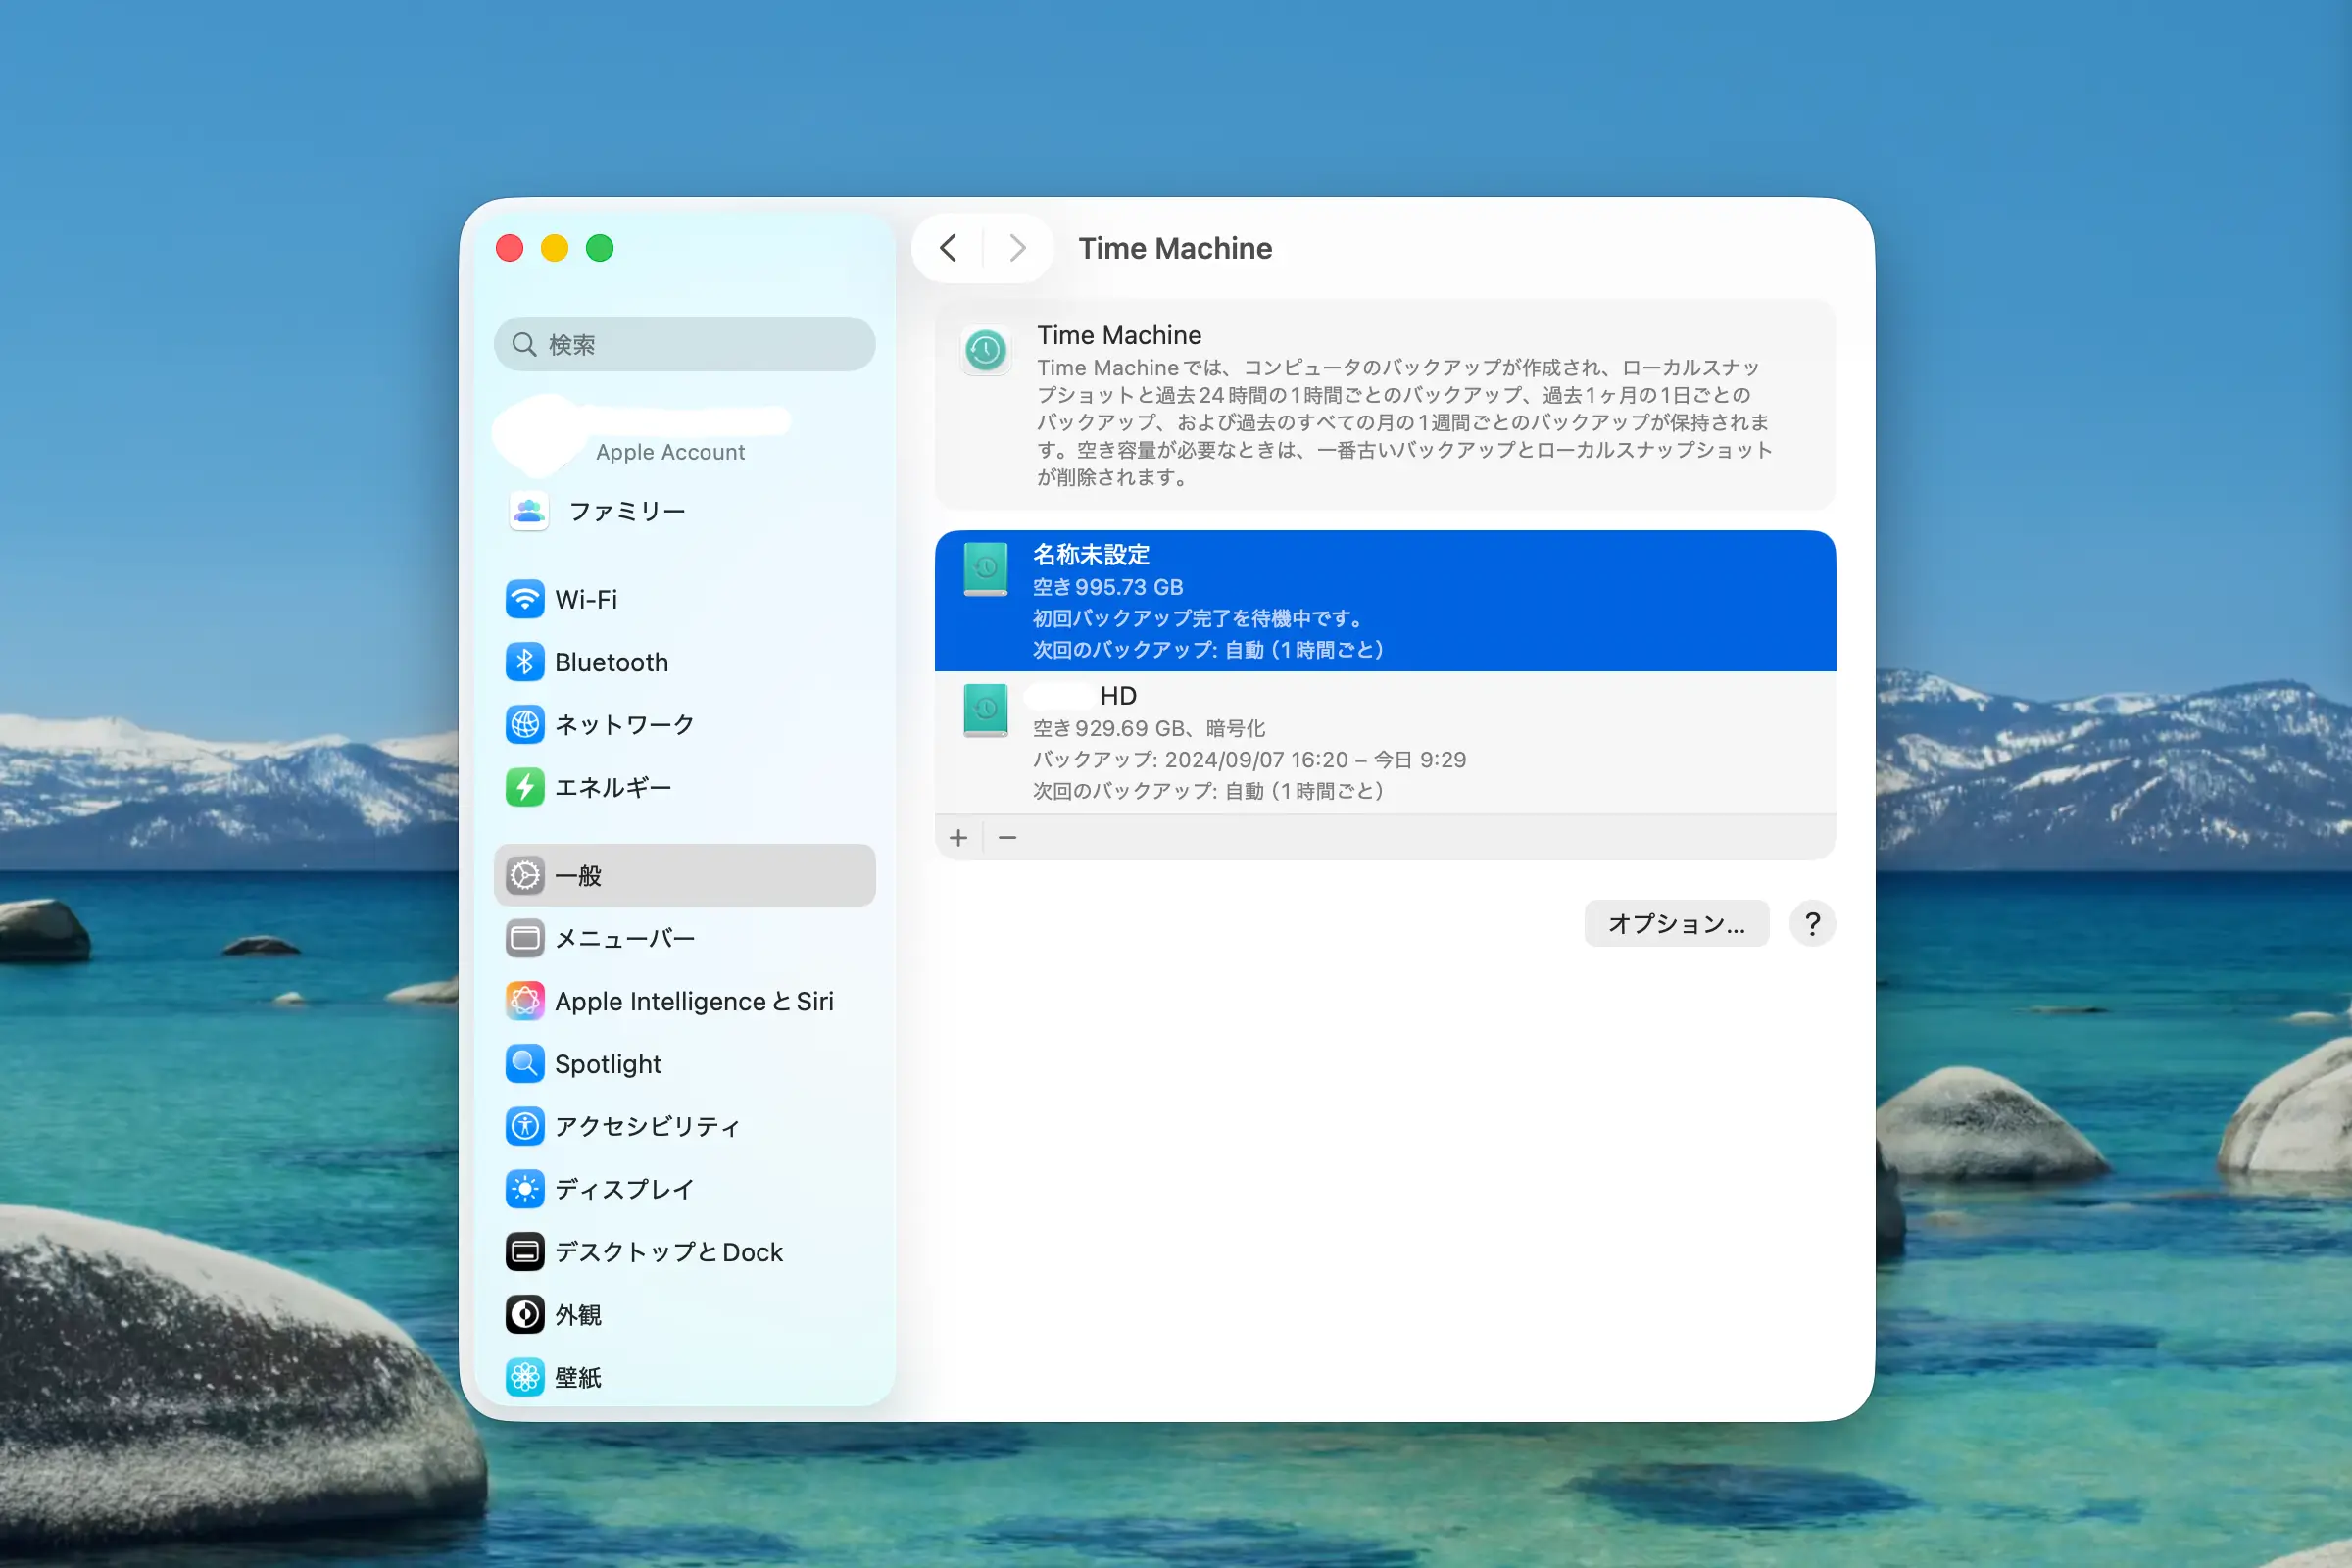
2. Open System Settings and go to the Time Machine section.
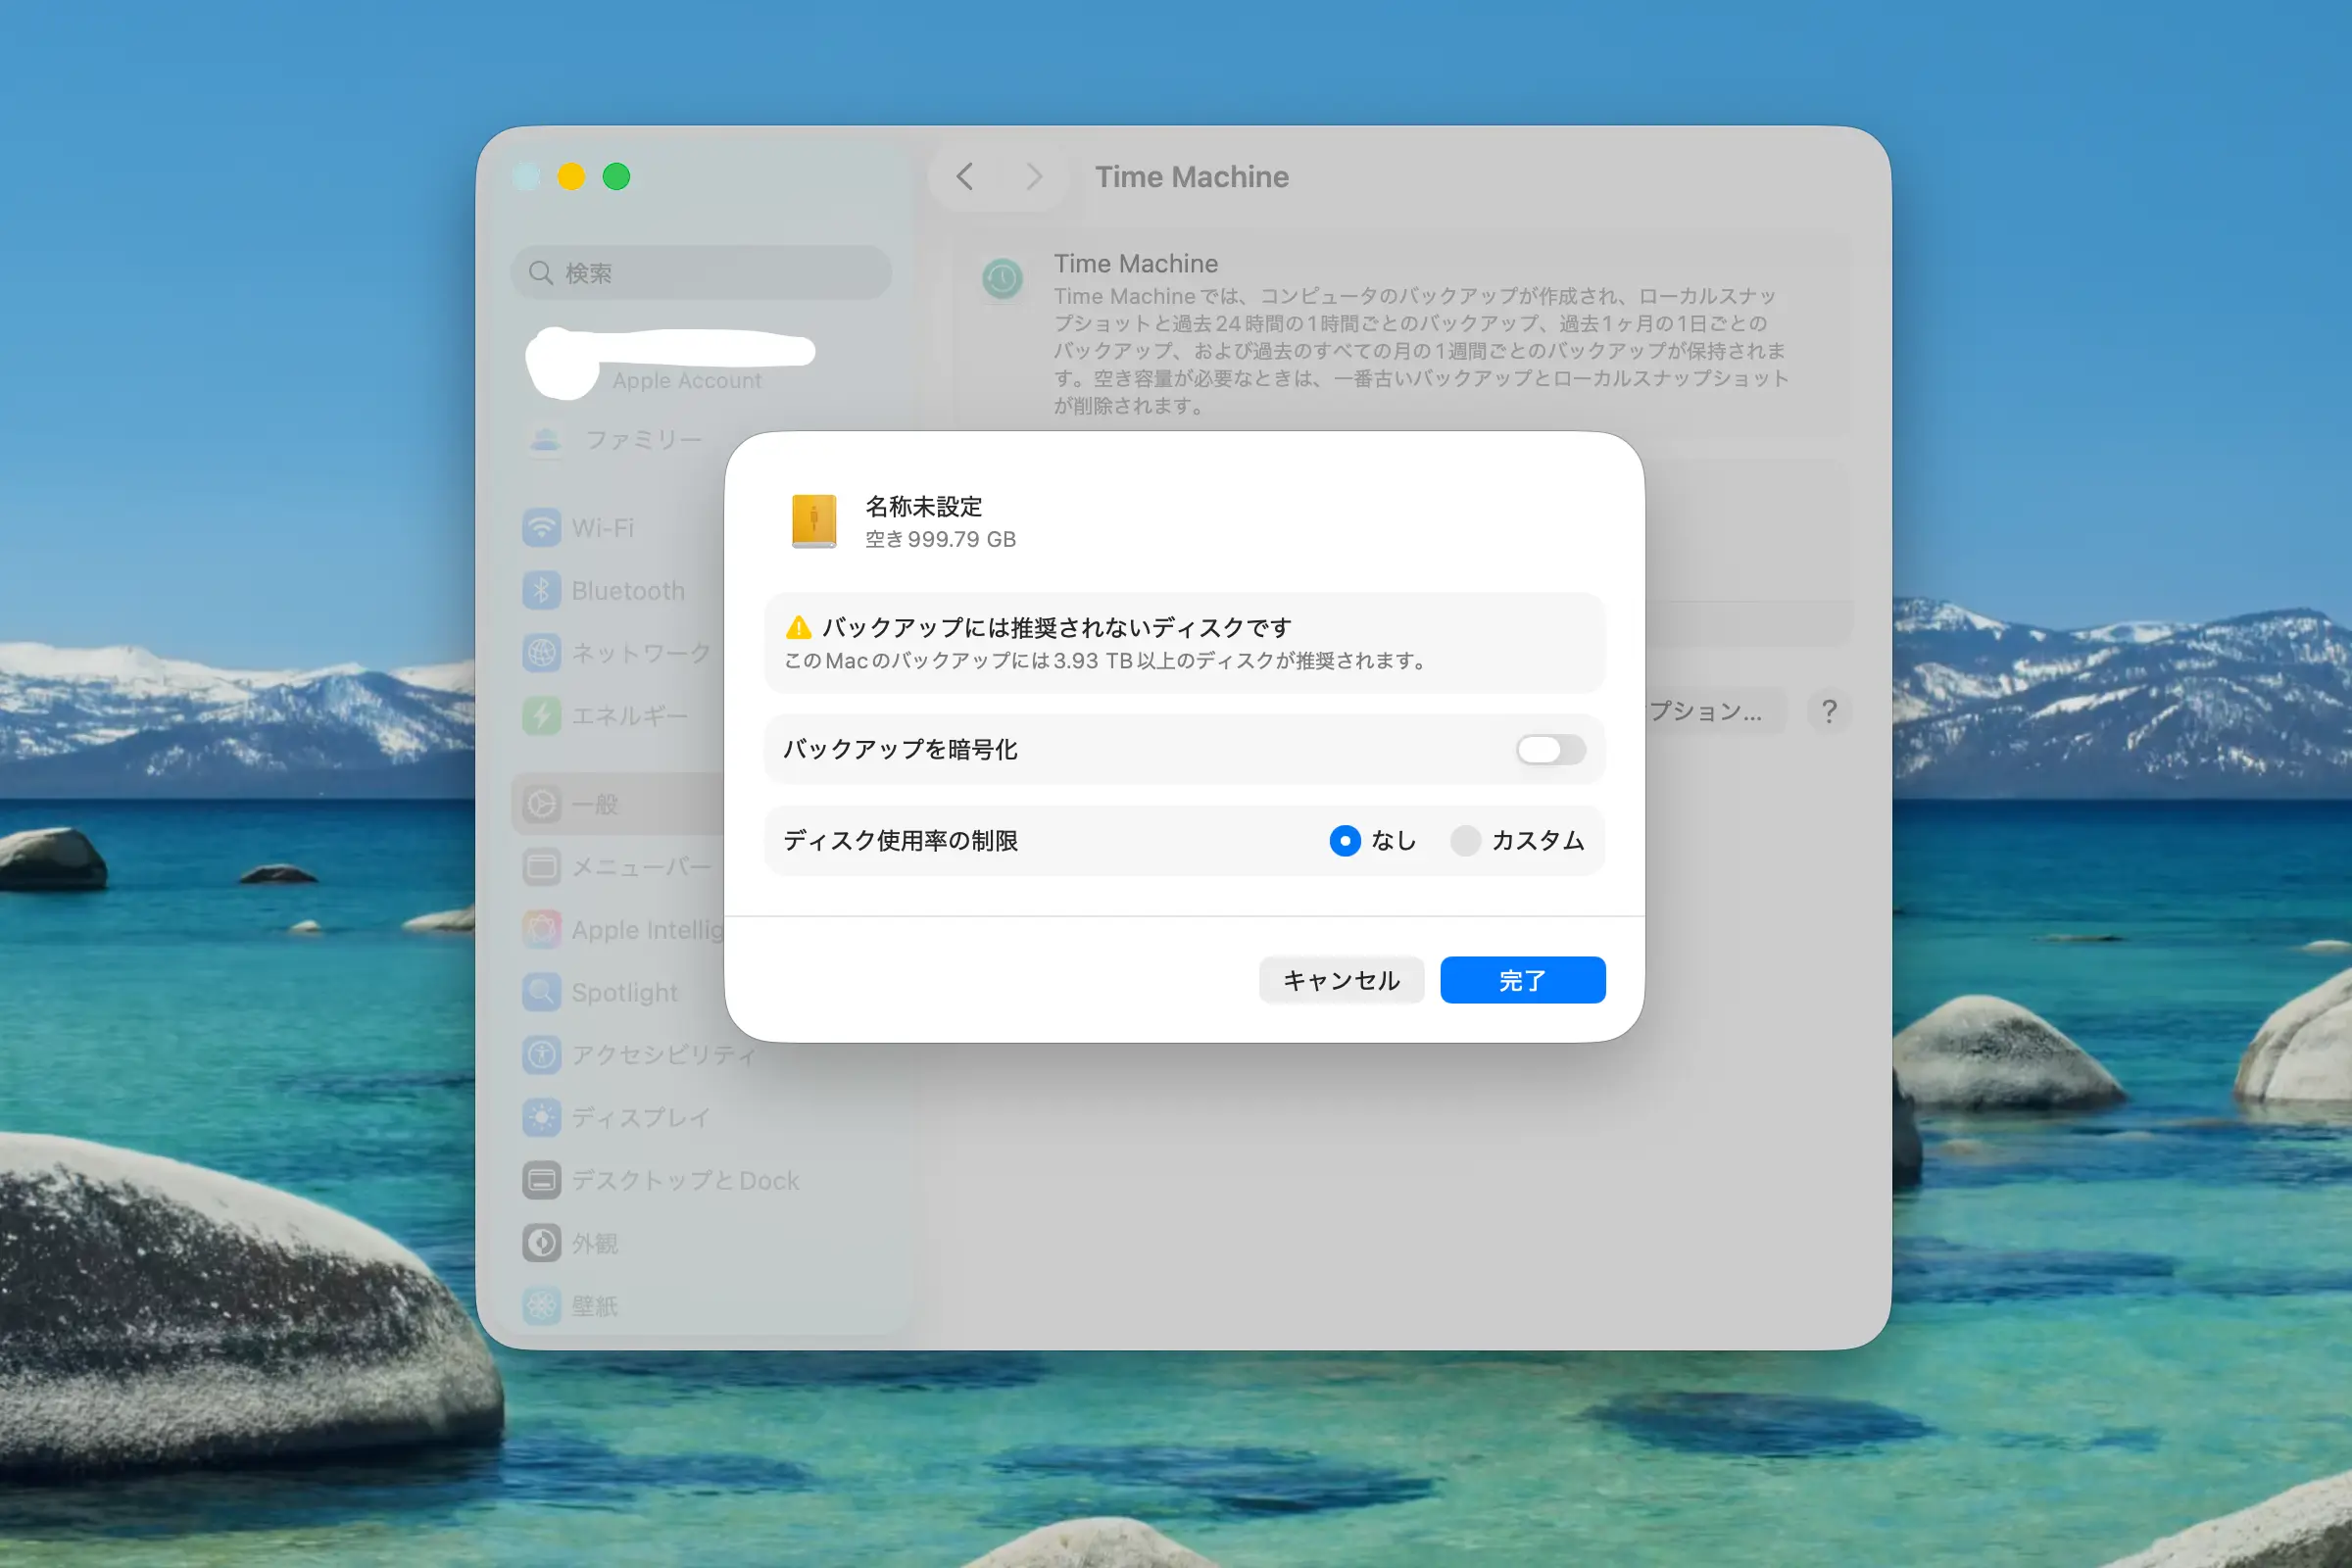
3. Add the connected external drive (e.g., "Untitled") to Time Machine.
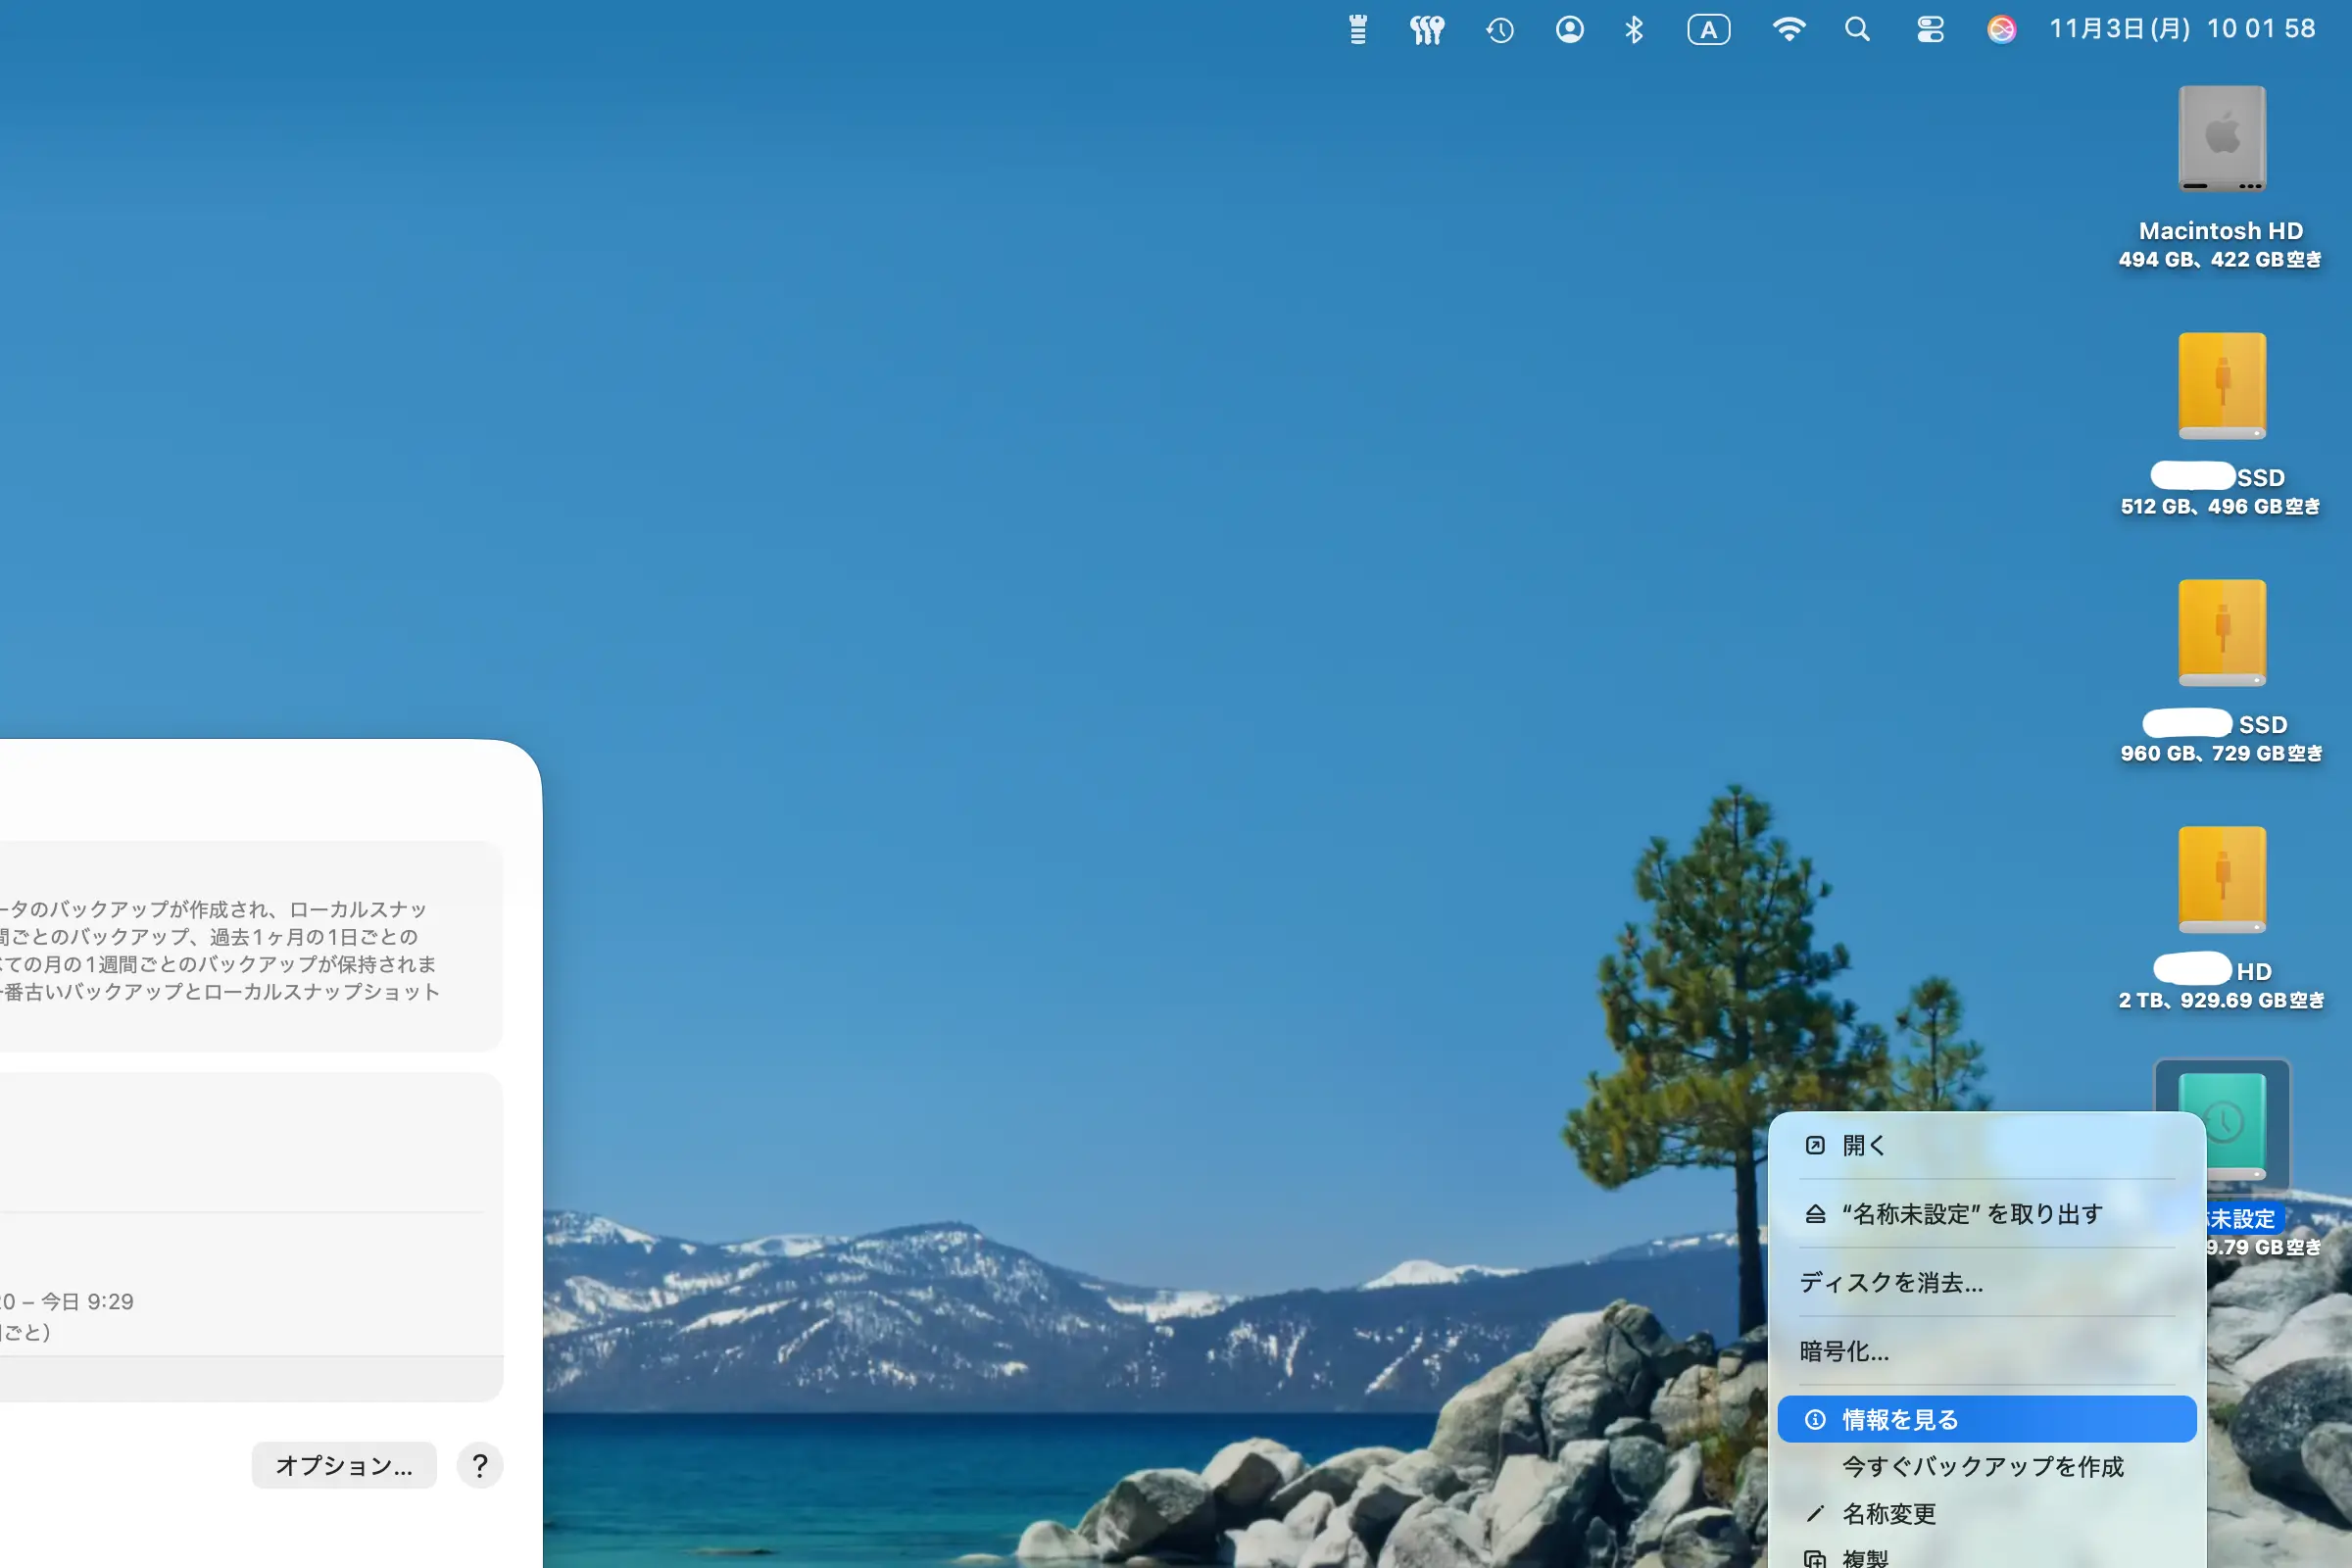
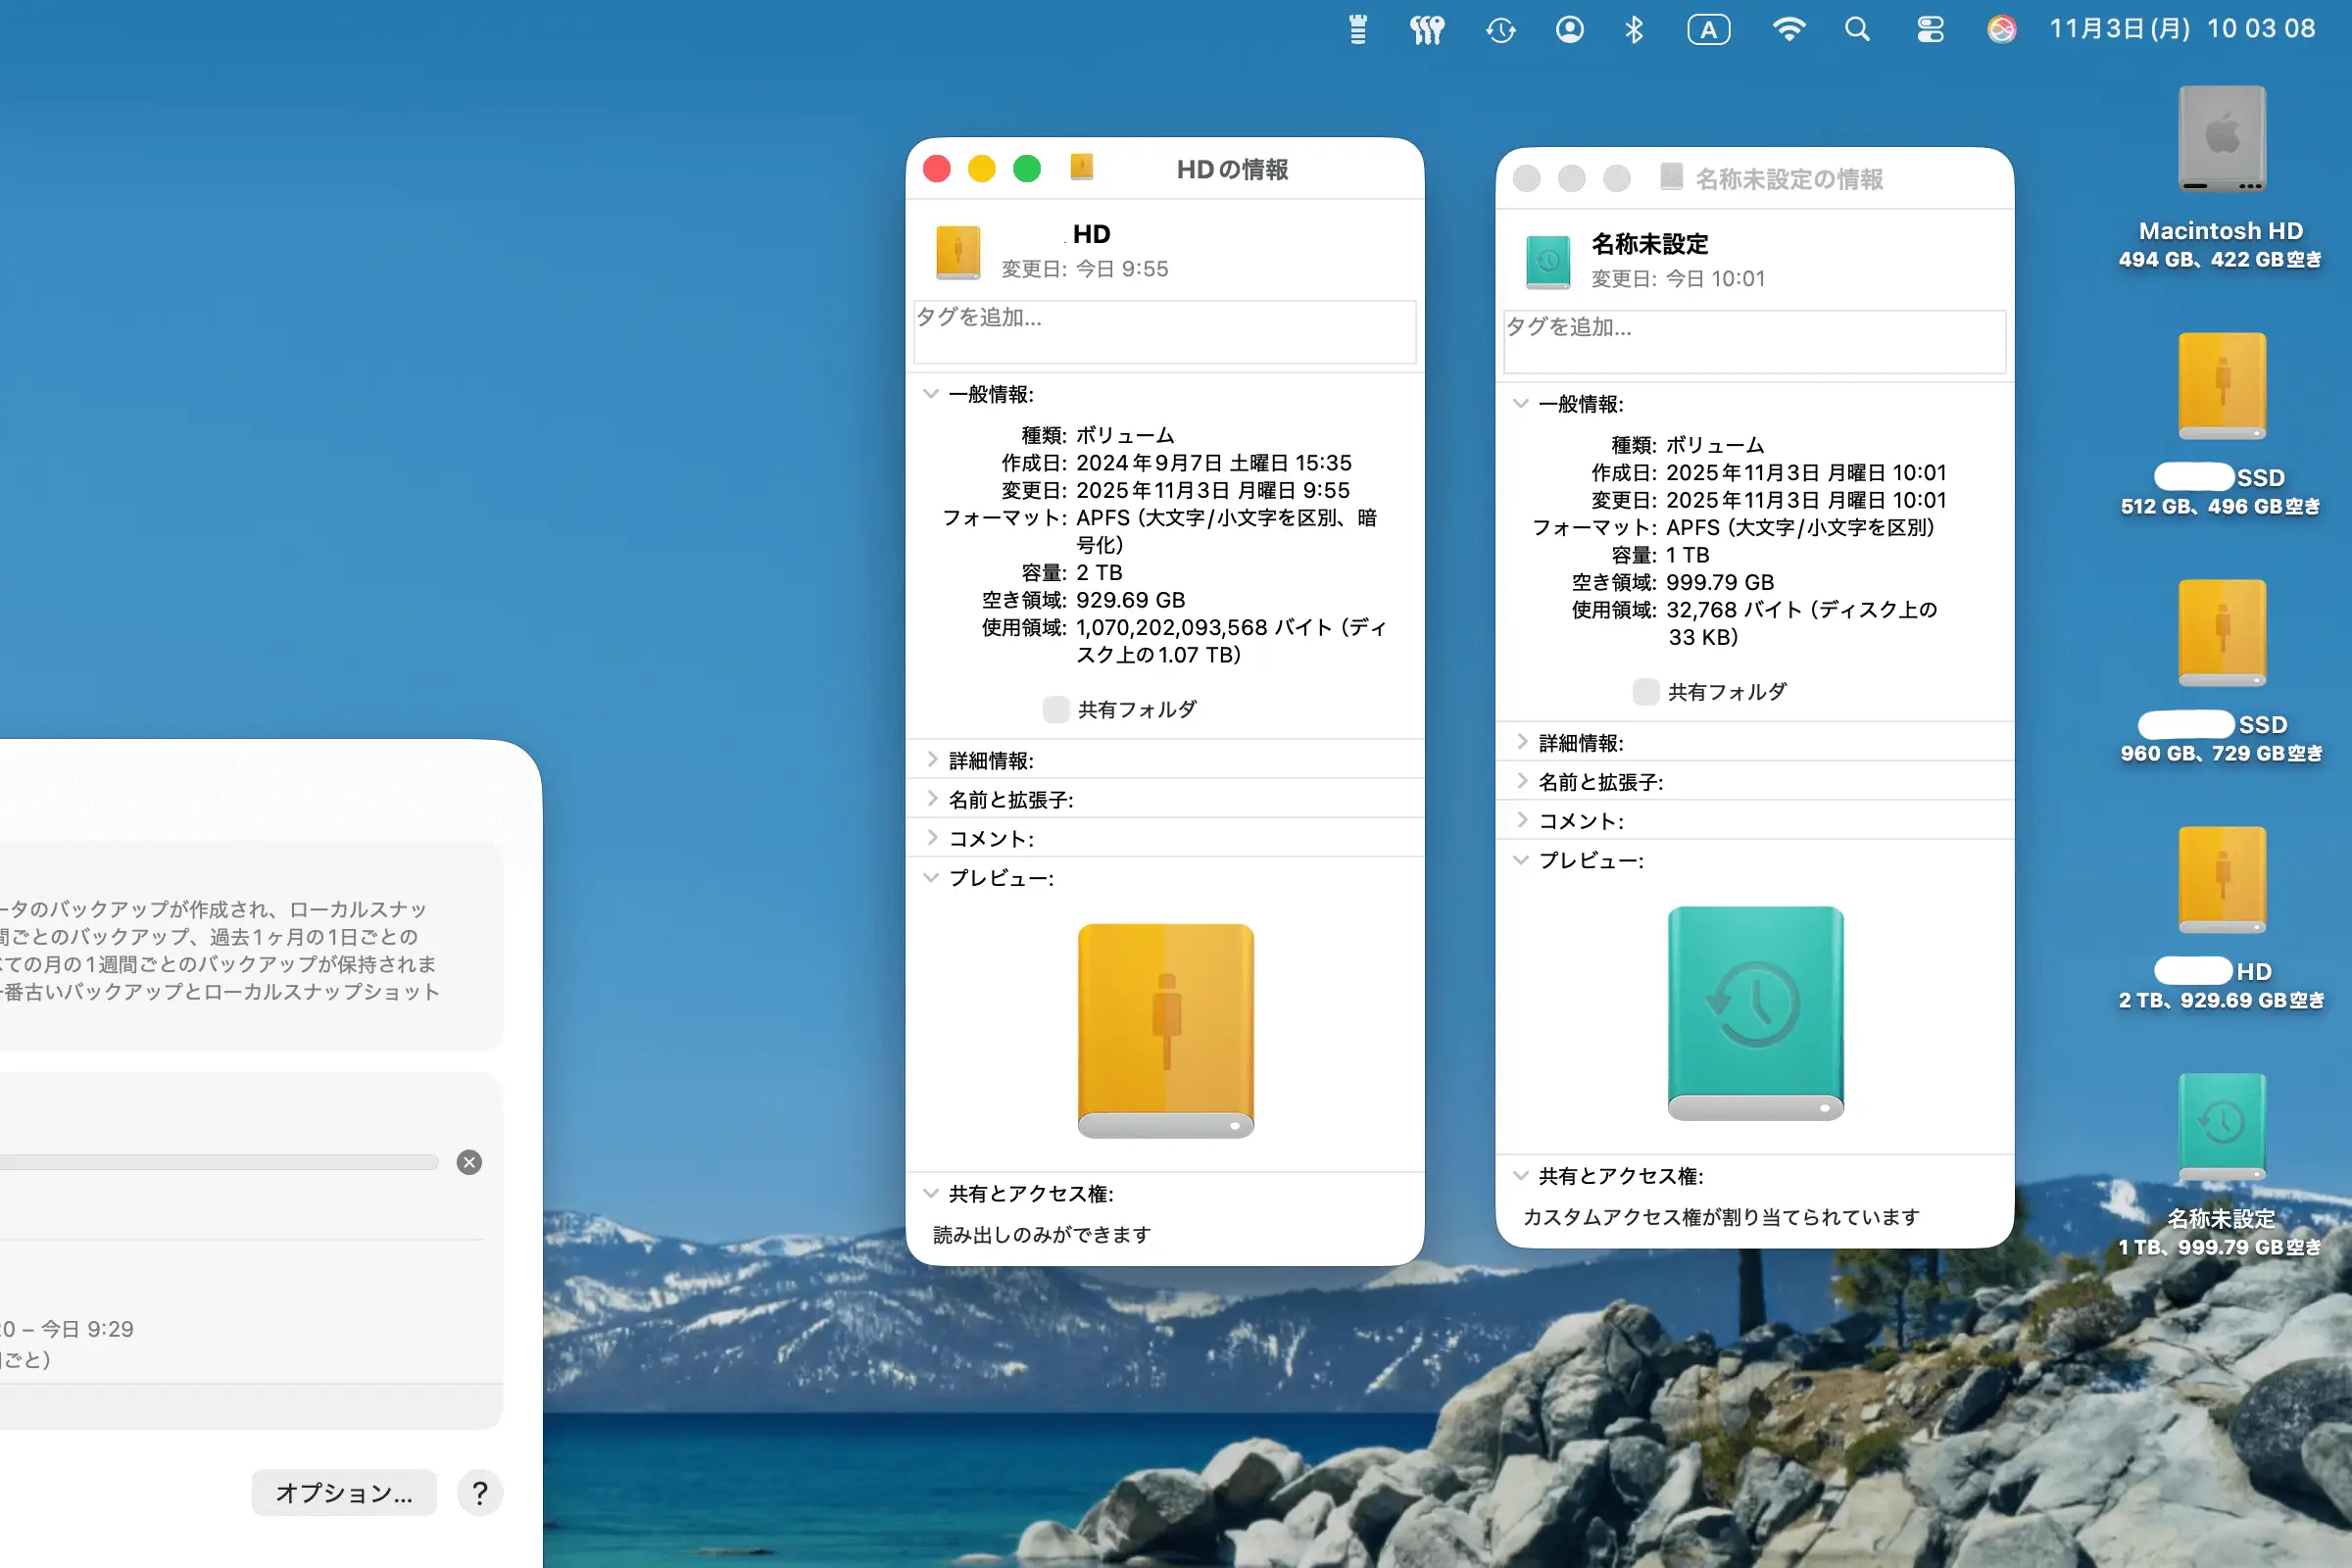
This will automatically change the icon of the "Untitled" external drive to the green Time Machine icon!
Step 2: Copy the Icon
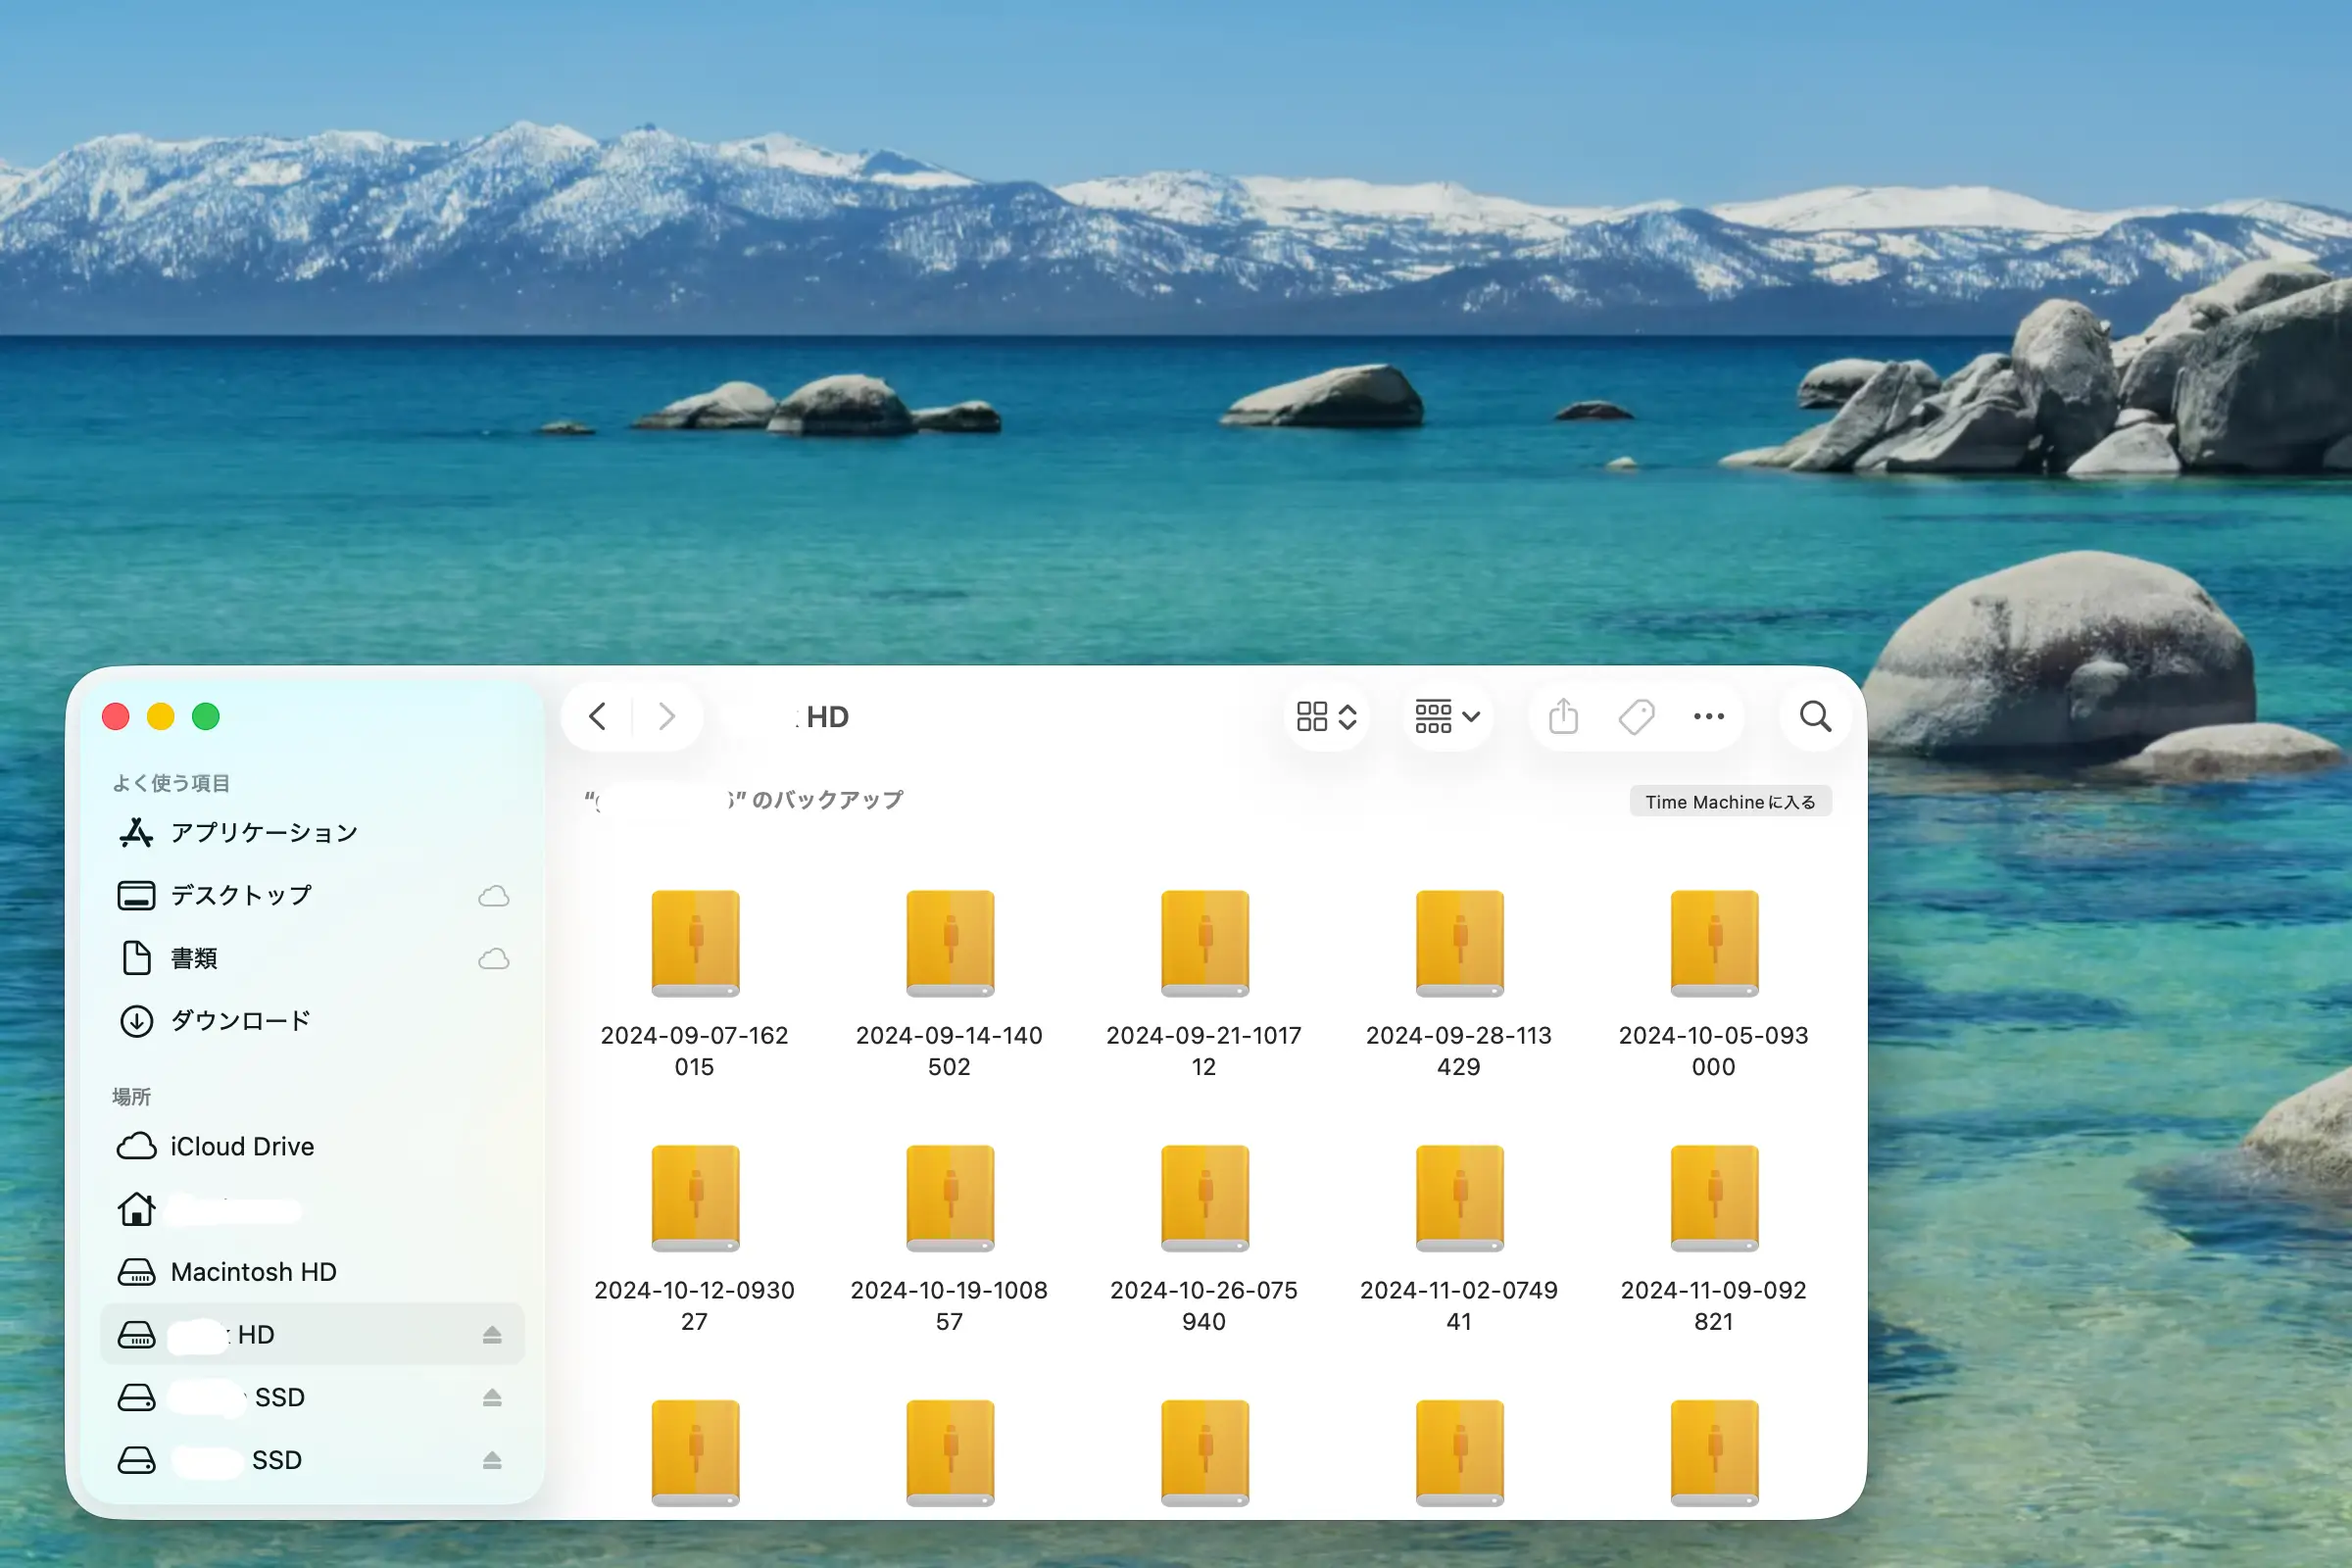
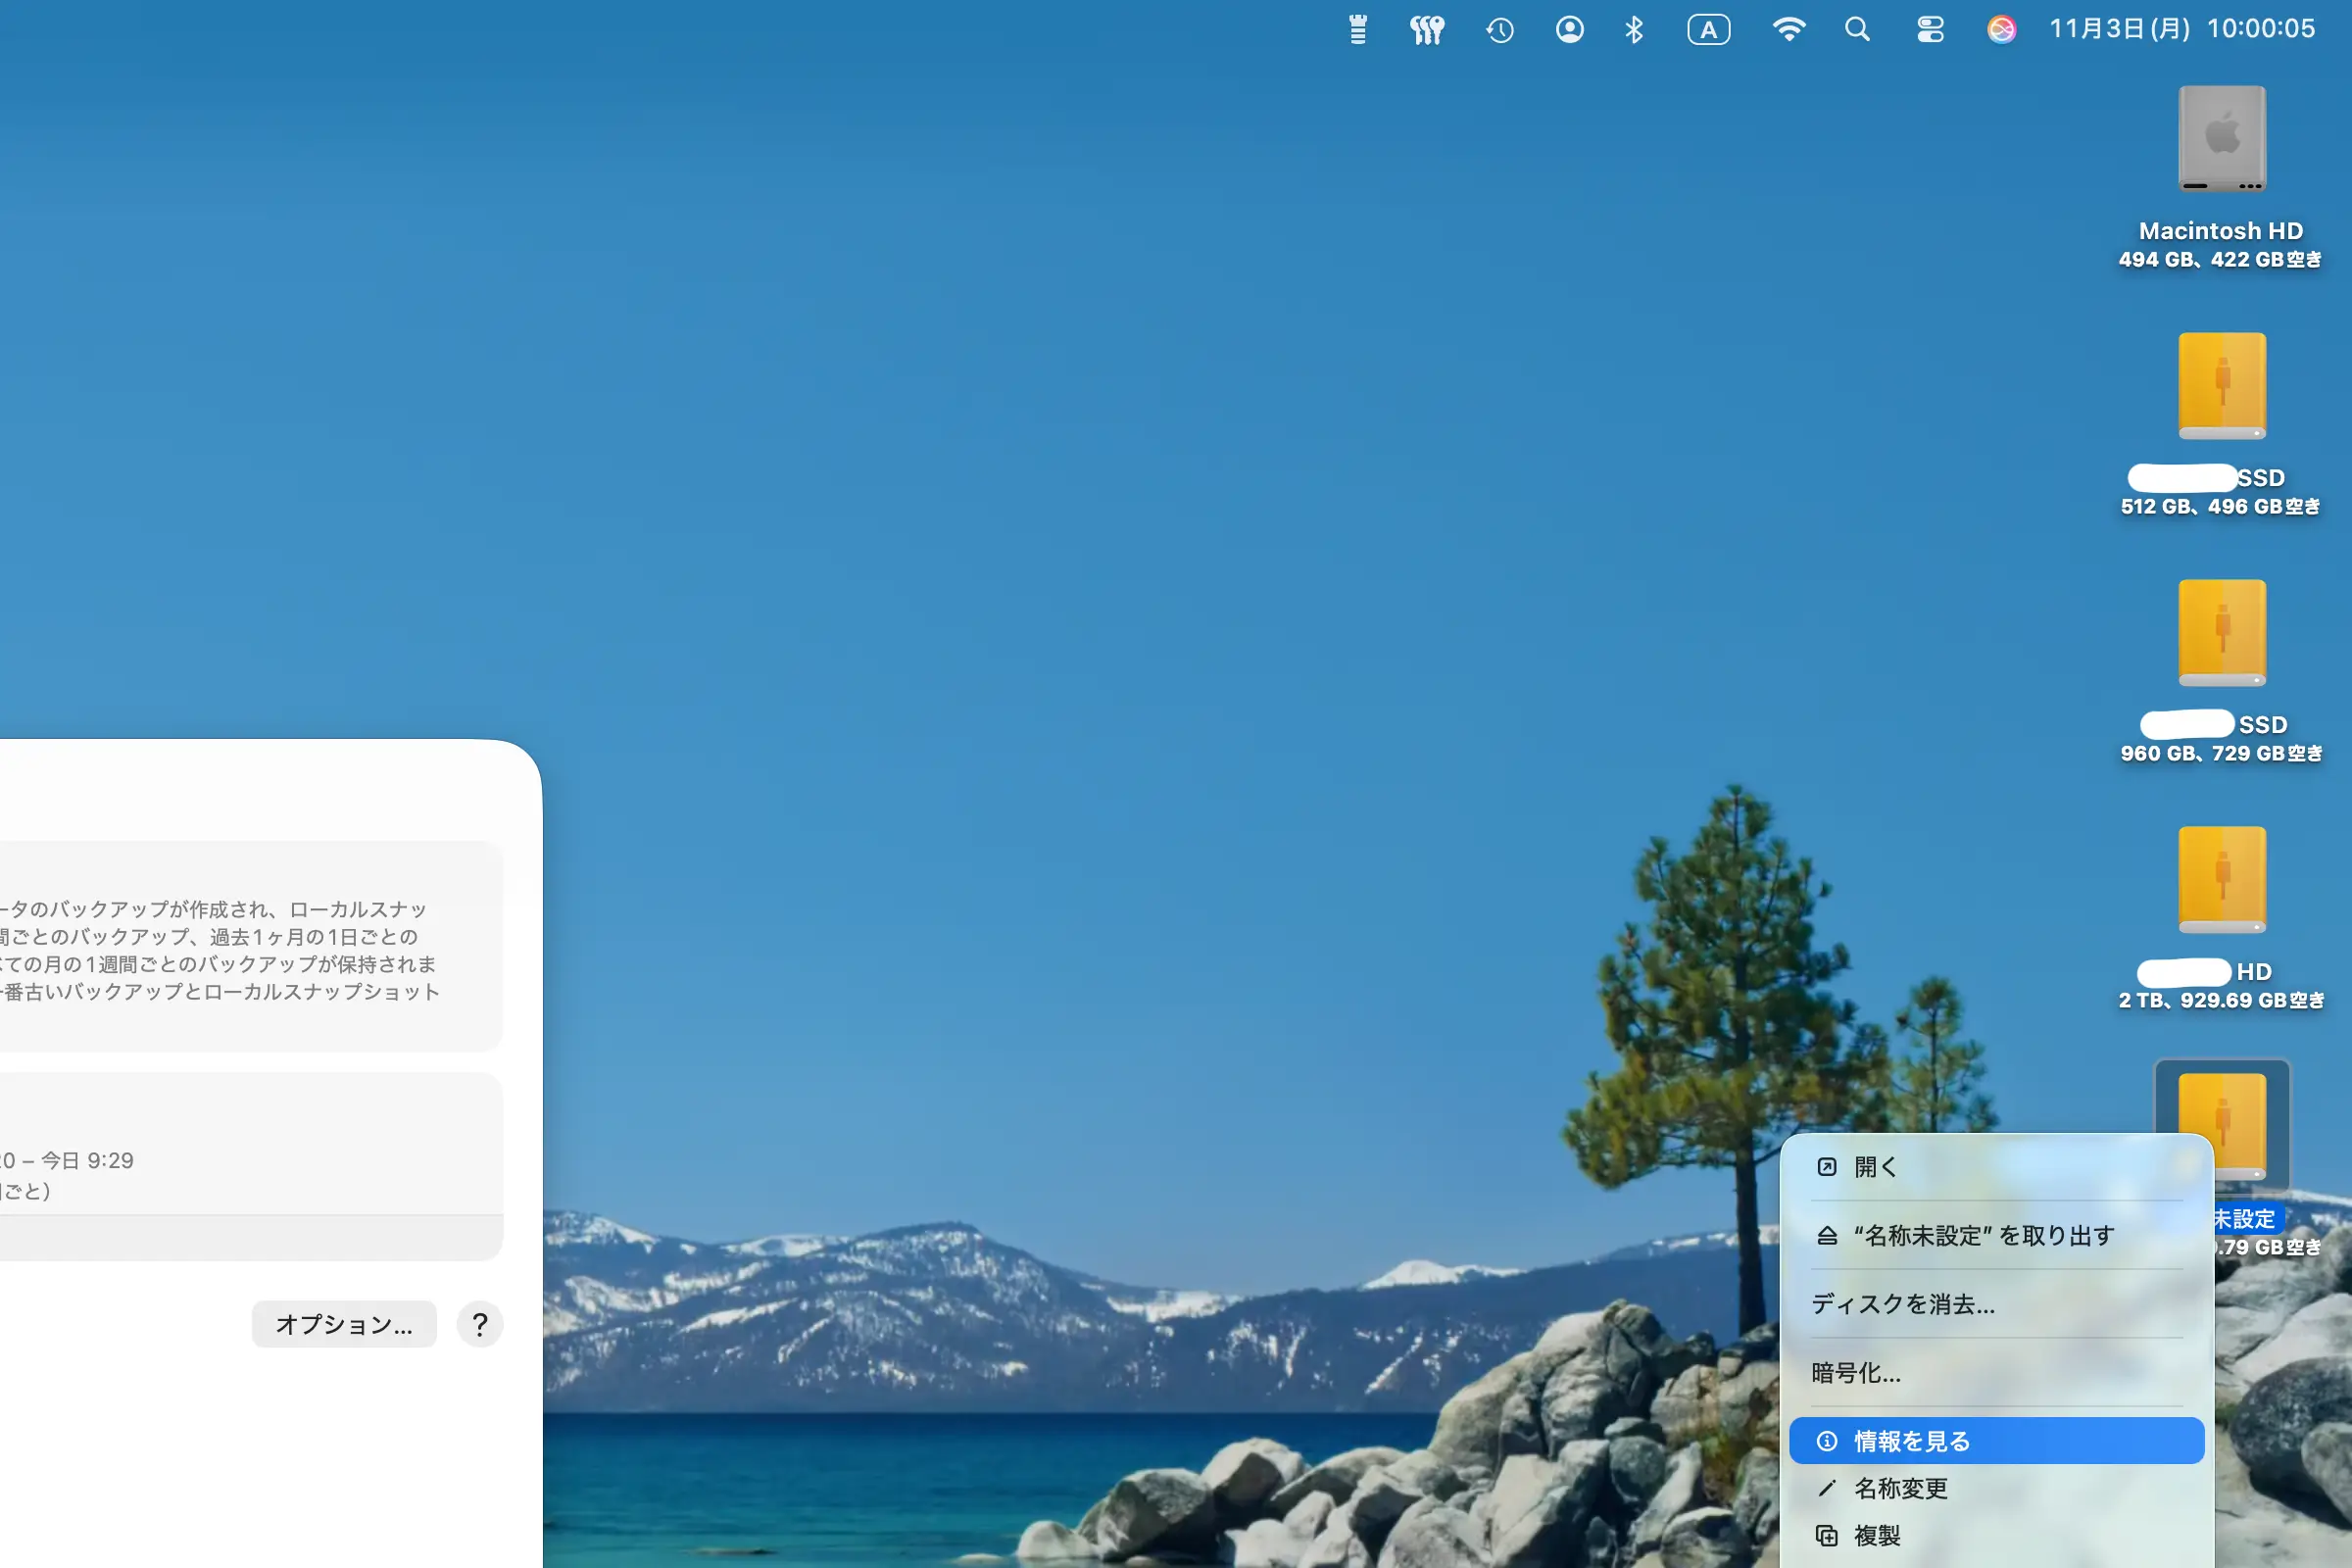
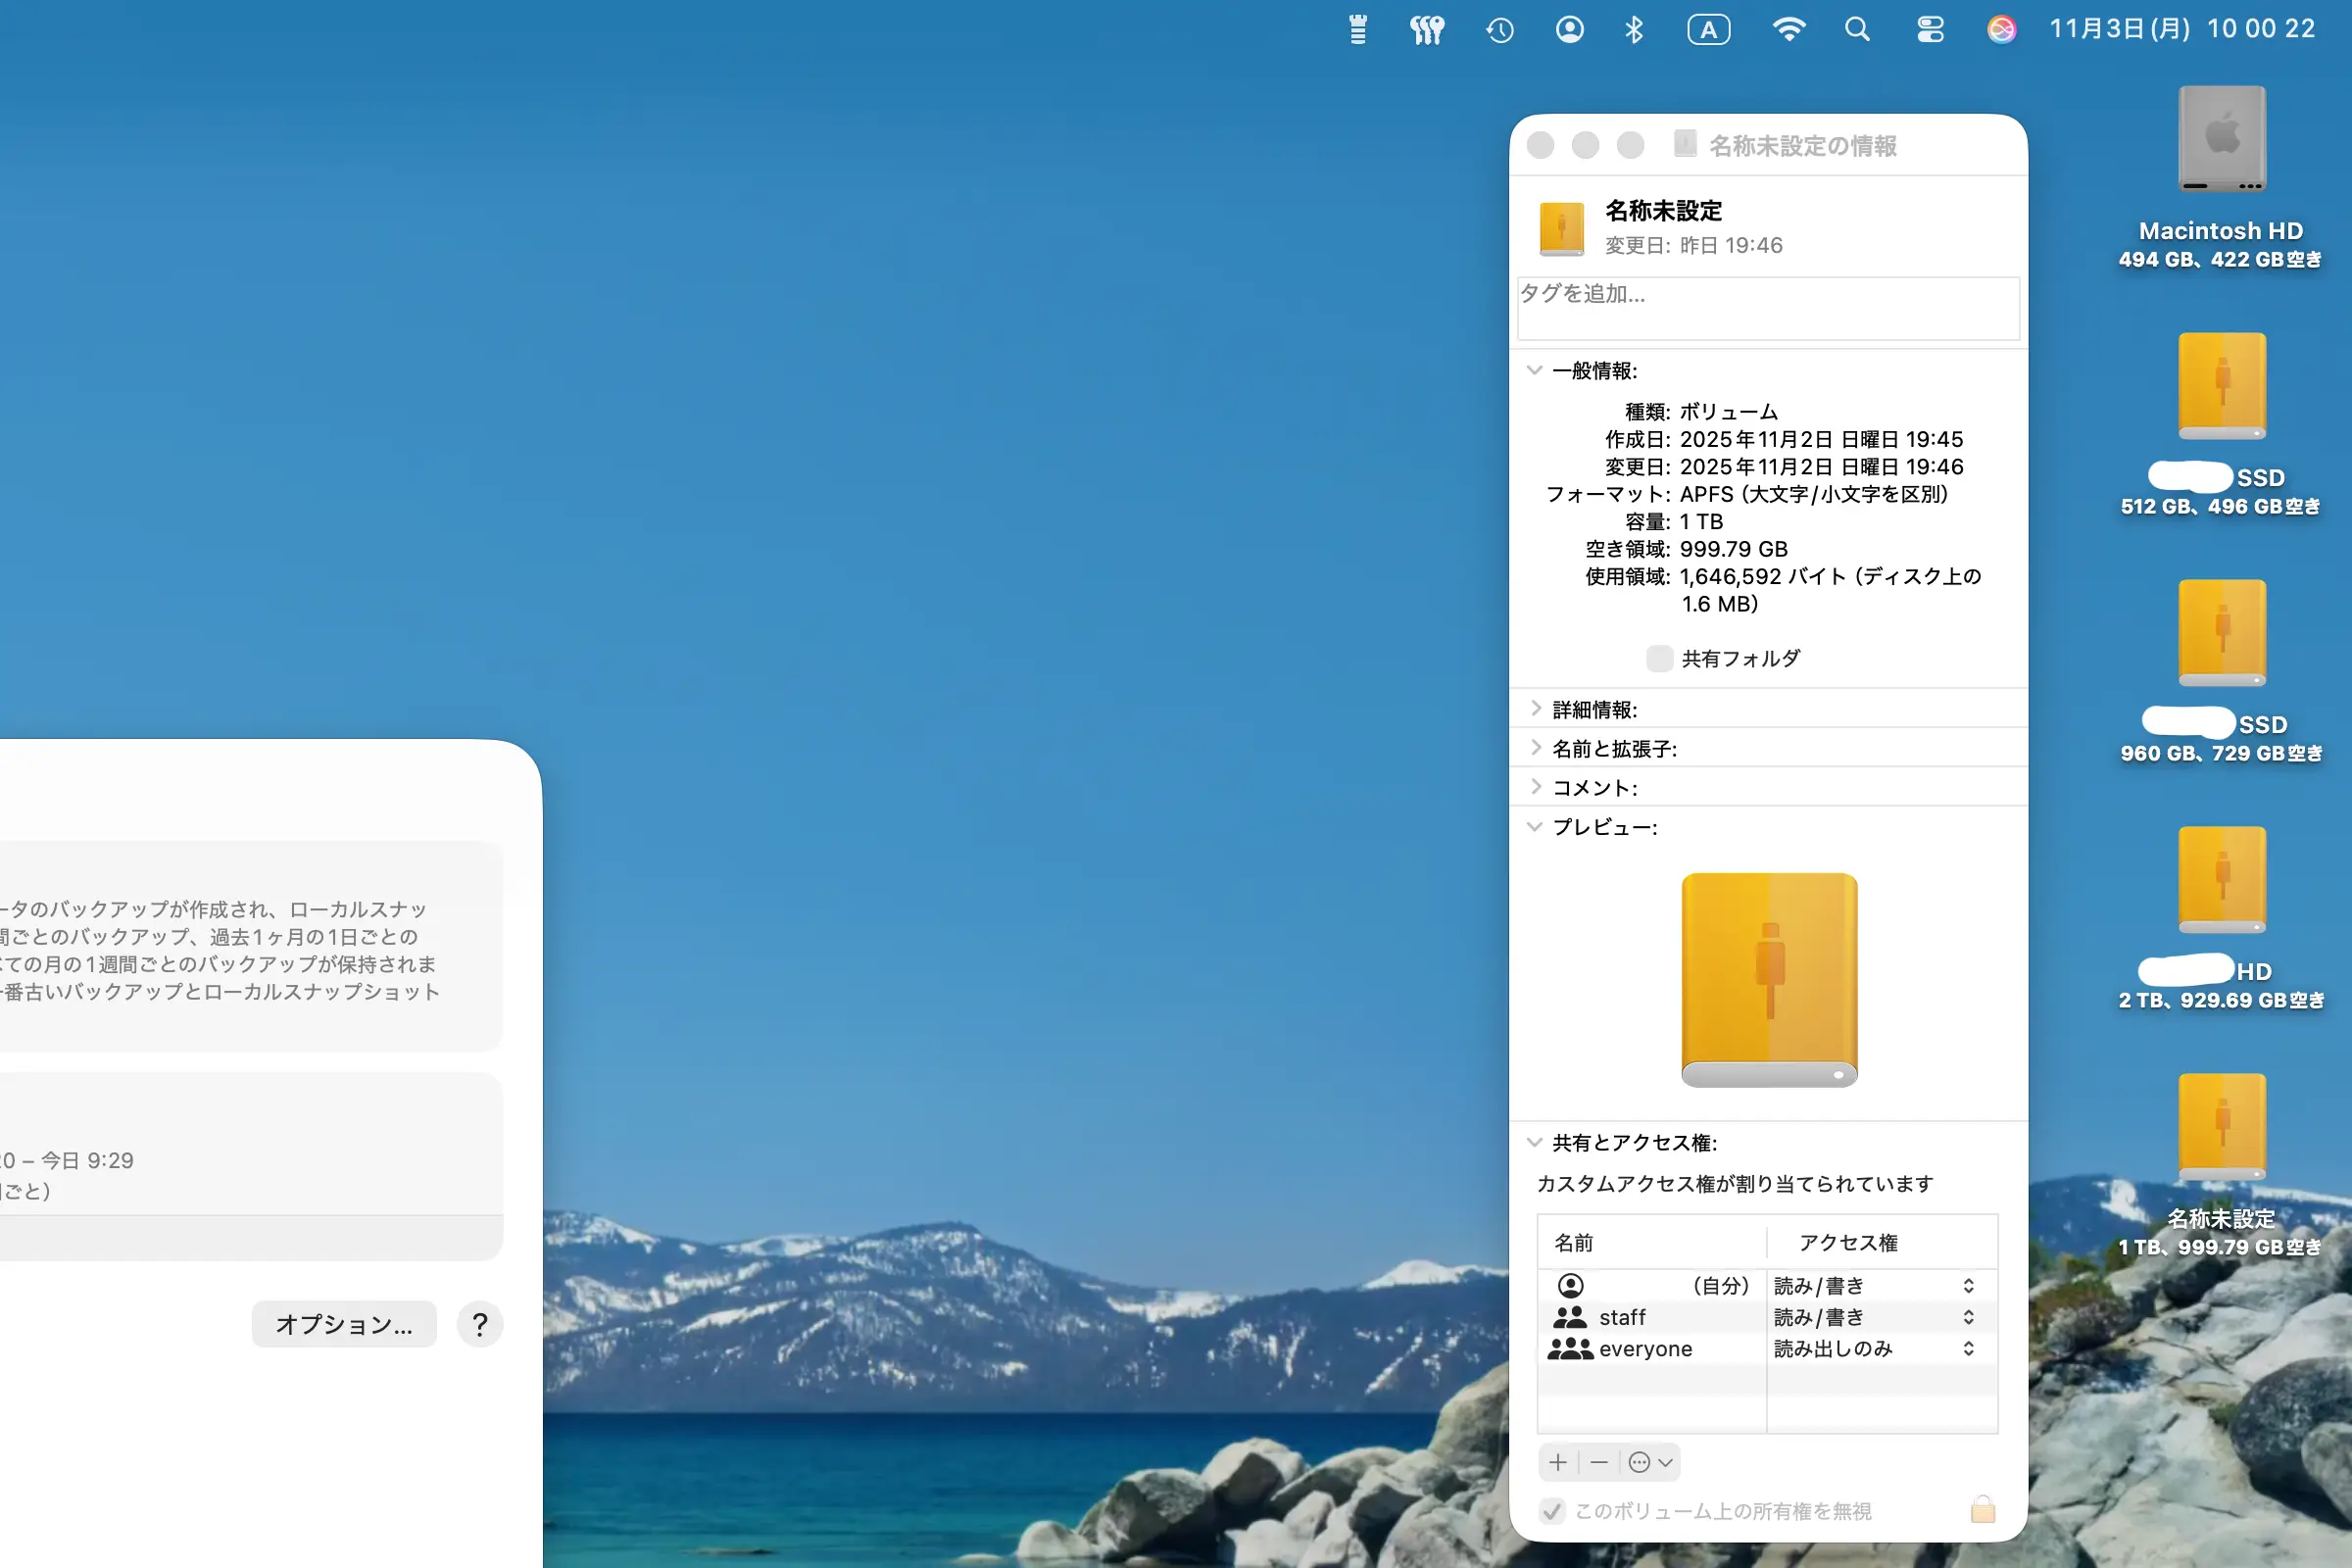
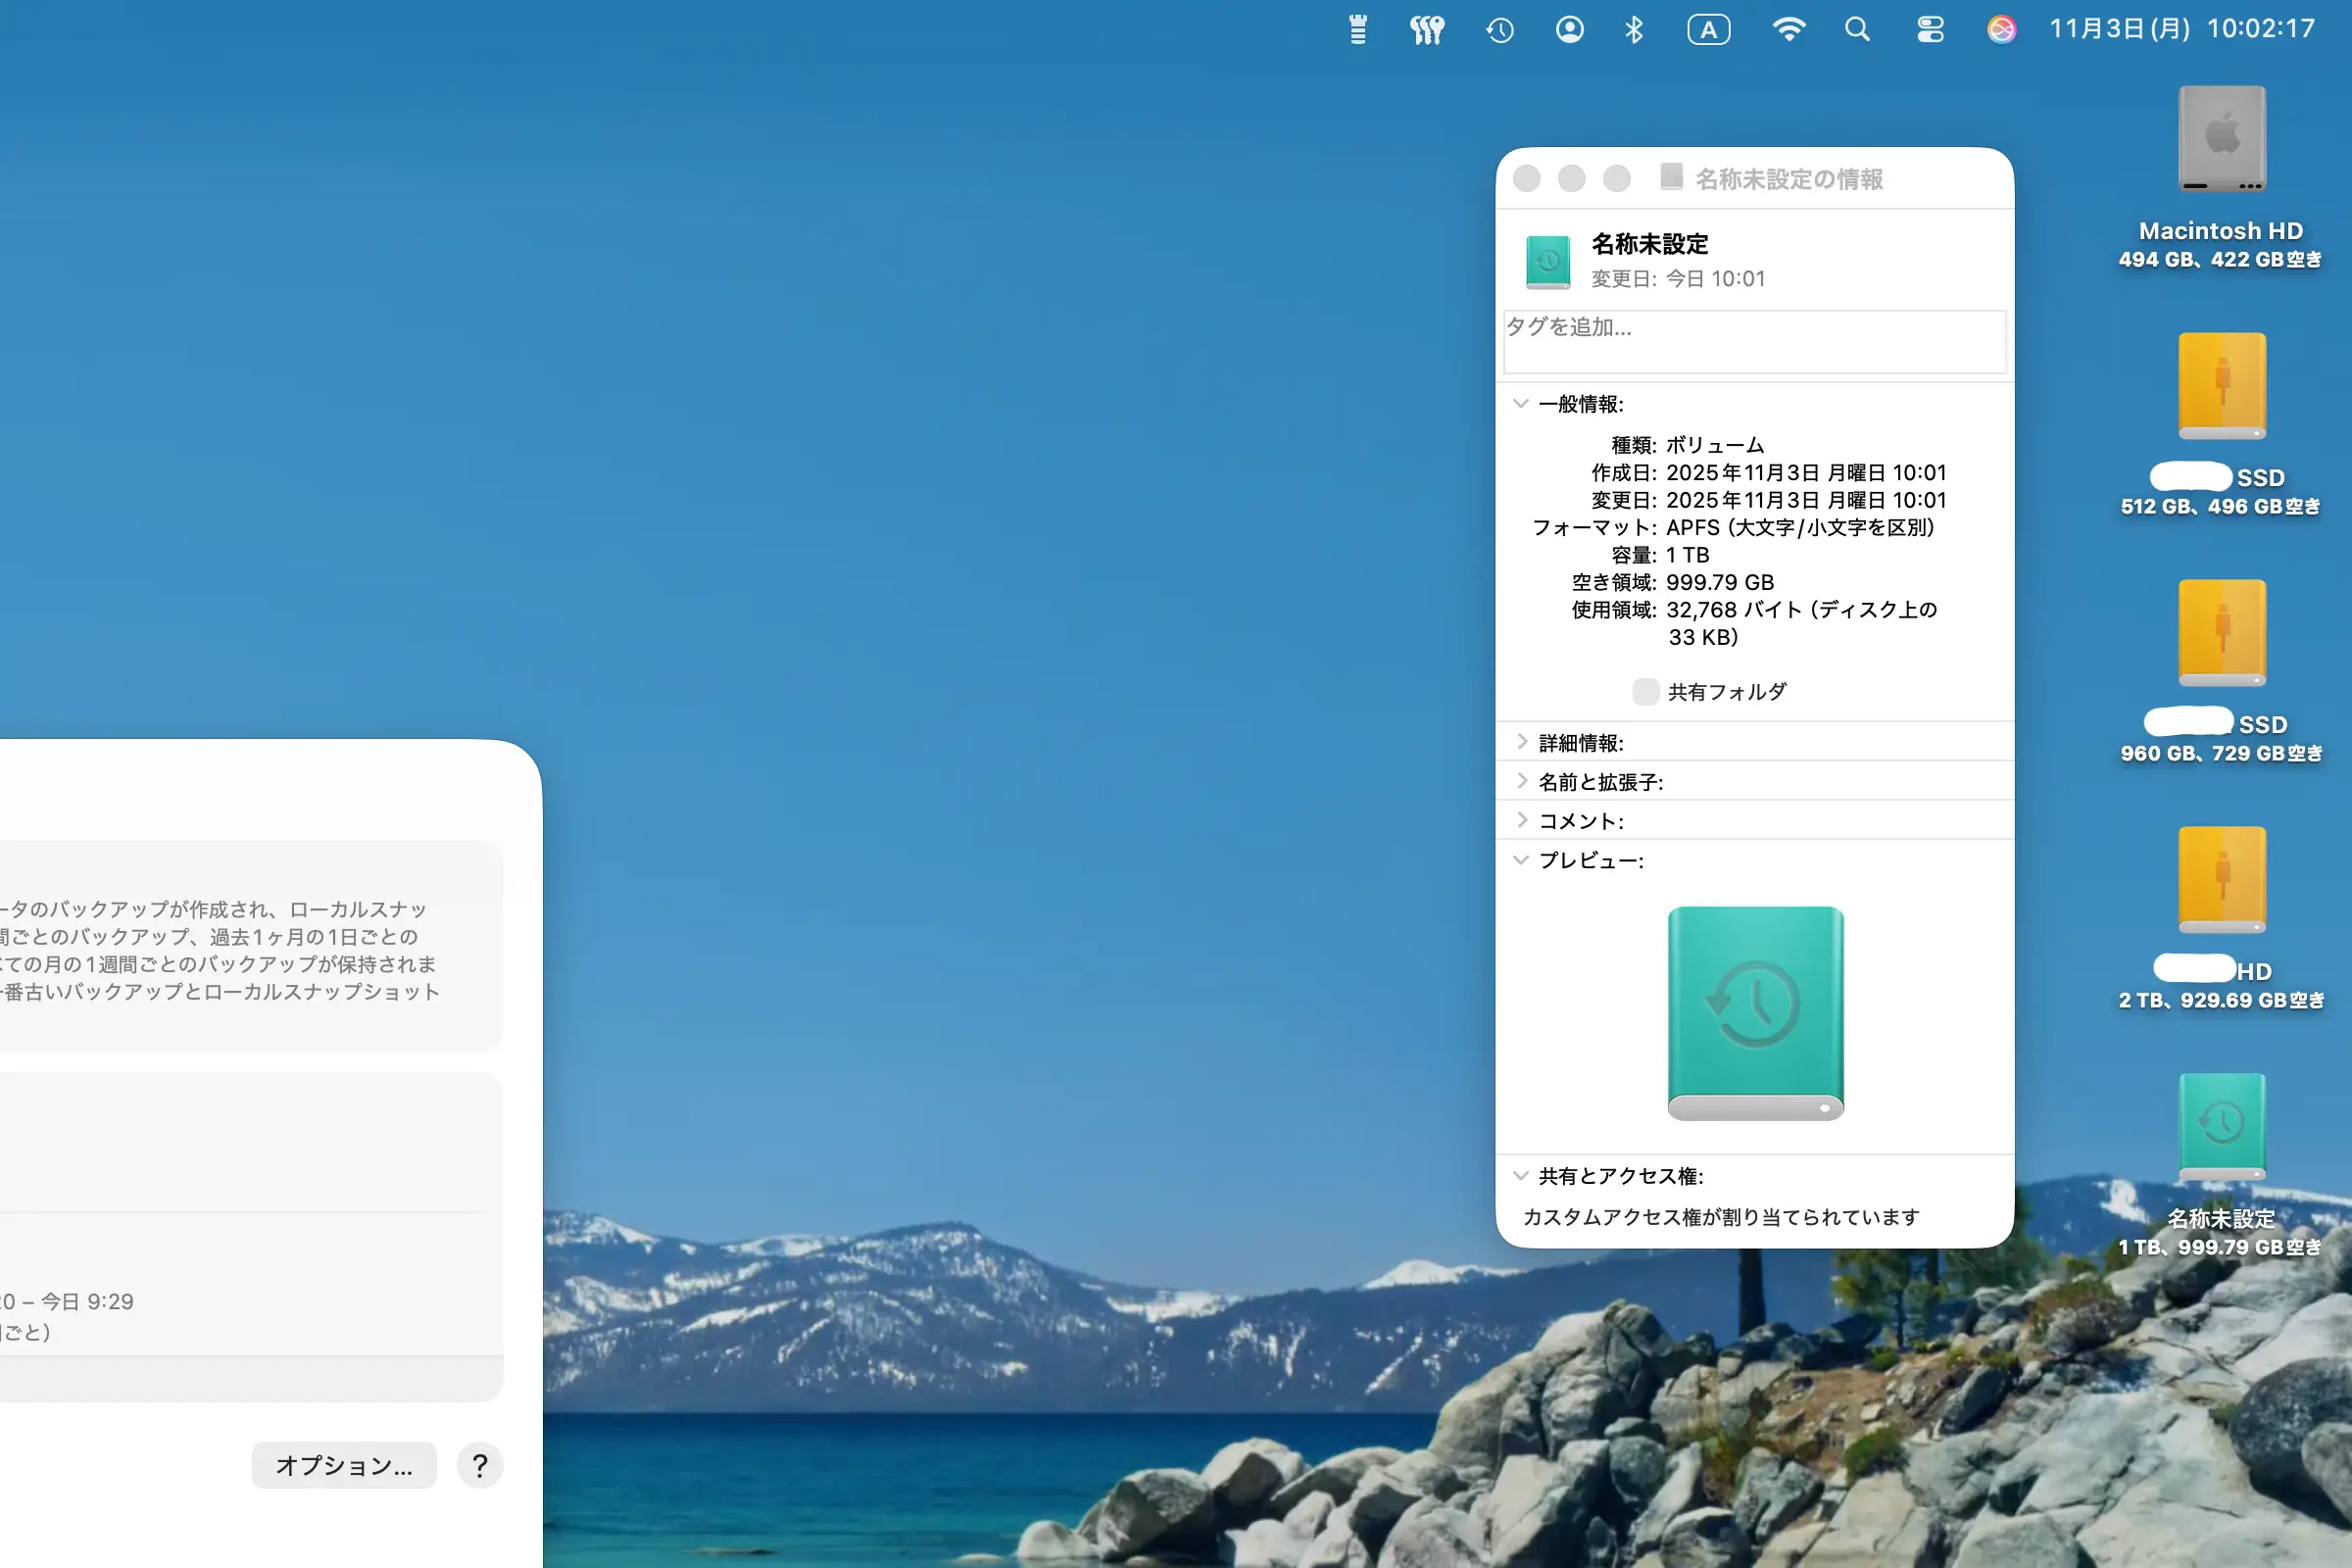
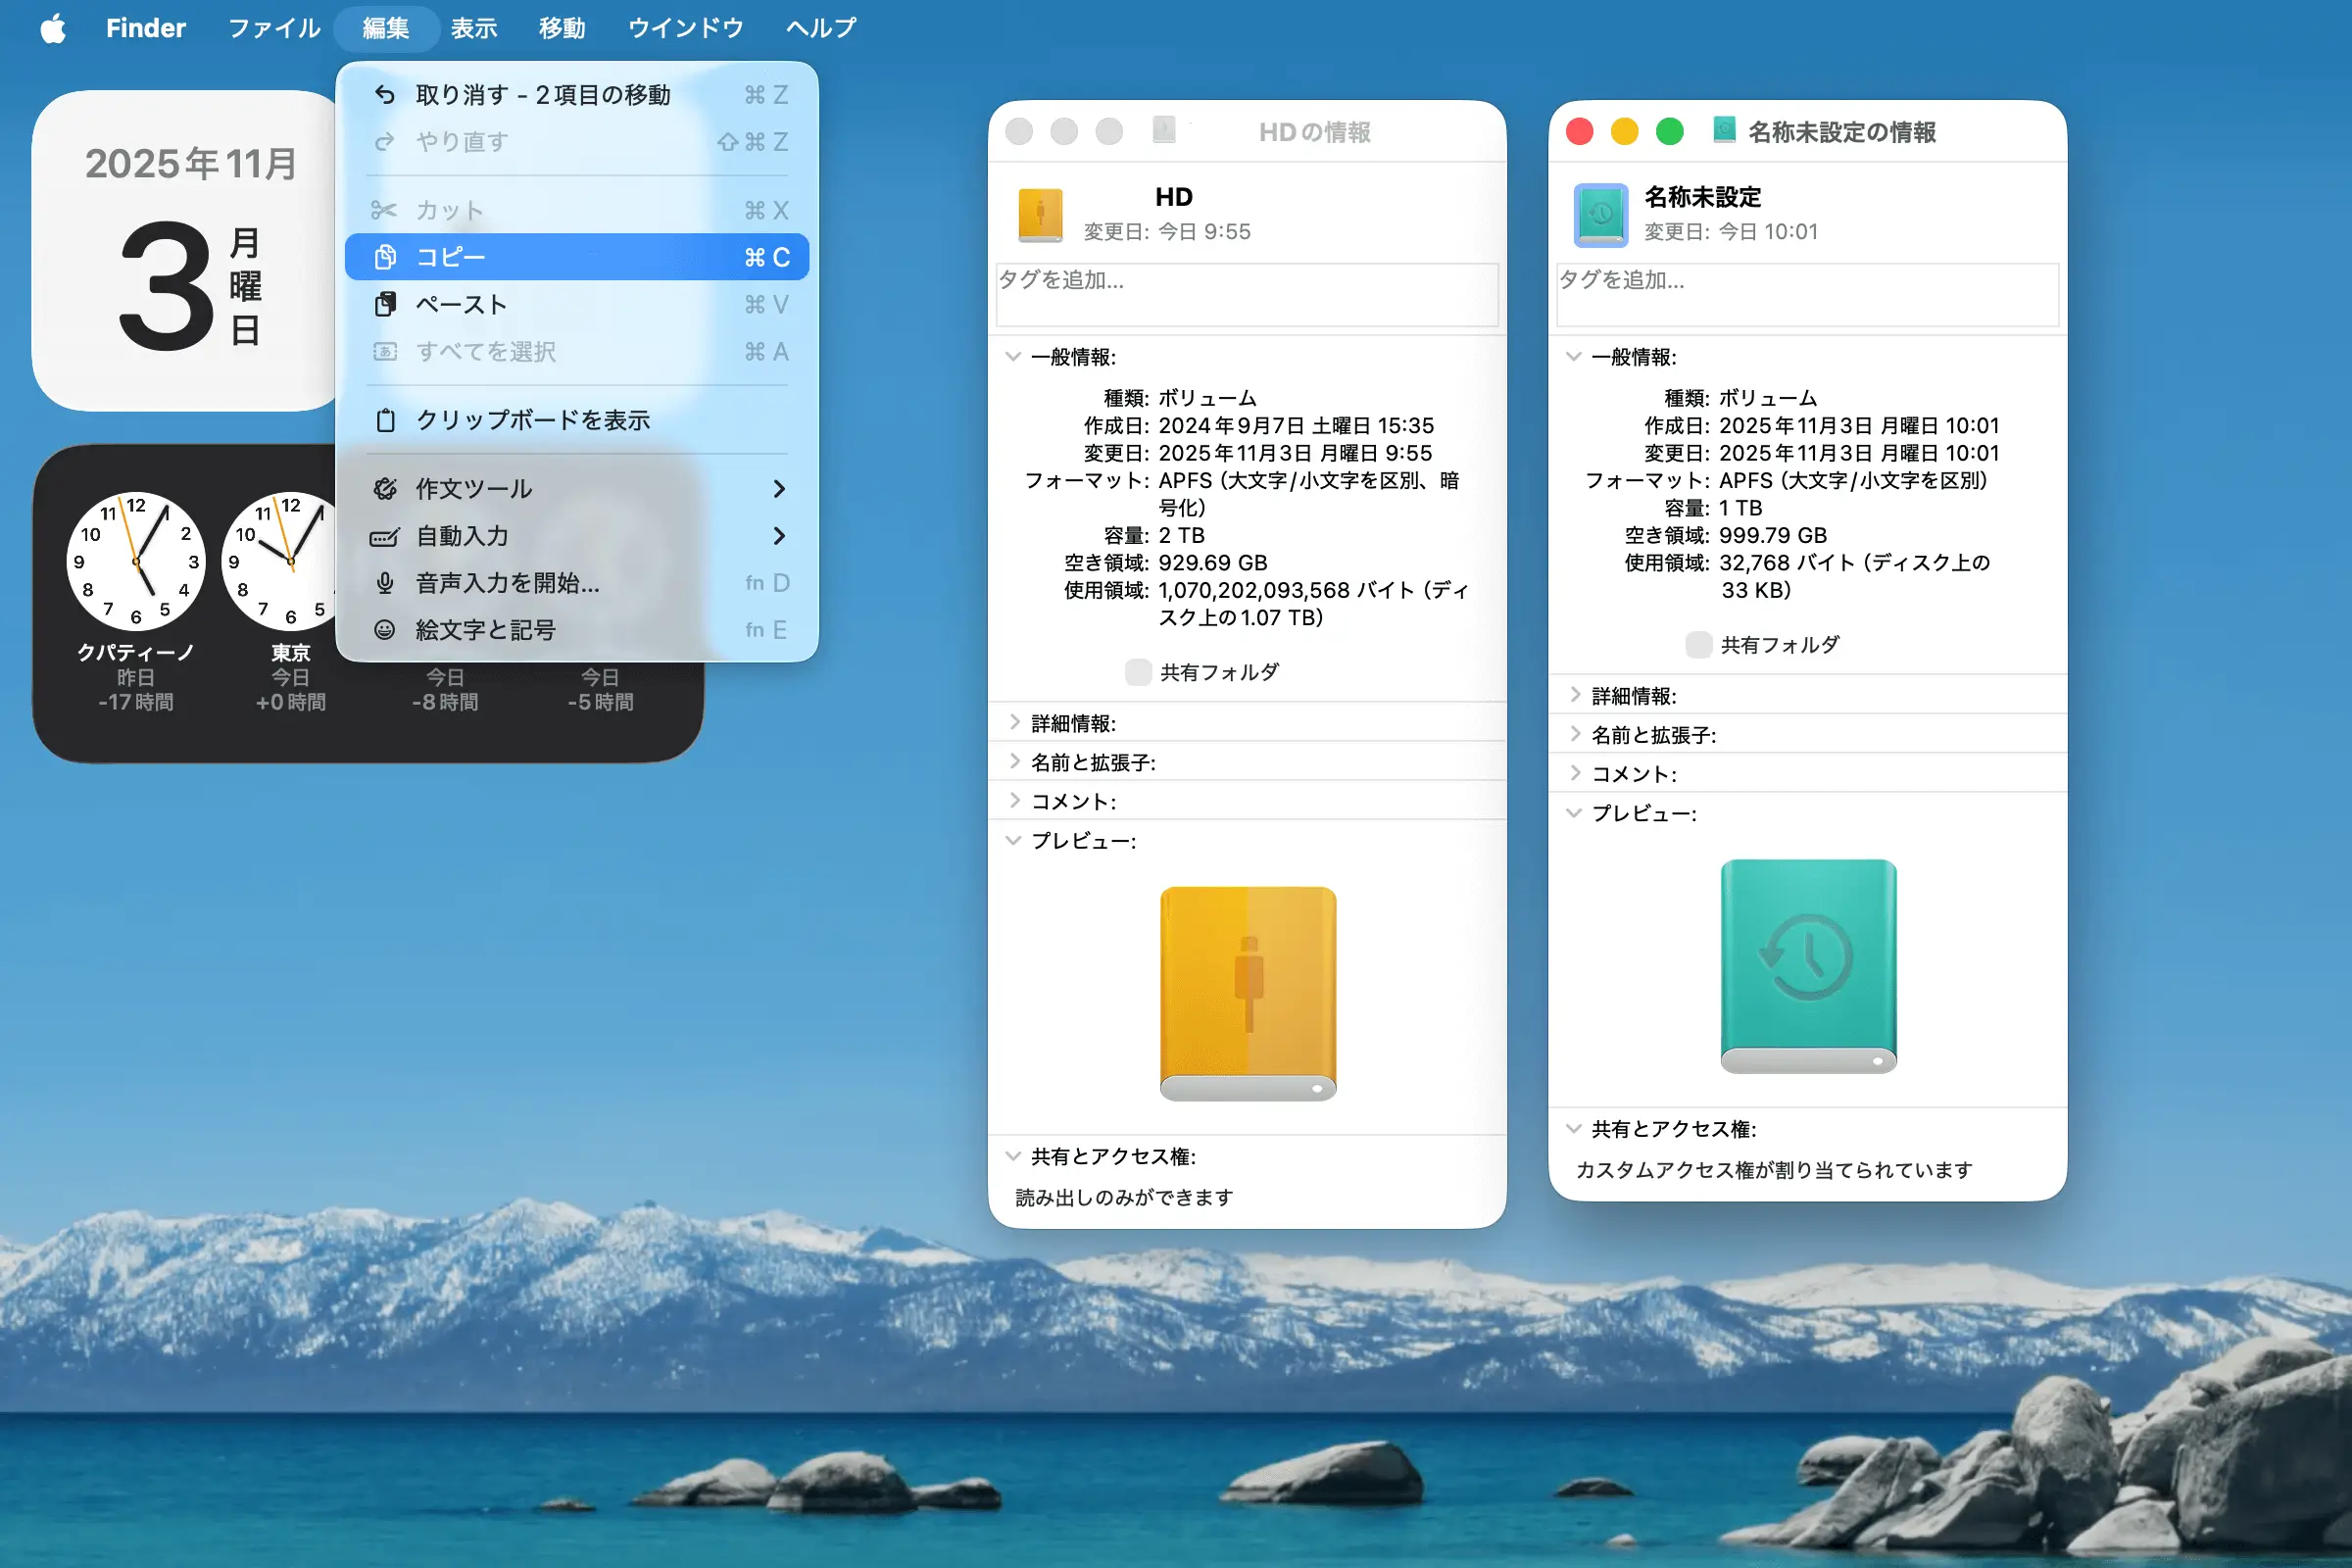
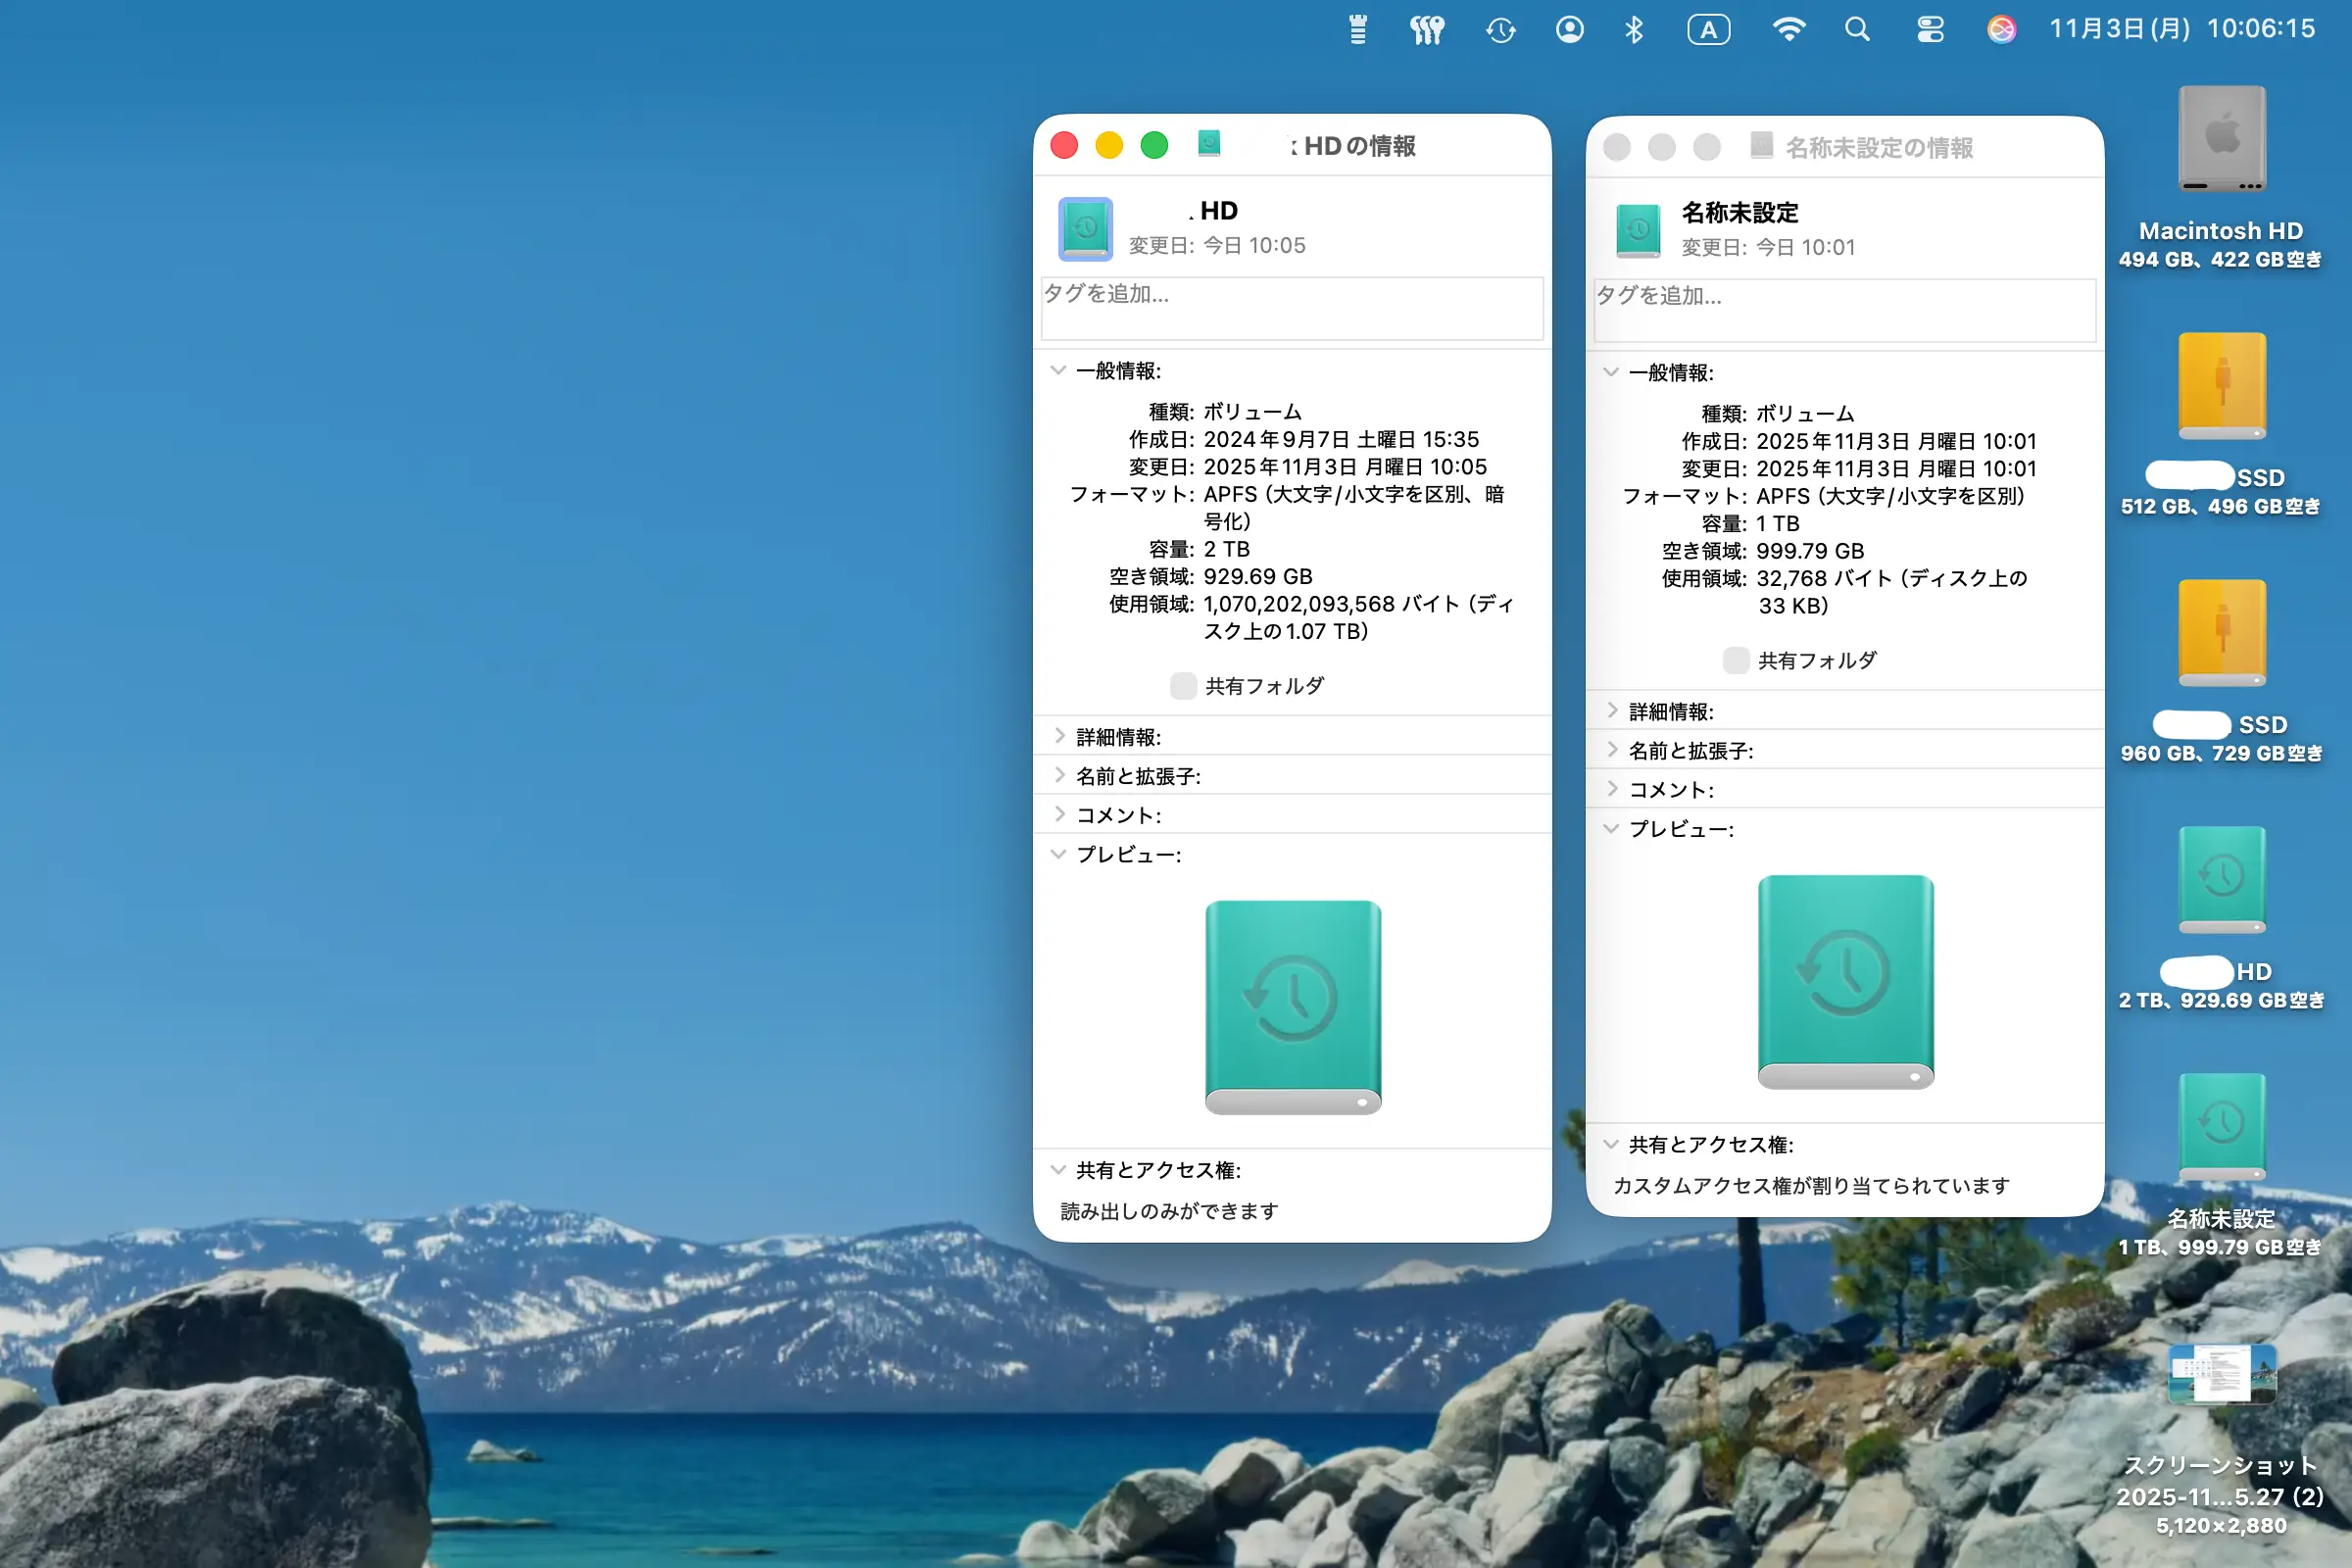
1. Copy the icon of the "Untitled" drive that now has the green icon (refer to the previous procedure to capture the icon image).
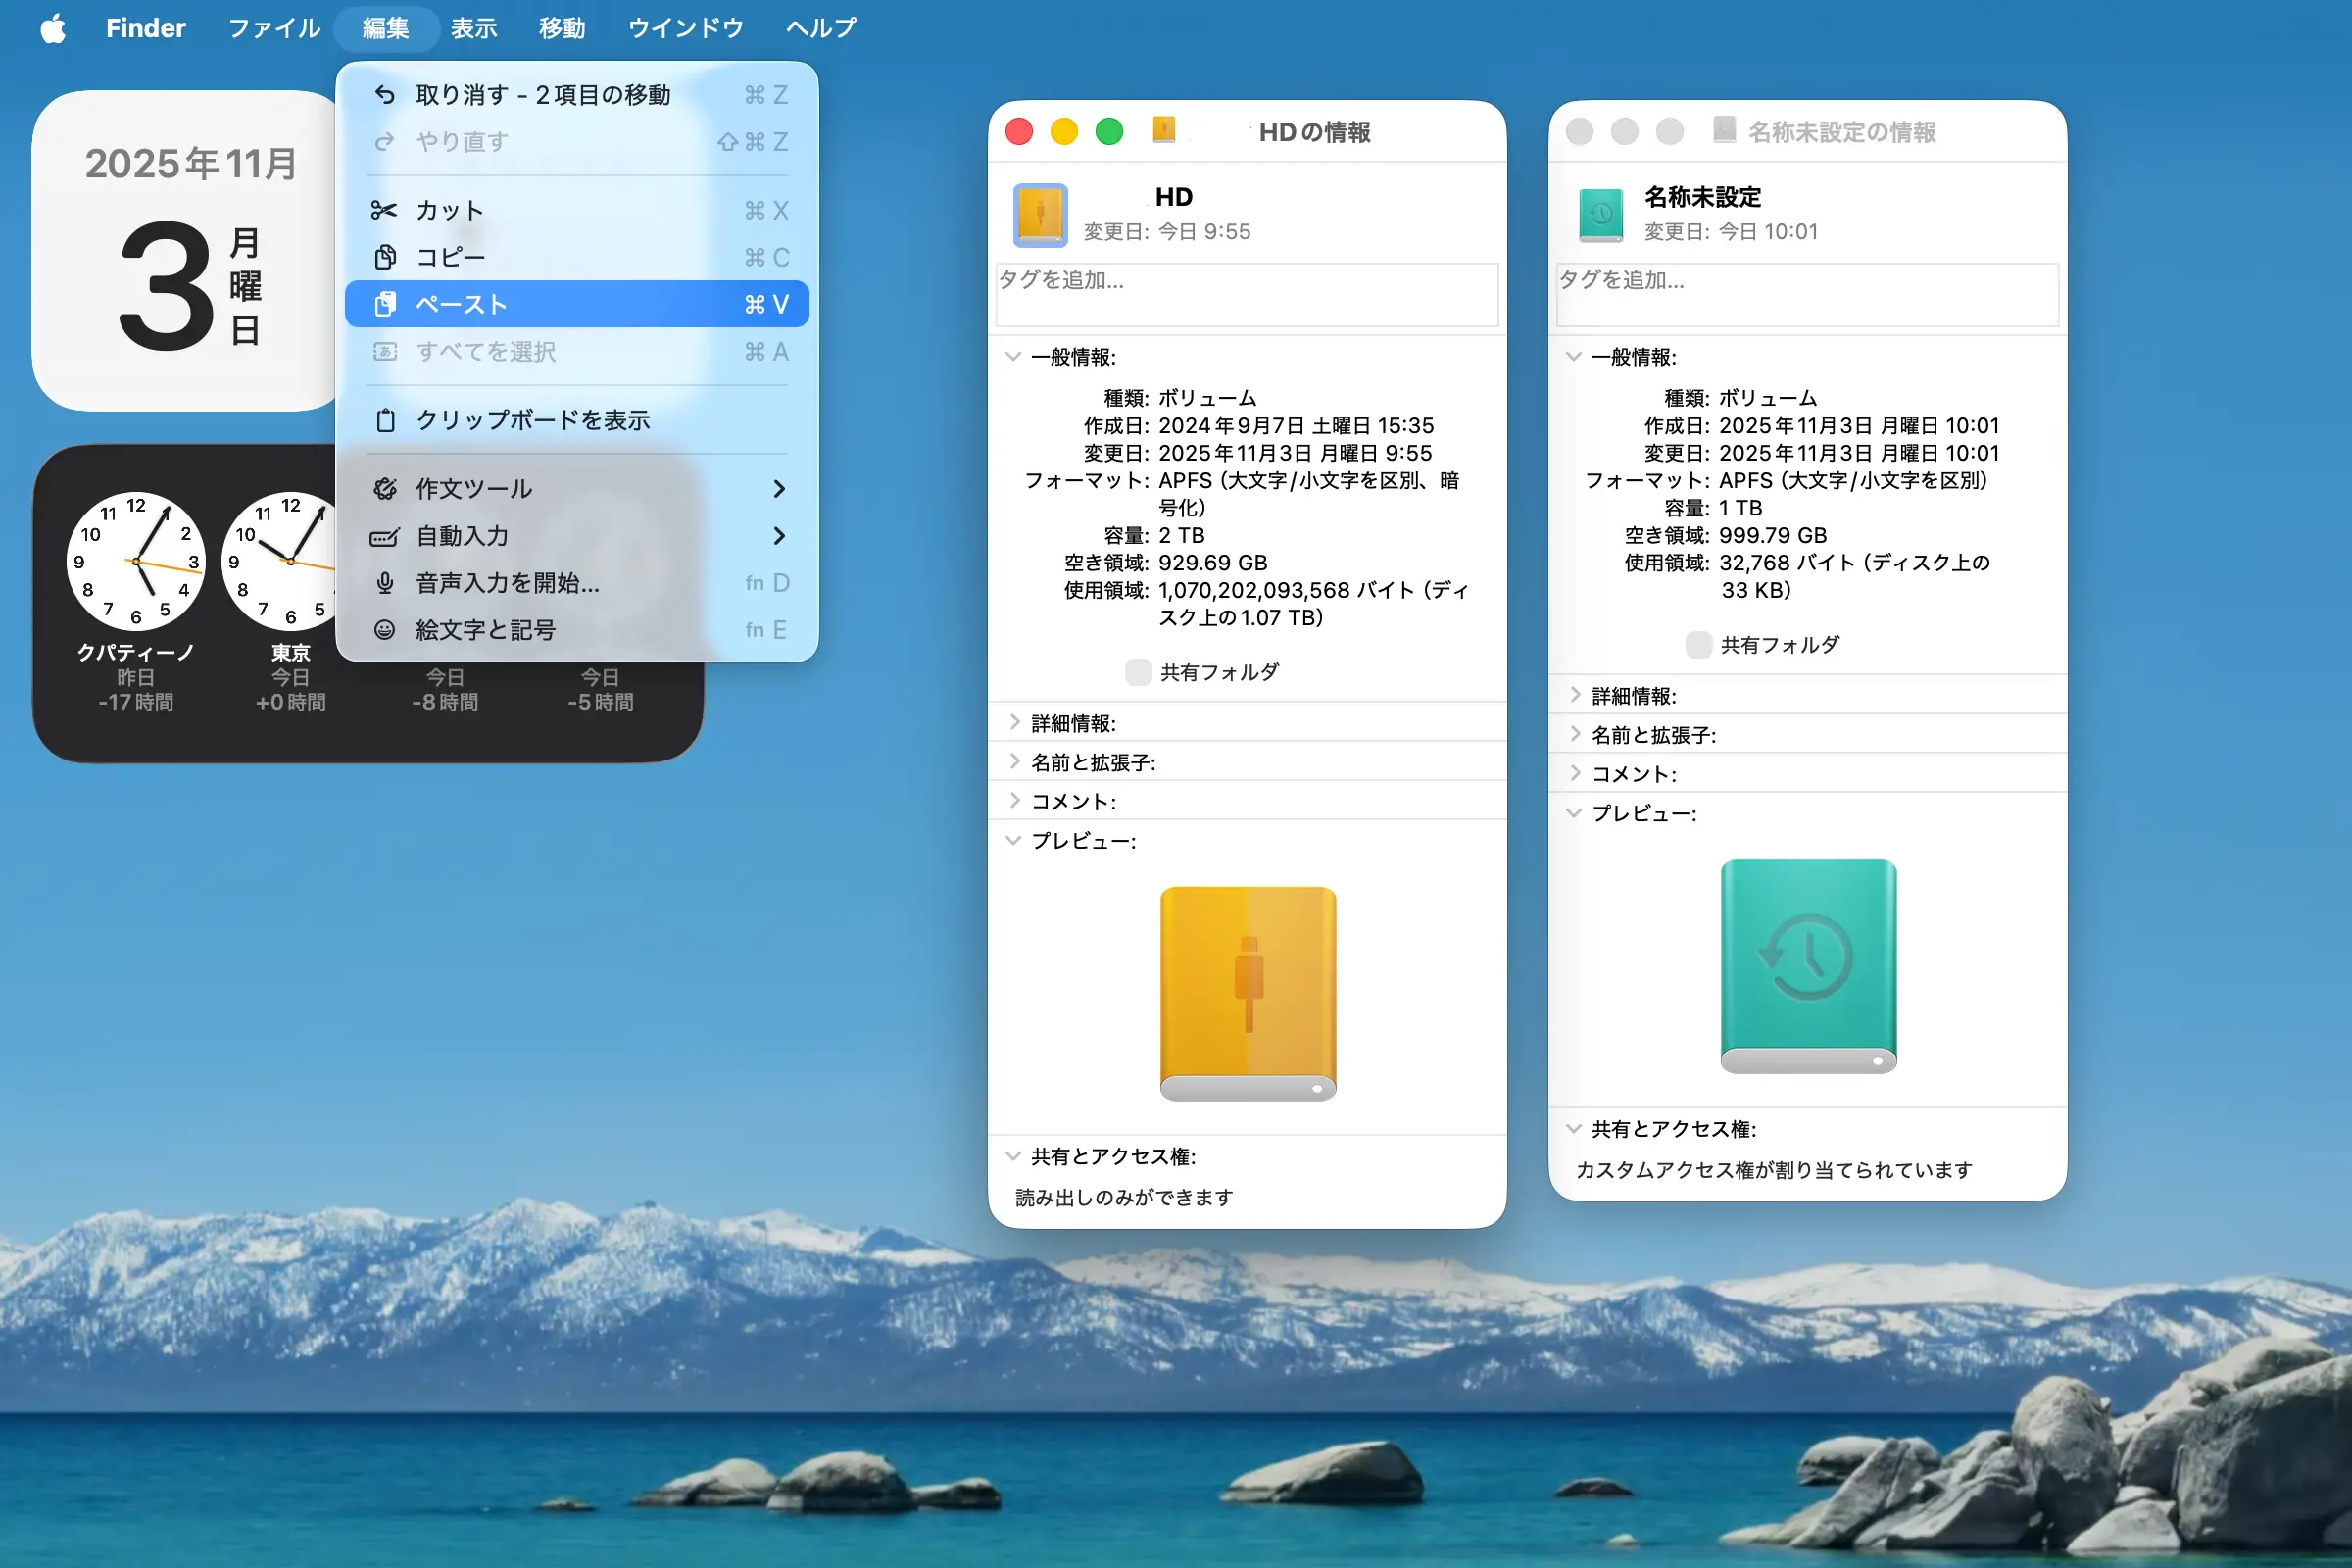
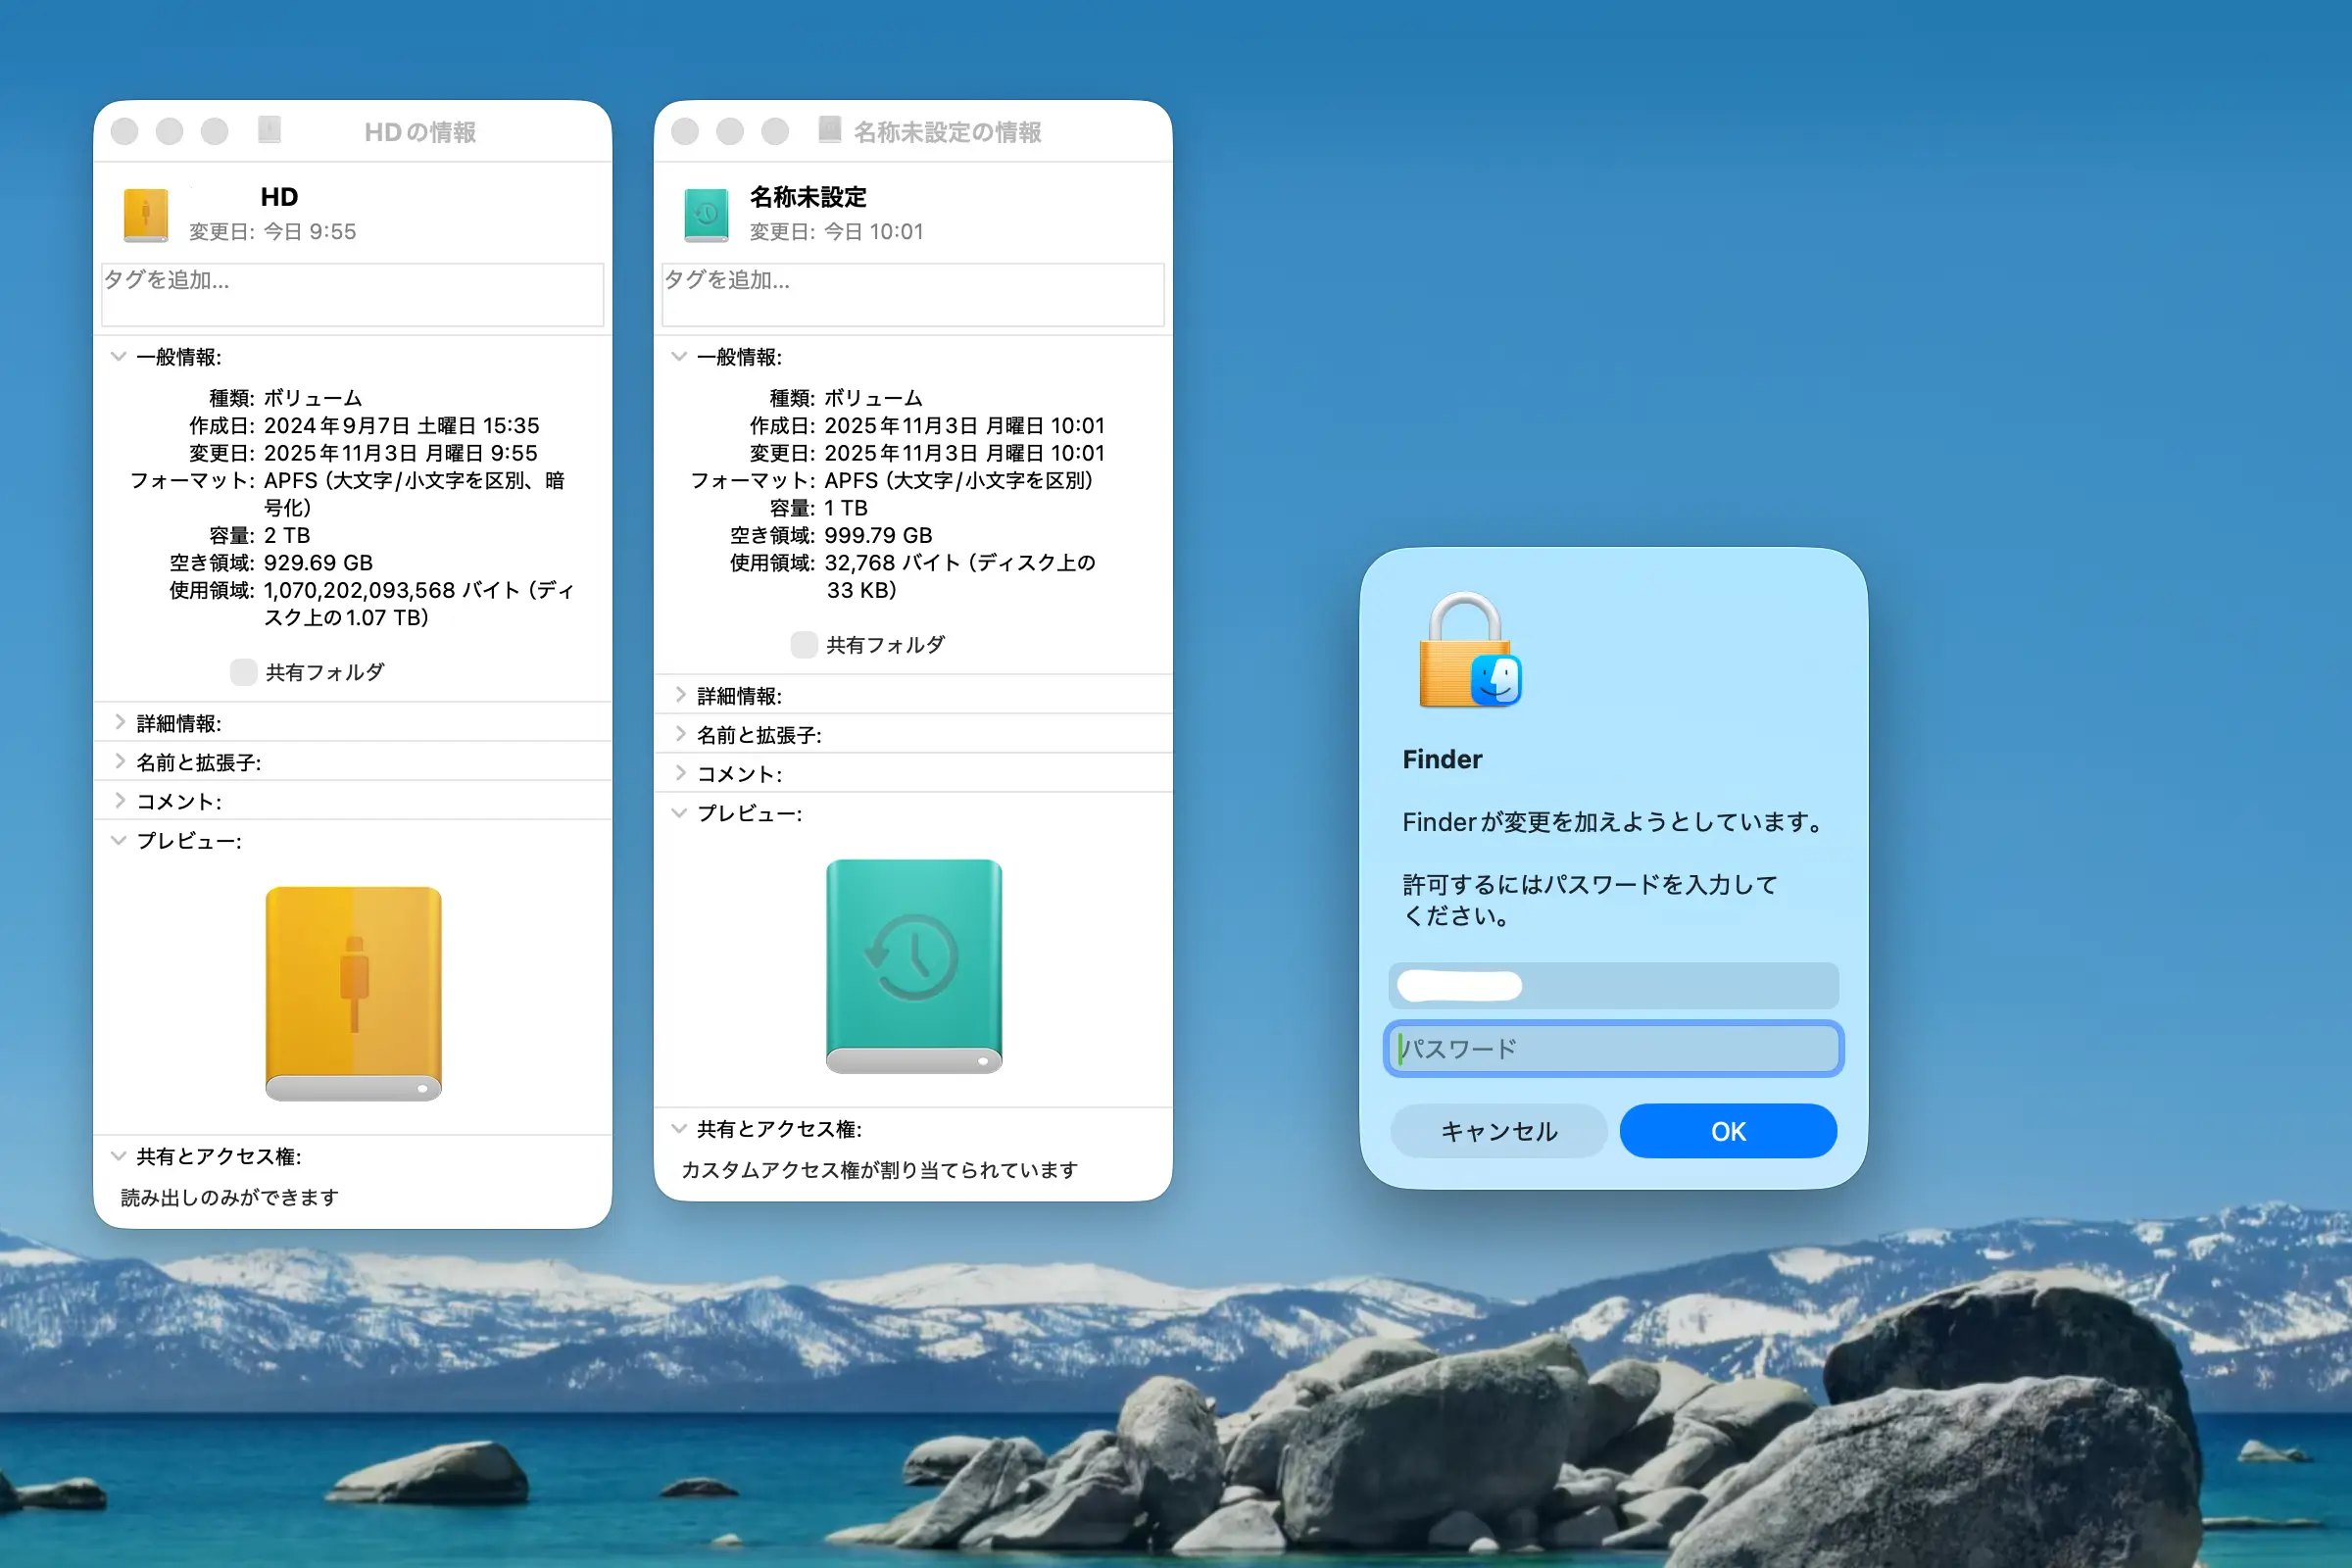
2. Paste and apply the copied green icon to the original Time Machine drive (the one that is currently orange).
Step 3: Remove the "Temporary" Drive
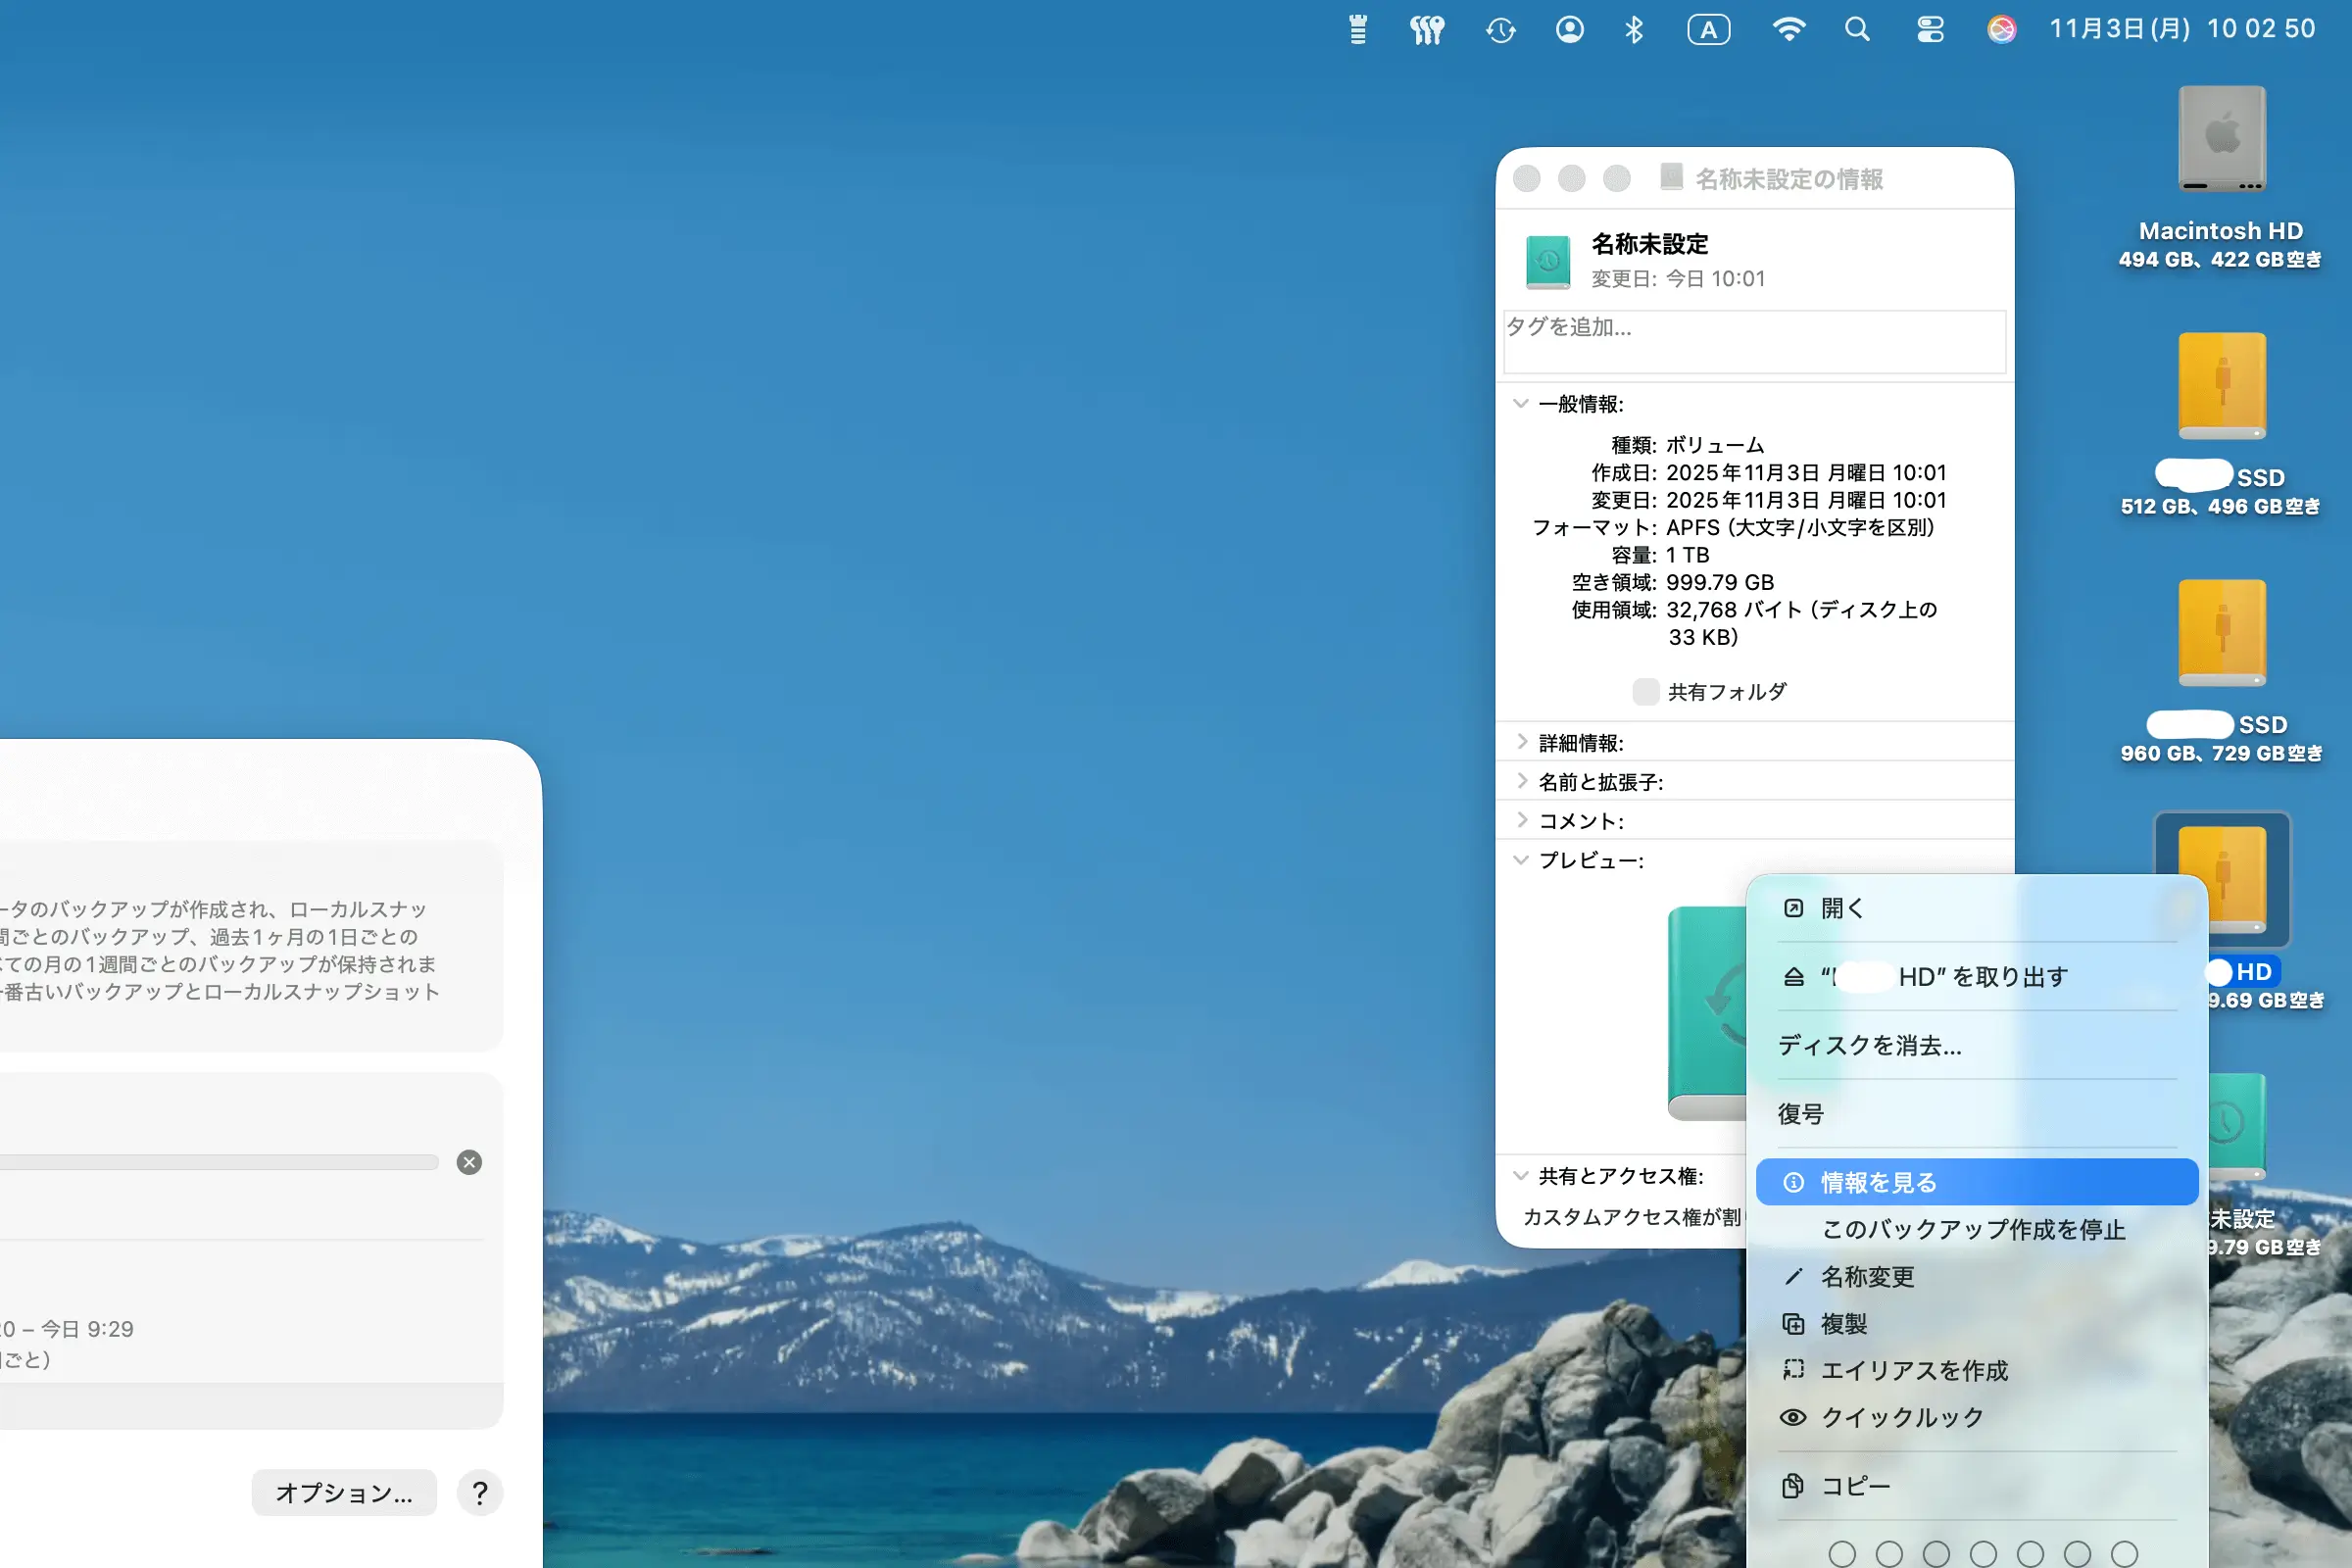
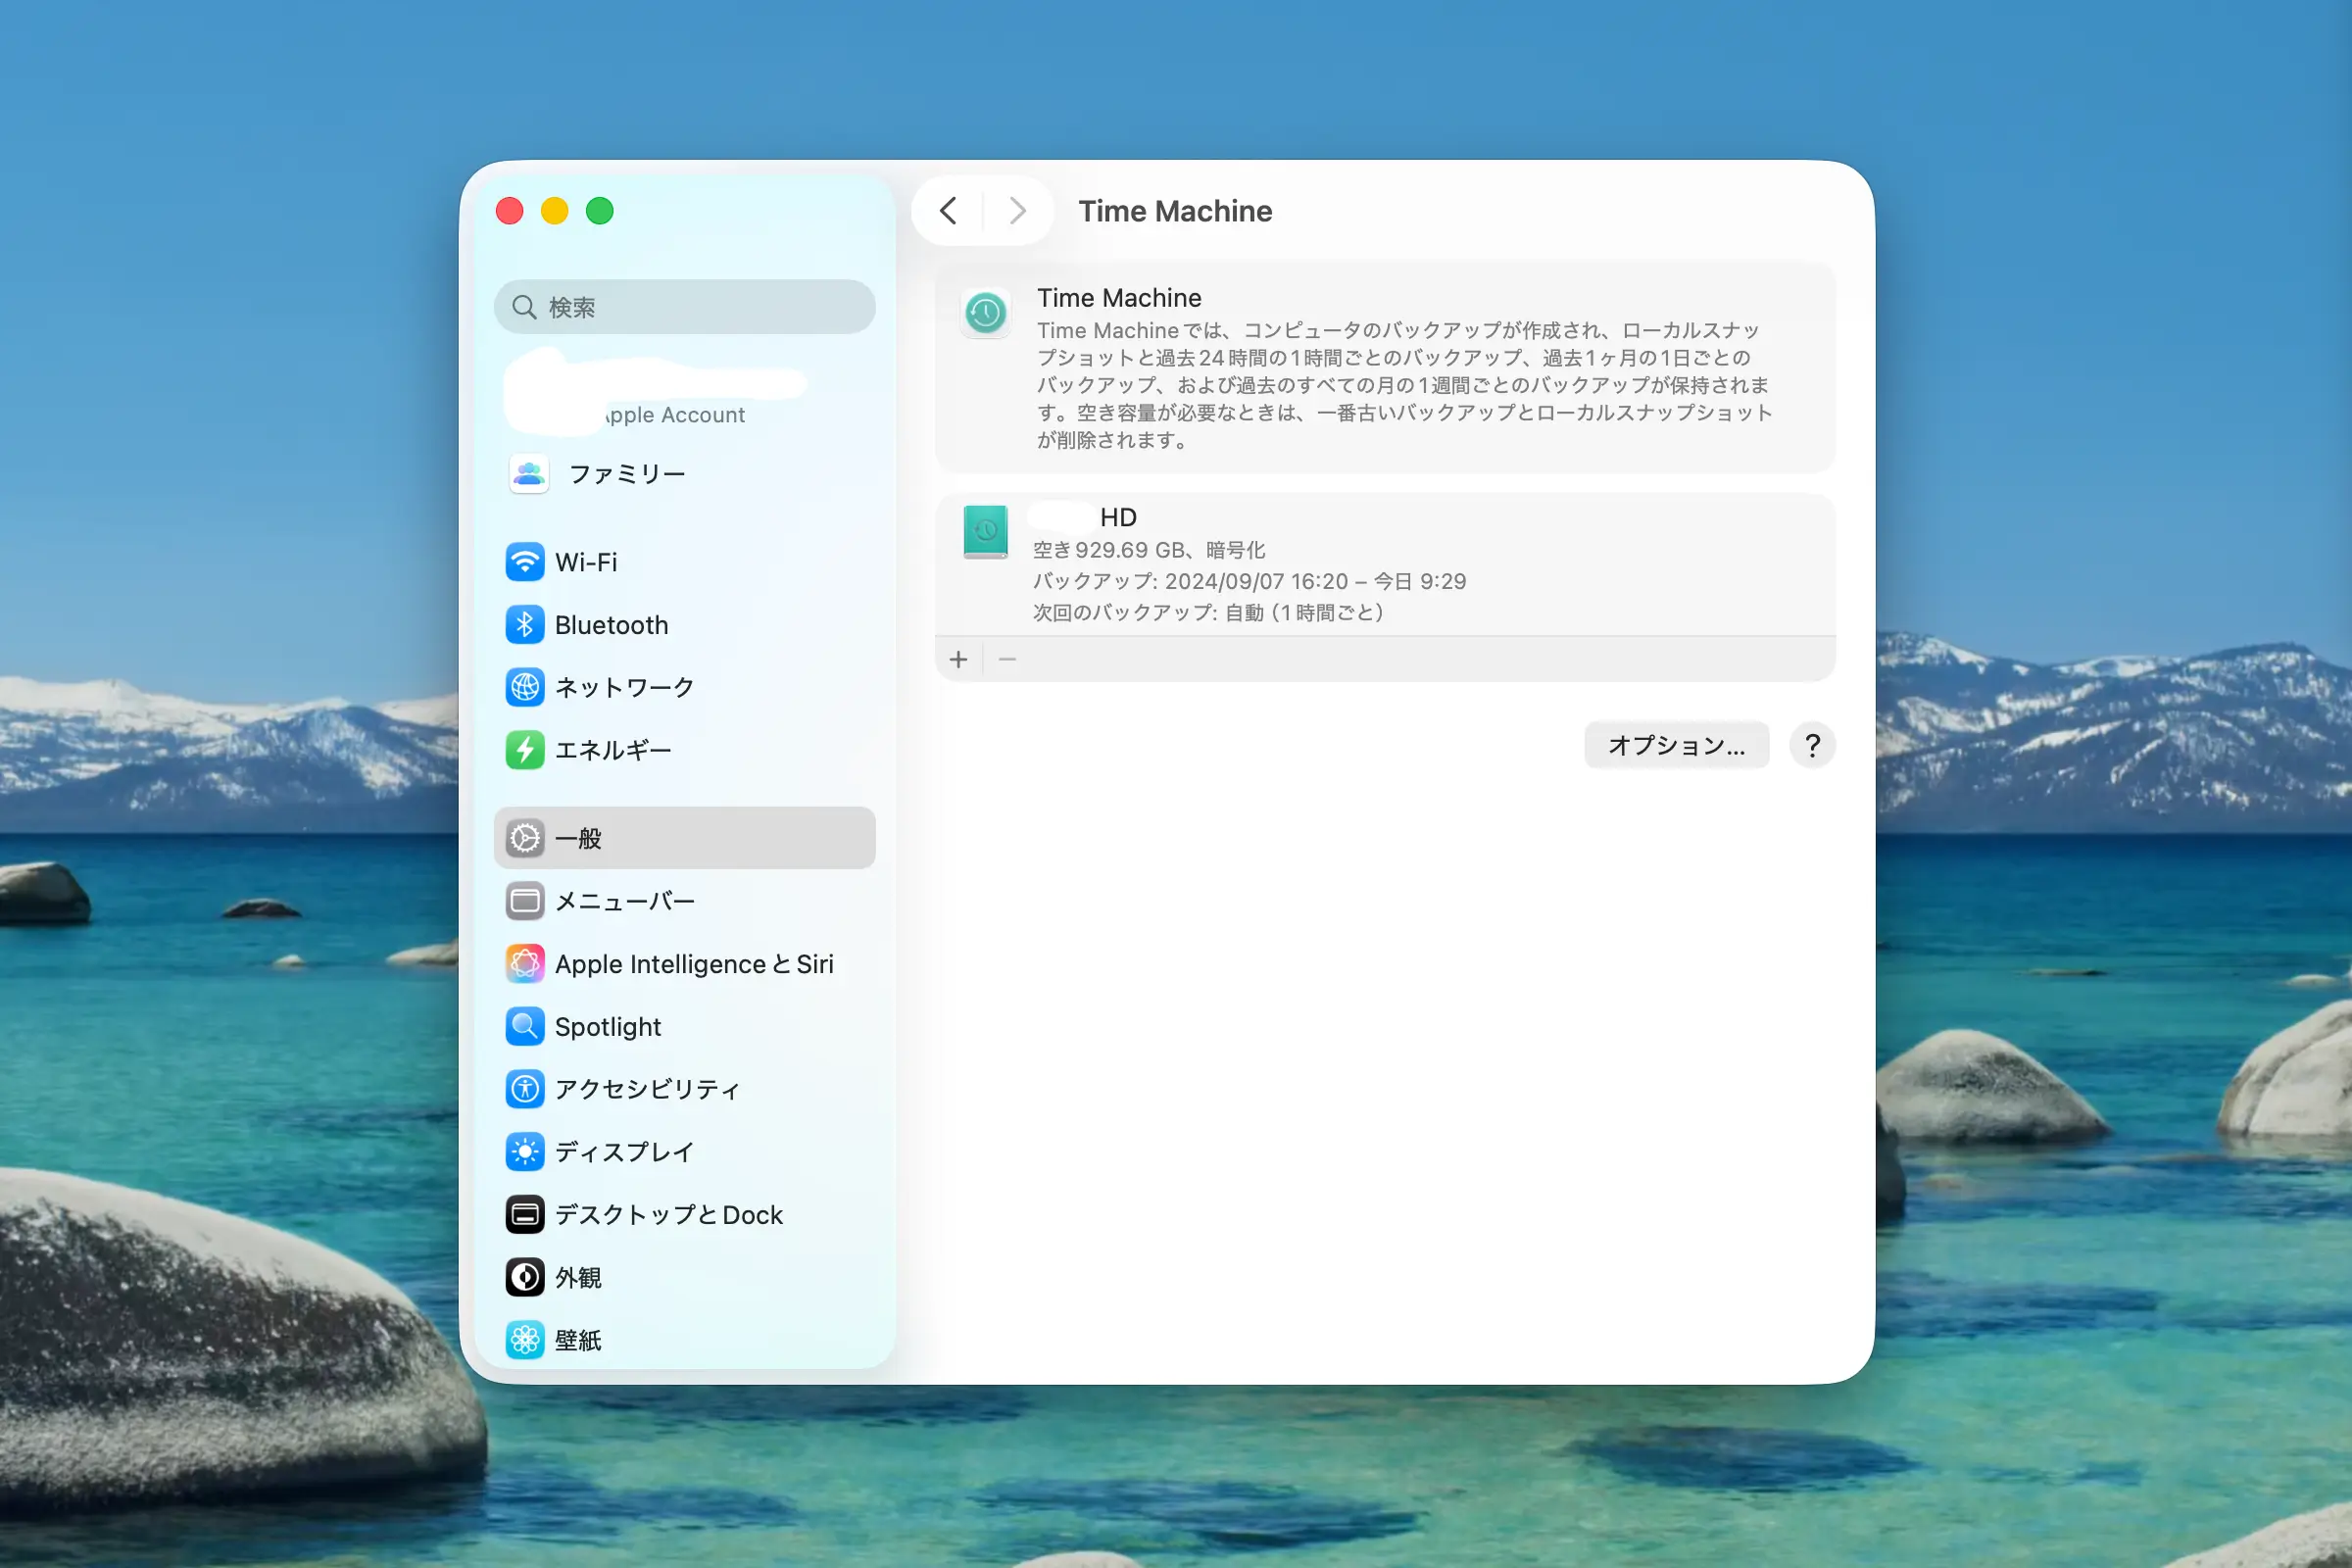
1. Once you confirm that the icon has reverted to green, remove the "Untitled" external drive from the Time Machine settings.
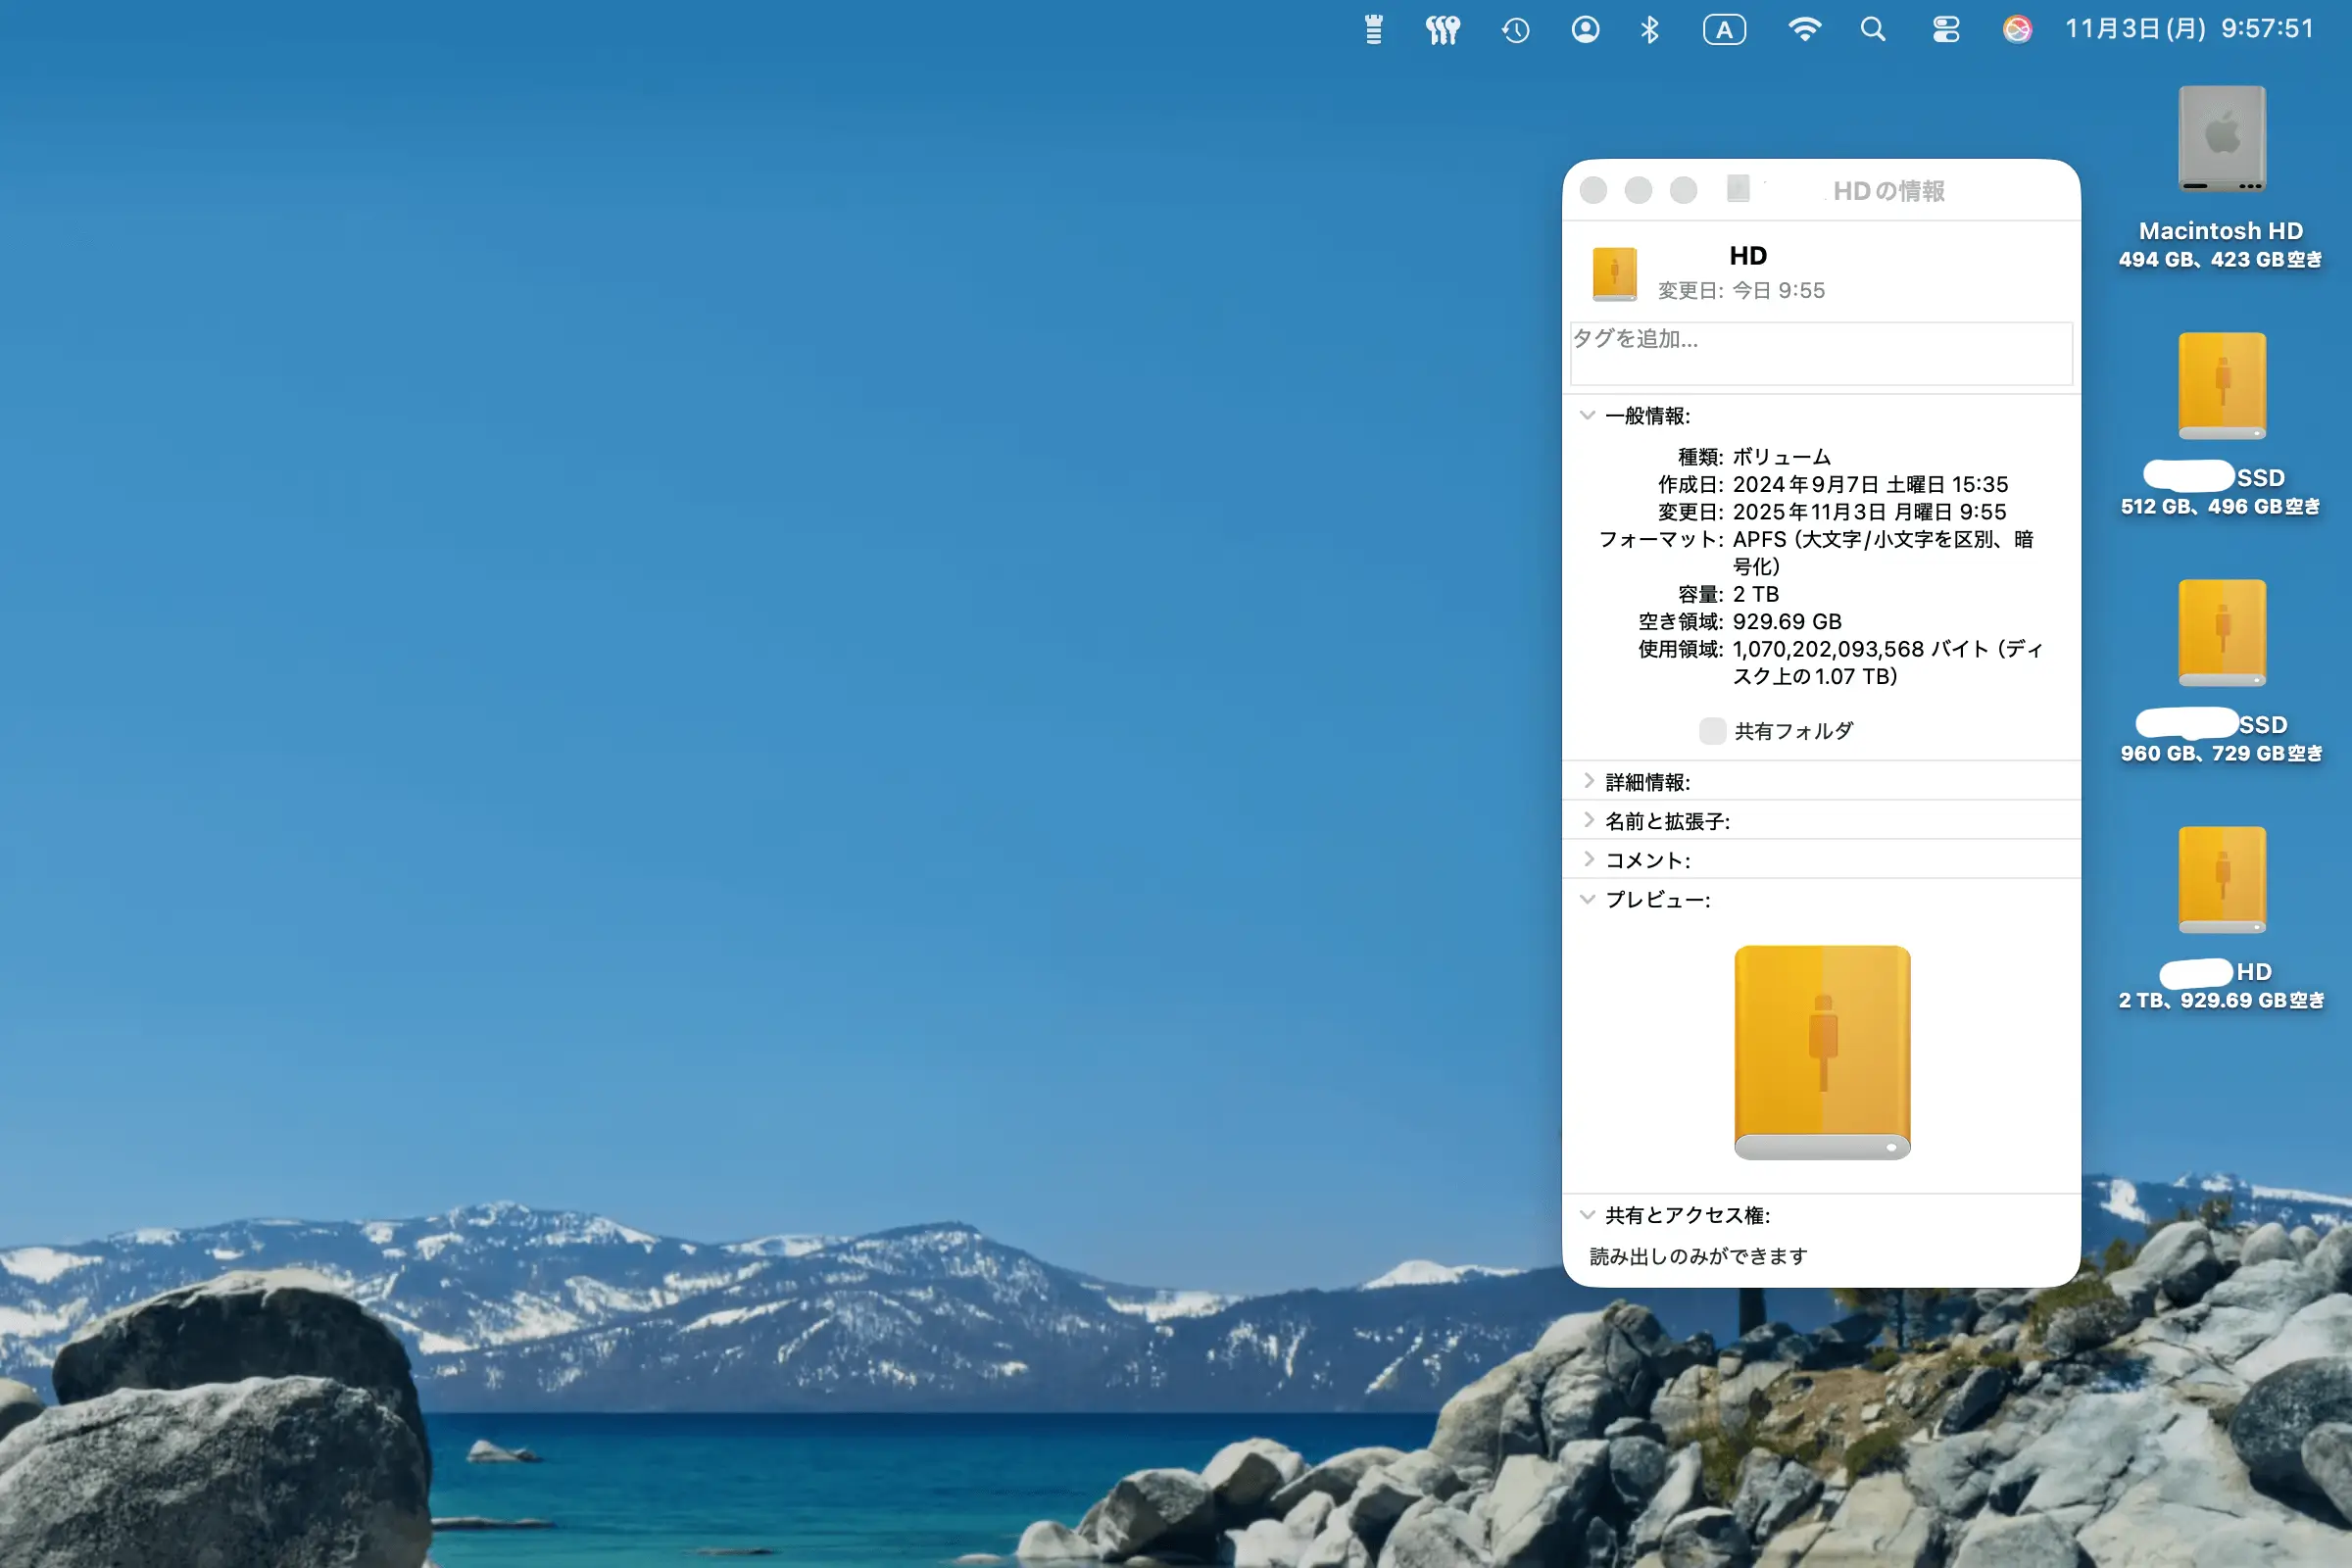
2. If you are concerned about the "Untitled" external drive, you can safely erase (format) it once using Disk Utility.
With this, I successfully restored the Time Machine storage icon to green!
If you've accidentally changed your Time Machine icon and are feeling lost, please try this trick!