Nobody Was Selling It, So I Made It
How a tool called Filamenta Slit changed the way I make PP band handles
When you do handicraft, there are moments when you think: I wish a tool like this existed. Usually you search and find one. When you do not, you quietly give up on that method and make something else instead.
This is a record of the time I could not give up.
It Is Not That They Do Not Exist
Let me be accurate from the start. Tools for cutting PP band into narrow strips are sold. Saying they do not exist would be a lie.
But the cutters on the market are built around the idea of dividing into equal parts. A 15 mm band split in two, in three, in four. They narrow the band in fixed steps.
That is useful, and for most purposes it is enough. But three equal parts of 15 mm gives you 5 mm, and two gives you 7.5 mm. If you want the 6 mm or the 8 mm that sits between them, there is no way to get there. The idea of equal division simply does not allow for it.
Present, yet out of reach. After searching and searching without result, I began to think the demand must be too small for anyone to bother.
Why Millimetres Mattered
To be honest, at first it was no more than a nice idea.
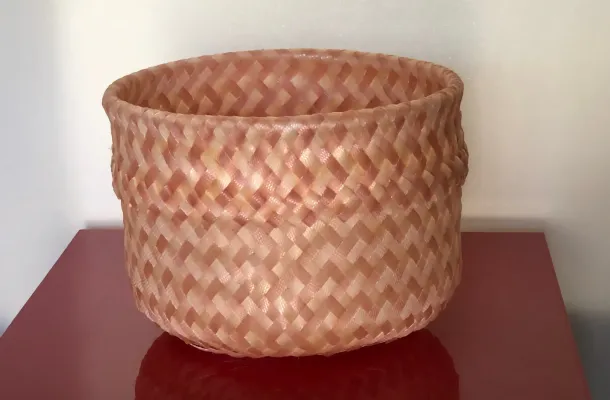
What changed my mind was making pieces of my own. A basket woven from narrow bands looks completely different from one woven from wide ones. The weave grows finer, the lines quieten, and there are moments when, from a distance, it stops looking like plastic at all.
The same PP band, the same weave, and yet a single step in width makes it another object entirely. Once I understood that, "it would be nice to have" turned into "without this, I cannot get where I want to go".
The tool decides the work. Anyone who does handicraft will recognise that feeling. In my case the wall stood in front of me in the shape of width.
I Gave Up Once
If nobody makes it, I will have it made. With that in mind I opened the site of a precision parts manufacturer. You enter the shape and the material, and it returns an estimate on the spot.
The figure appeared. From tens of thousands of yen to over a hundred thousand, per piece.
I closed the page. Impossible, I thought. It is not an amount you spend on a hobby tool, and even if I sold them, I could not picture how many people would buy a tool at that price.
And so the idea disappeared for a while.
The Way Around Was Somewhere Else Entirely
It must have stayed lodged somewhere in my head, though. Whenever I had a free moment I was searching for something I could repurpose.
That was how I came across 3D printing.
Design the shape you want yourself, and print it. No estimates to request, no minimum order to worry about. This might work, I thought.
Looking into it, there were two main types for home use.
One melts resin with heat and builds it up in layers. It is easy to handle and suits everyday objects and parts. The other cures liquid resin with light, giving a smooth surface and fine detail.
For small precise parts, the second was the answer. But it involves chemicals, so it is particular about where you put it, and there is the question of smell. I did not have room for a dedicated workspace.
After some hesitation I chose the heat and layers method. Around three hundred thousand yen including materials. It did not come out of savings. I agreed to pay it off in instalments and brought it home.
What I Learned After Buying It
This is where things stopped matching my expectations.
I had been told that the heat and layers method does not smell much. But ABS, the resin needed for the parts I wanted, releases VOCs when heated. Volatile organic compounds.
Not a matter of liking or disliking a smell. A matter of it being bad for you.
The machine I had bought in order to make a tool could not be used as it was. Devices to deal with this are sold, but that meant more money on top.
I decided to make that myself too.
Three Months of Wondering What I Was Doing
Looking back, there was a certain recklessness in that decision.
The first three months went badly. I built and it failed, I fixed it and it failed again, and each time only the materials and the hours grew shorter.
I had started because I wanted a tool for cutting narrow bands, and here I was building a box to safely operate the machine that would build the tool. Two steps removed from where I meant to be.
Is this wasted effort, I asked myself, more than once. Giving up would be easier, I also thought. Anyone who makes things by hand knows the night when the piece you unravelled and started again fails a second and a third time. It was that feeling.
What kept me going was that stopping there meant not being able to use the 3D printer at all. Three hundred thousand yen turned into an ornament. That much I wanted to avoid.
And I was not simply waiting for the box to be finished, either. On days when I could print, I worked on prototypes of the tool itself. On days when things went wrong, I improved the box. I went back and forth between the two. Looking back, that may have been what saved me. When one stalled, the other was somewhere to escape to.
Keep Going and One Day It Simply Appears
I spent another three months. Six in total.
It is a strange thing, but if you keep your hands moving without giving up, there comes a day when the shape simply appears. Less like reasoning your way to it than like all the previous failures rearranging themselves in your head, with the answer emerging from their side.
That was how an entirely original VOC control unit came about. Not borrowed from anyone's design. One single unit, fitted to the size of my room, my machine and my budget.
Once I could print without worrying, I was able to concentrate on the tool.
Eight Months of Cutting and Correcting
The design of the tool itself took about eight months, counting the time it ran alongside the box.
Build it, cut with it, check the edge, correct it. The angle at which the blade meets the band, the path the band travels, the strength of the hold. Producing a narrow width consistently turned out to be far harder than I had imagined.
I began in January 2025 and it took its final shape in December of the same year. For one year, something was always printing somewhere in my room.
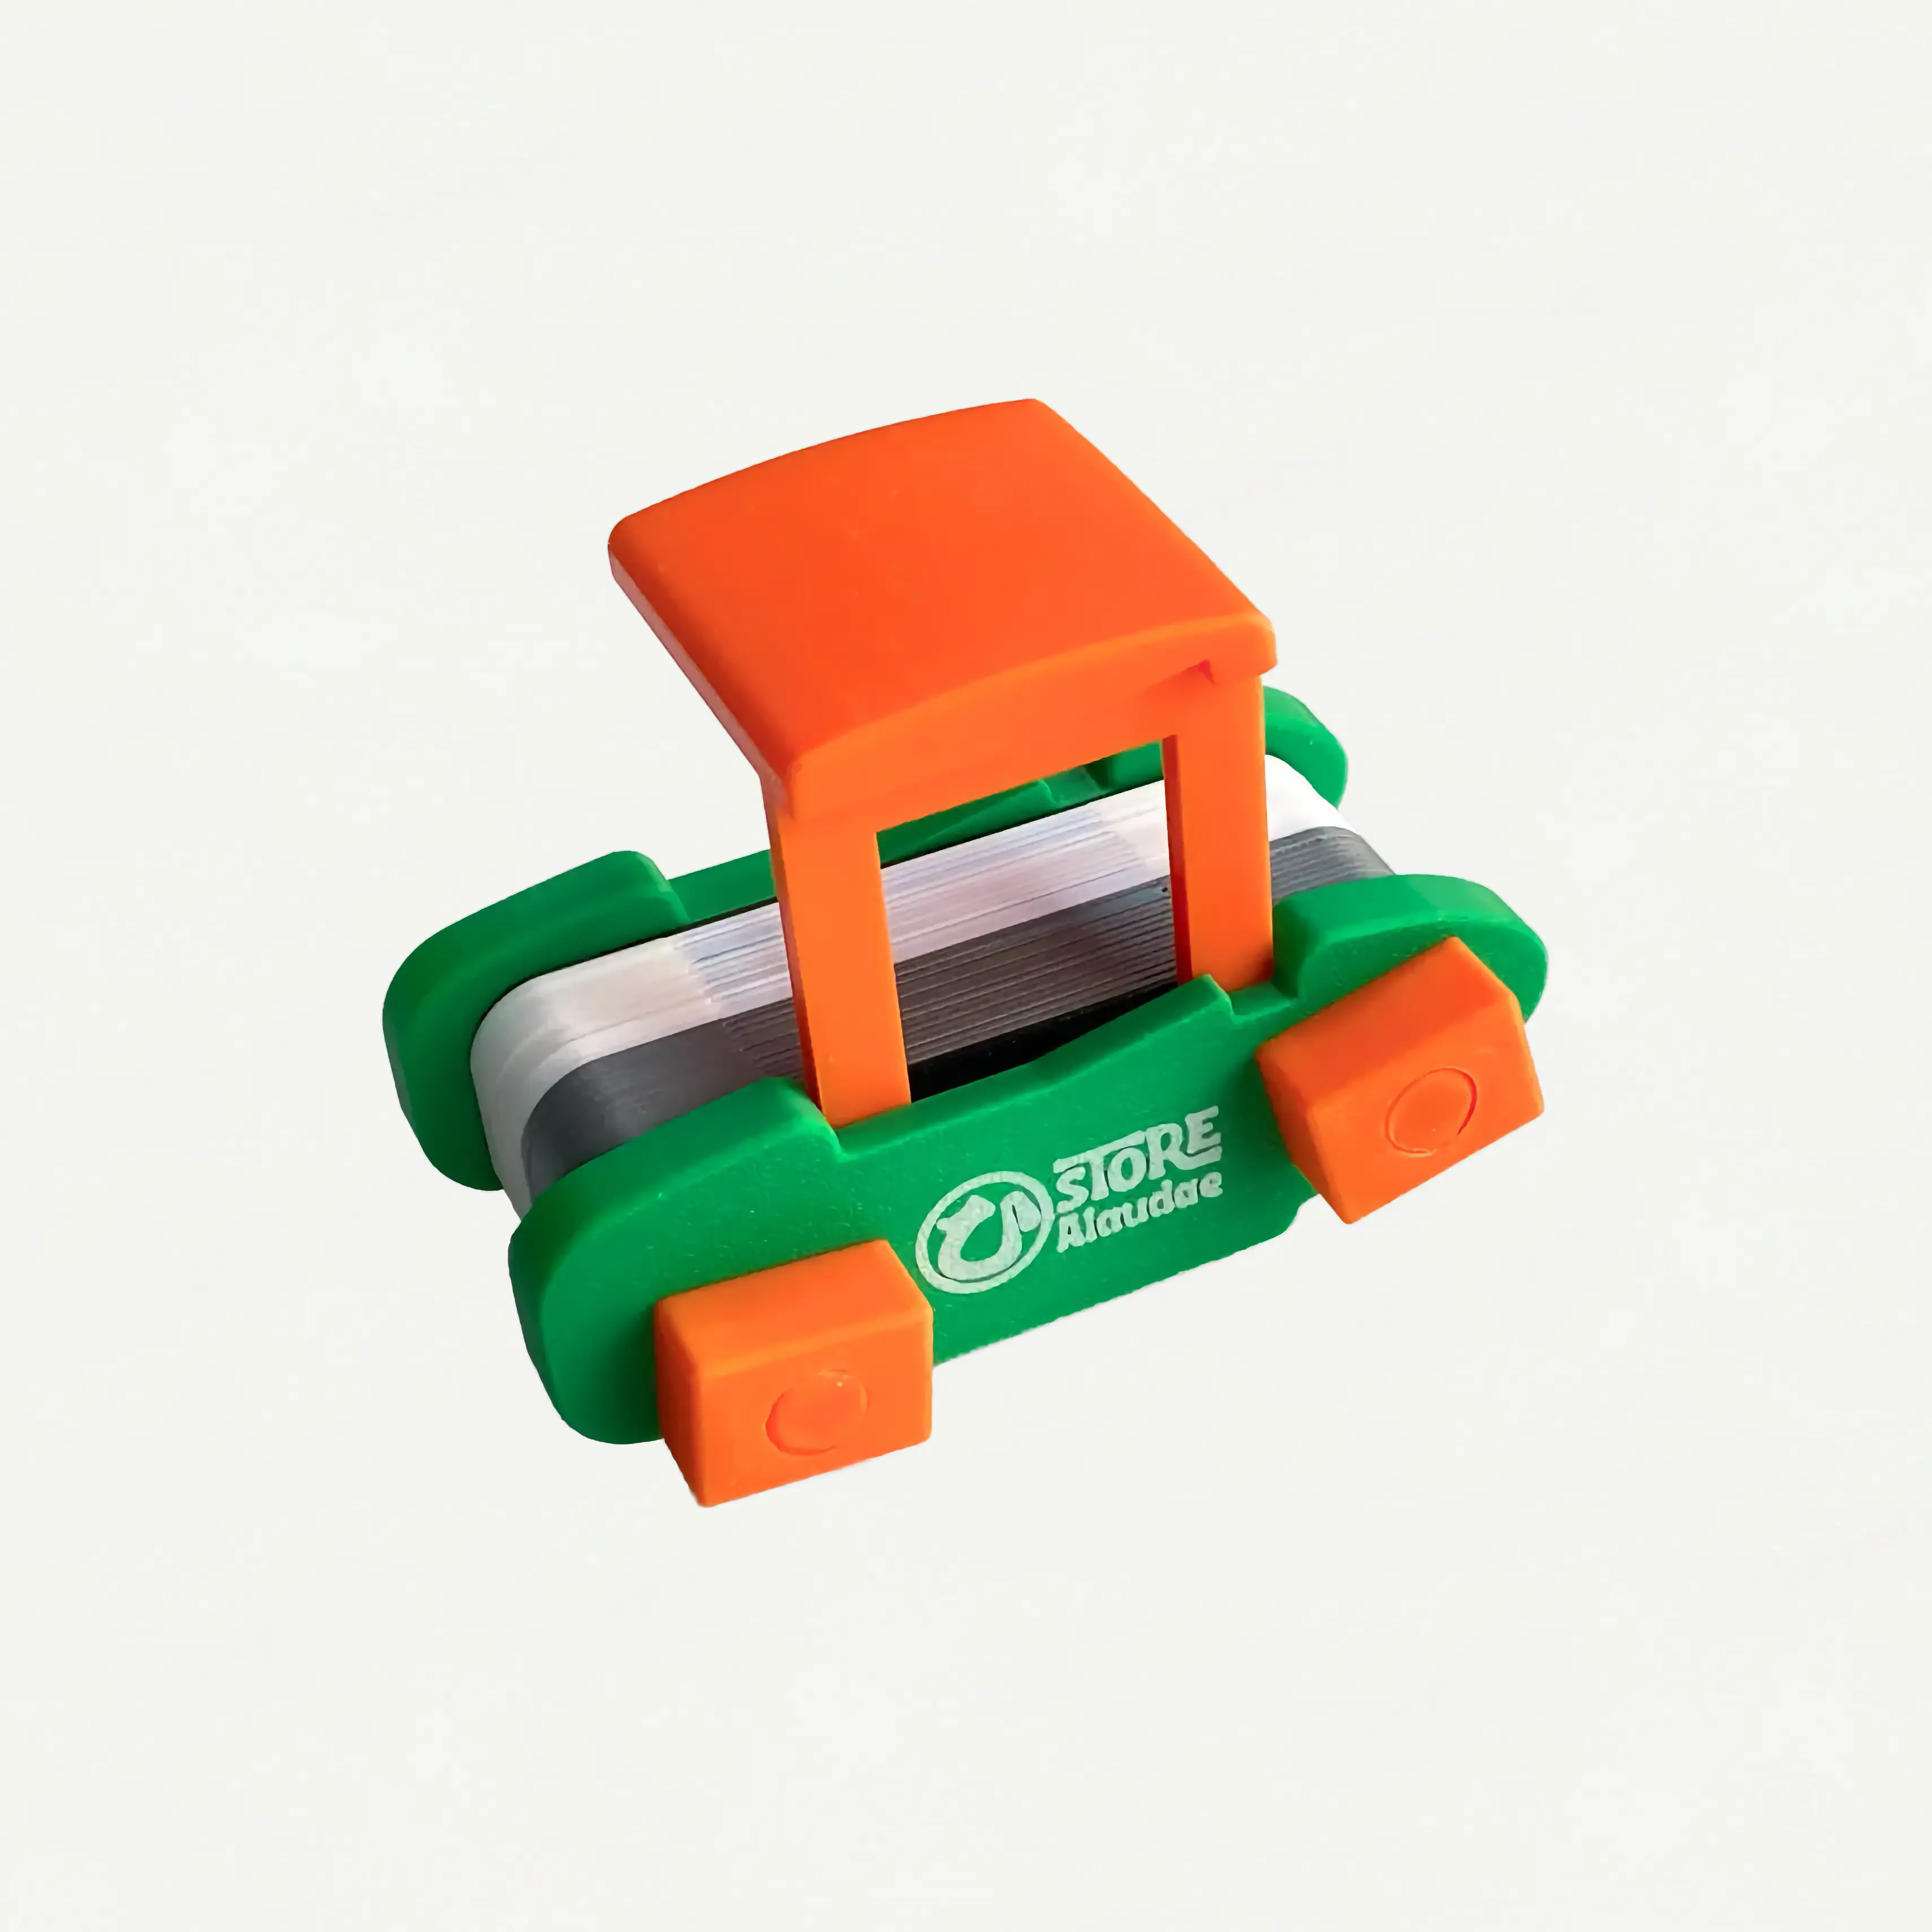
What came out of it is a new tool for handicraft: Filamenta Slit. It has now reached the point where I can offer it as a product.
Why I Write "Approximately 1 mm"
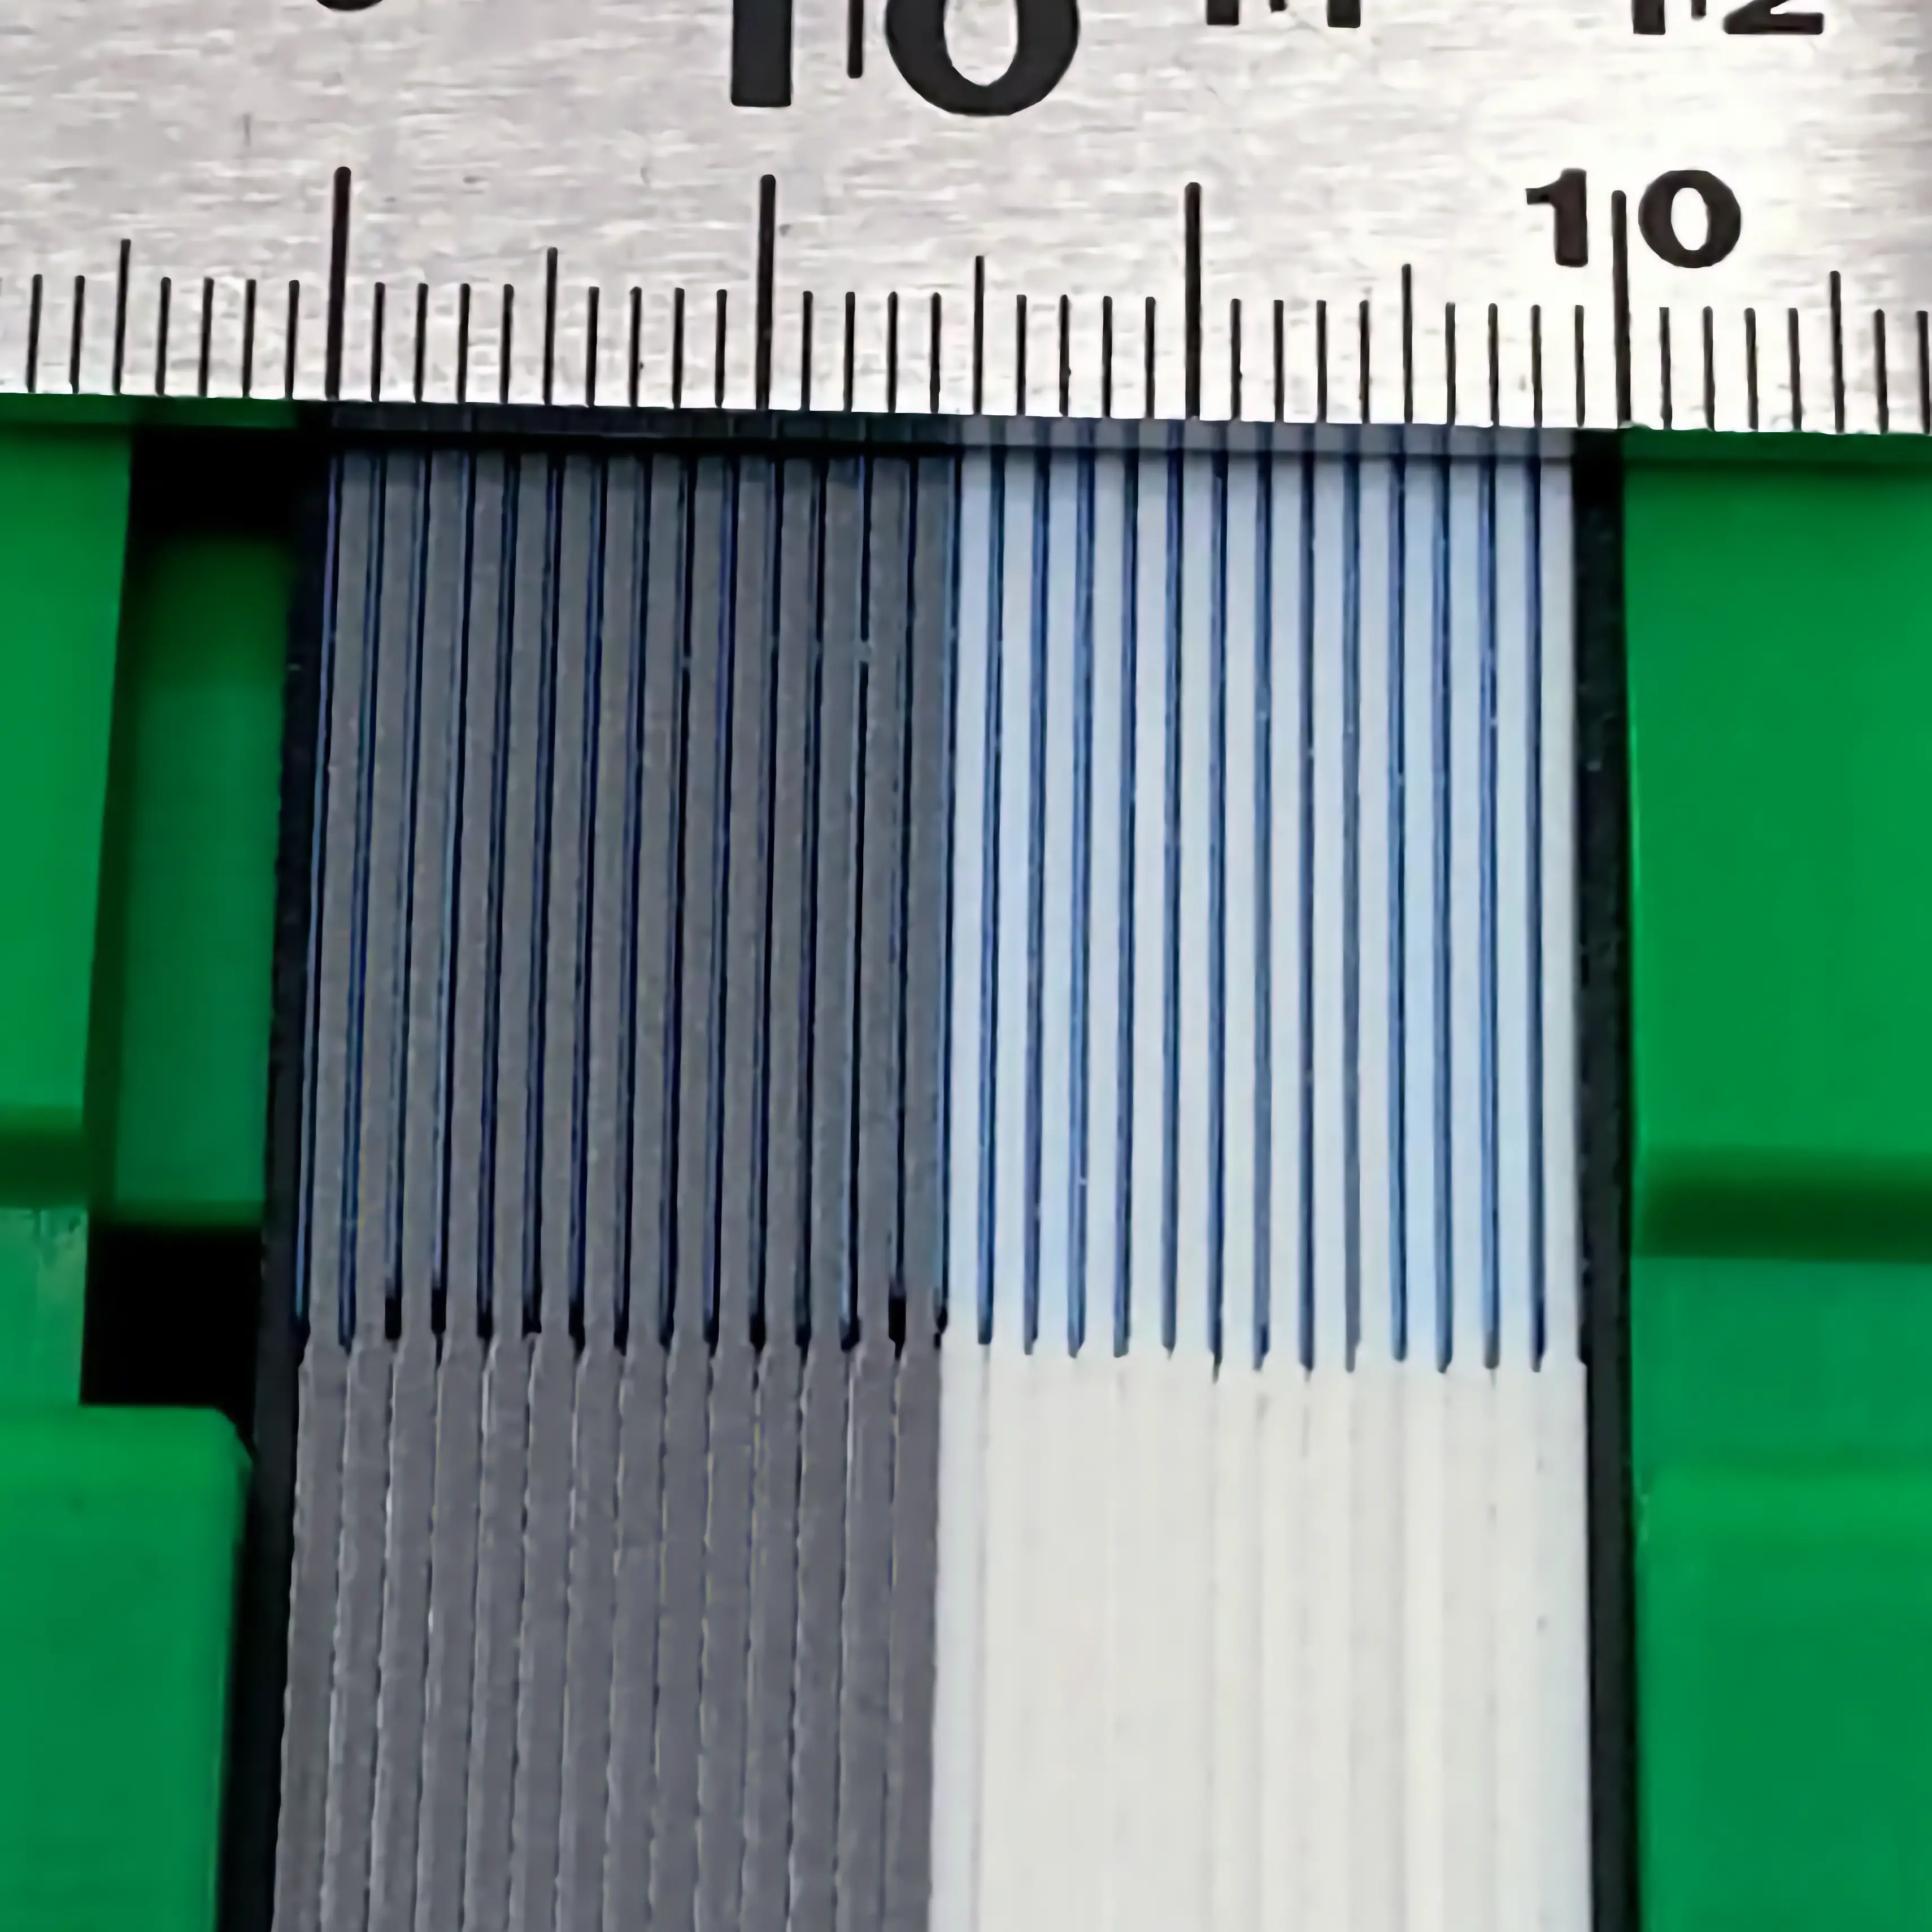
The width is set by thin plates called spacers, which slot into the body. Fourteen white, fourteen silver and two black. Thirty in all, and the number you stack decides the width you cut. It handles material up to 30 mm wide.
There is a reason for the three colours. The black ones go at either end. The white and silver exist so that you can count them by eye as you stack.
Lay three white, then one silver, then three white again, and the divisions of four become visible at a glance. Running silver and inserting white does the same job. With a little thought about the arrangement, you can judge where the blade will fall without counting again.
Stack enough thin plates and you lose track of which one you are on. Recounting with your fingers stops your hands every time, so I wanted the colours to tell you.
In the product description I write that these plates are approximately 1 mm thick. I do not state it as 1 mm.
I will not hide the reason. They are made on a home 3D printer, and that method does not produce perfectly uniform thickness. Sent to an outside precision workshop, they would come back beautifully consistent. But that returns us to the world of the estimate. Tens of thousands of yen per piece. As a tool for handicraft, I cannot hand you that.
I take on the unevenness so that I can offer it at a price within reach. That one word, approximately, is the trace of that choice.
Made of Resin, So You Can Hold It
The body, and the bolts and nuts that hold it together, are all ABS resin. With no metal in it, the whole thing weighs about 120 g. Roughly half an apple.
Because of that you can clamp it to a table, or hold it in your hand and cut freehand. Your hands do not tire over long sessions, so you can work in the kitchen, at the low table, wherever you like.
The same ABS resin that gave me so much trouble over VOCs is what made it this light in the end. It puts a small wry smile on my face.
Five Blades Turned Out to Be the Answer
One thing became clear through repeated prototypes. The most you can cut smoothly and steadily with one hand is around five razor blades.
Add more and the friction rises sharply, so you need real force to pull. On paper you can fit any number. Using them is another matter.
So the standard is five blades. For anyone unsure of their grip strength, or who simply wants the work to be easy, I recommend one handed cutting with two or three. In practice two is the lightest, and at three you begin to need some pull.
This depends on preference and on the strength of your hands, so I suggest starting with fewer and finding what suits you.
The Handle Is Where the Difference Shows
After the tool was finished I noticed something I had not expected. Where narrow widths matter most is not the body of the basket but the handle.
First, a word about terms. Handles are braided either flat or round.
In the world of paper craft tape, flat braiding is common. Paper bands fold obligingly, so working them flat causes no trouble. Try the same with PP band and its stiffness gets in the way. The creases refuse to sit, and the work drags. For that reason PP band handles are almost always round braided, and round braiding is what I mean by handle throughout this article.
Now, look up how to make PP band handles and you will usually find a round braid of four to six strands. It is strong and there is nothing wrong with it. But because each strand is wide, it comes out stiff. It does not follow the curve of your palm, and the result feels a little bulky.
Use narrow bands and things change. To reach the same finished thickness you can braid six, eight, even twelve strands.
More strands means a much finer braid. The density rises, so it sits against your palm when you grip it, the appearance tightens, and the basket as a whole starts to look refined. With the same amount of material in the same place, more narrow strands make a handle kinder to both the hand and the eye.
Incidentally, our own Fortuna Pearl band is made softer than ordinary PP band. Cut narrow it bends all the more willingly, so you can attempt not only round braiding but the flat braiding that usually gets avoided.
The handle is where eyes and hands gather more than anywhere else on a basket. It is barely an exaggeration to say the impression of the whole piece is decided there.
Is the Clear Tube Deciding Your Handle Thickness
Handles lately are often finished by threading a round braid of two to four strands through a clear tube.
I think it is a well considered method. The tube is soft, so the grip is gentle, and the braid showing through is attractive. I have no wish to argue against it.
But pause here for a moment. Why two to four strands?
The reason is simple. Braid more than that and it grows too thick to fit the tube. To pass a six strand braid through, you would have to go looking for tube with a larger bore.
Which means the tube is deciding how thick the handle can be. Rather than choosing a tube for the handle you want to make, you are choosing the braid to fit the tube you happen to have. The order has been reversed.
There is also the material to consider. Are you choosing the tube on price alone?
Have you ever had a handle turn tacky after long use? That feeling of it clinging to your fingers.
That happens readily with soft PVC tube. It contains an ingredient that keeps it flexible, and over the years that ingredient gradually works its way to the surface. Plenty of these tubes were never intended to be gripped by human hands day after day. Clear and soft does not mean anything will do.
A basket does not end when you hand it over. It goes on being used in the customer's hands for years afterwards. Beautiful when bought, unpleasant to touch two years later. If that happens, the piece ends there.
It is cheap so it cannot be helped: that seems a waste to me. Nor am I saying to choose the expensive option. The question is whether you are choosing something that will last. It is the piece with that care in it that keeps a value beyond its price.
Do Not Fit the Work to the Tool
Set out like this, you can see the same thing happening twice.
The bore of the tube decides the number of strands in the handle. The steps on a commercial cutter decide the widths of band you can use. In both cases the thing you want to make does not come first. The work is being fitted to whatever the tools happen to allow.
That single point, having narrow bands at the width you choose, was the wall a commercial cutter could not cross. If it only cuts in equal parts, you cannot decide the width to suit the handle. You have to decide the handle to suit the width.
Filamenta Slit reverses that order. There is a handle you want to make, and the width follows from it. Working with the same PP band and the same braid, having widths in your hands that others cannot prepare makes a decisive difference to what you can create.
Materials can be bought anywhere. Braids are in the books and in the videos. Which is exactly why the range of widths you can obtain becomes the range of things you can make.
The Braid Is Published. Try Building on It
Let me be straightforward: the handle braid I have published is nothing special. Anyone can find it by searching, and following it will produce the same result. I never intended to keep it to myself.
Yet strangely, I have not yet seen anyone take that braid and develop it into something else. Everyone makes the handle exactly as they were taught.
This strikes me as a waste.
Change the width, change the number of strands, change the combination, and that braid takes on a completely different character. One extra step, one small idea, and the piece rises above the ordinary plastic basket. I can see the picture clearly, and yet what appears in the world is the usual handle.
So, if you are reading this: start by copying, and then, once, break it apart in your own way. Make the bands narrower. Add strands. Change the pattern partway through. From that point on it is nobody else's work. It is yours.
And, between us, I am quietly building a jig for handles at the moment. I expect I will have something to report before long.
In Closing
Written out like this, it is a considerable detour. What I wanted was one small tool for cutting bands narrow. For that alone I bought a machine, built a box, and used up the whole of 2025.
It is not an efficient story. I would not recommend anyone follow it.
Even so, there is one thing I would like to say. Making it yourself when nobody sells it is not reserved for people with special skills. Nobody taught me, and I have never studied any of this formally. I simply failed a great many times.
If you are looking for something now and cannot find it anywhere, it may be that nobody has made it yet.